Chromebook Setup
Power on your Chromebook and sign in with your Block account.
You'll need the YubiKey that was included with your Chromebook to complete setup. If you didn't receive one, contact mission-control@squareup.com before proceeding.
Initial setup
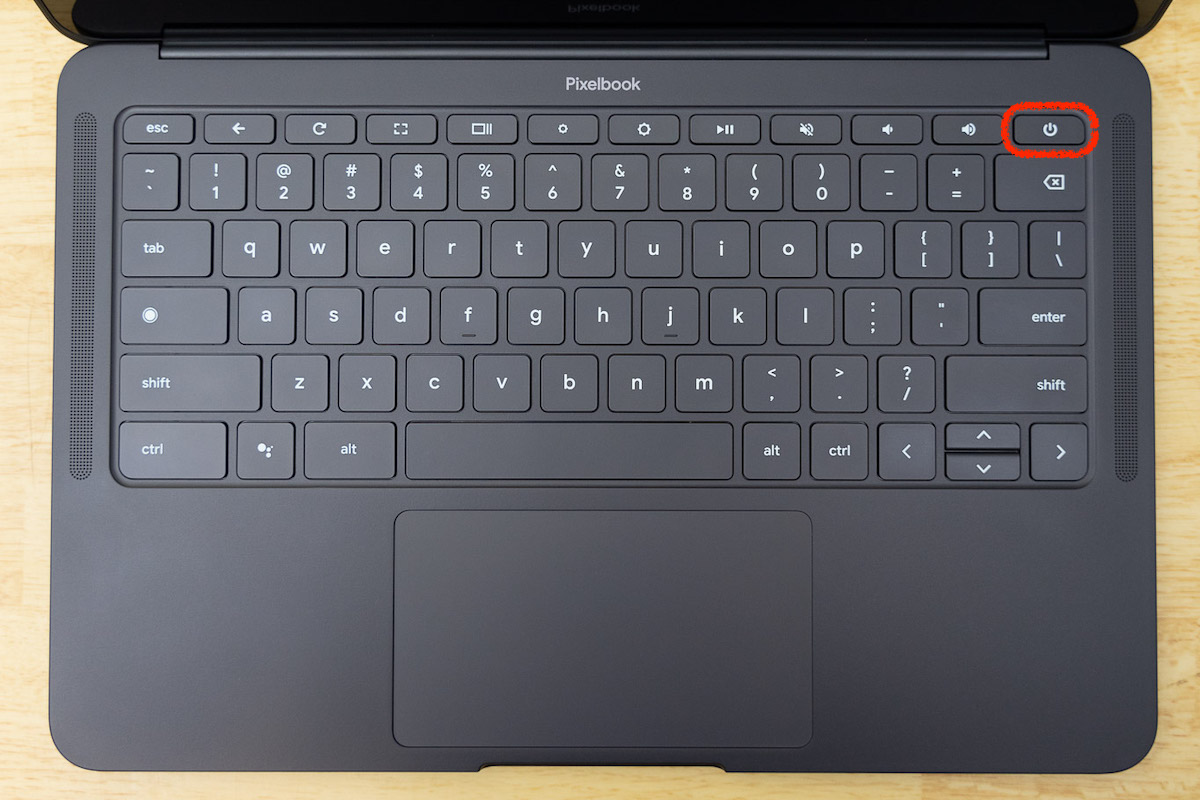
Press the power button at the top-right corner of the keyboard. If you have a ChromeBox, the power button is on the device itself.
Connect to a wireless network (your home WiFi or Block-Guest) with internet access.
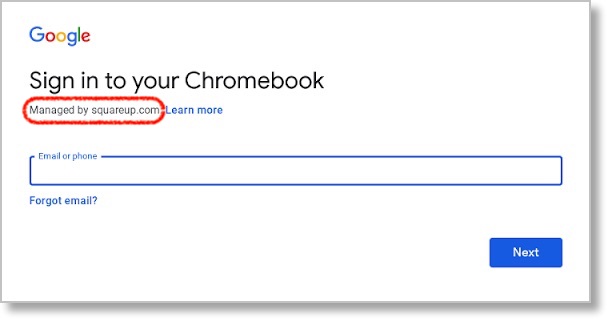
Your device should show "Managed by squareup.com" on the login screen. If you don't see this message, contact mission-control@squareup.com for assistance.
Sign in with Okta
Enter your full @squareup.com or @block.xyz email address and click Next.
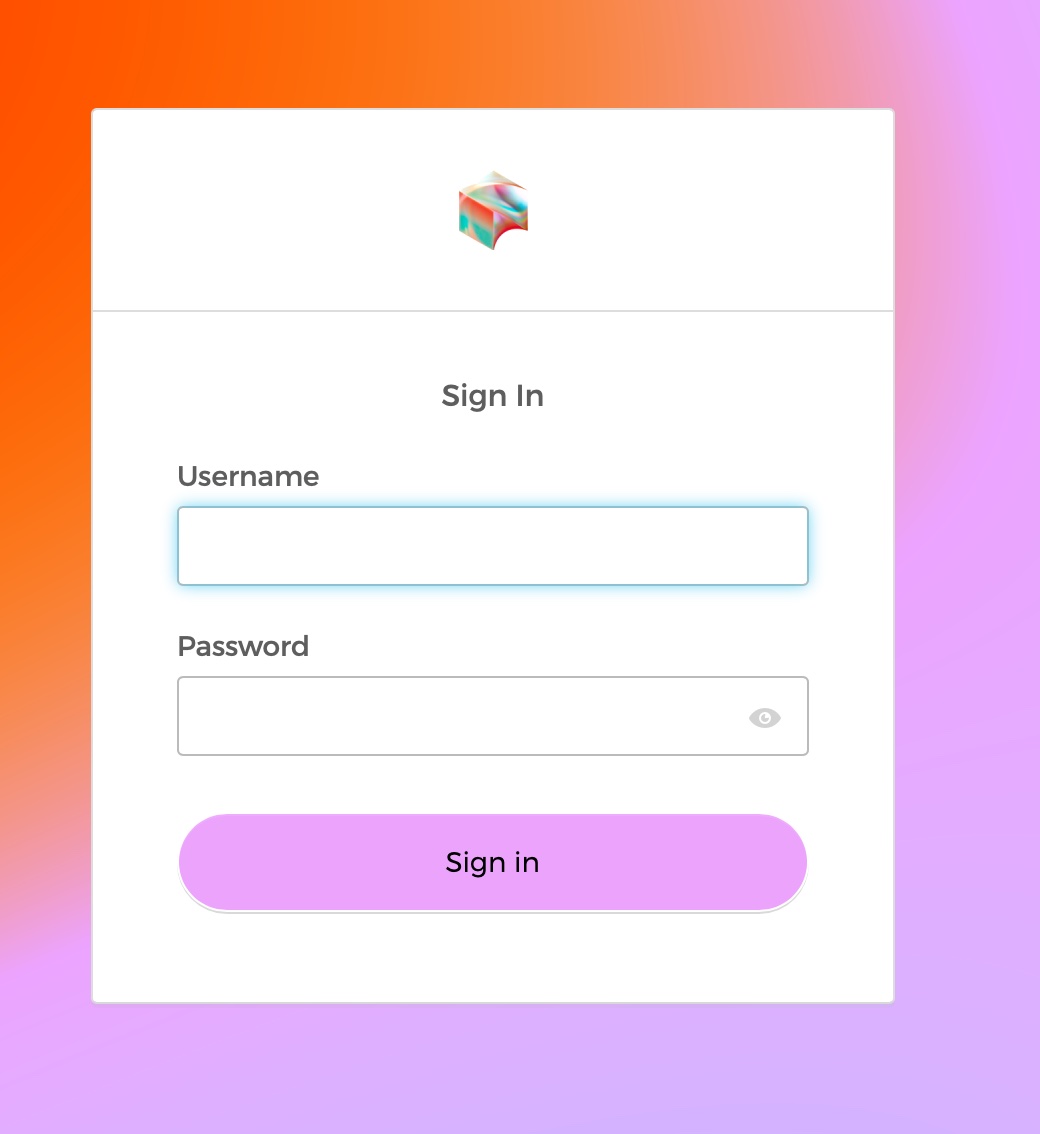
Enter your username and the password from your welcome email, then click Verify.
Set up your Security Key
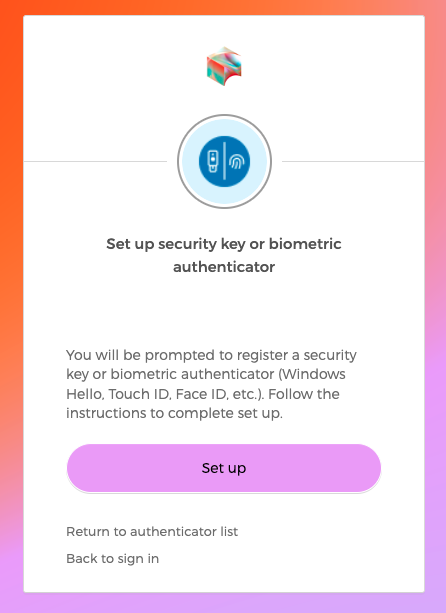
When prompted to set up a Security Key or Biometric Authenticator, click Set Up.
Select USB Security Key, then insert your YubiKey into the USB port on your Chromebook. Your YubiKey will be one of the two models shown below — both work the same way.
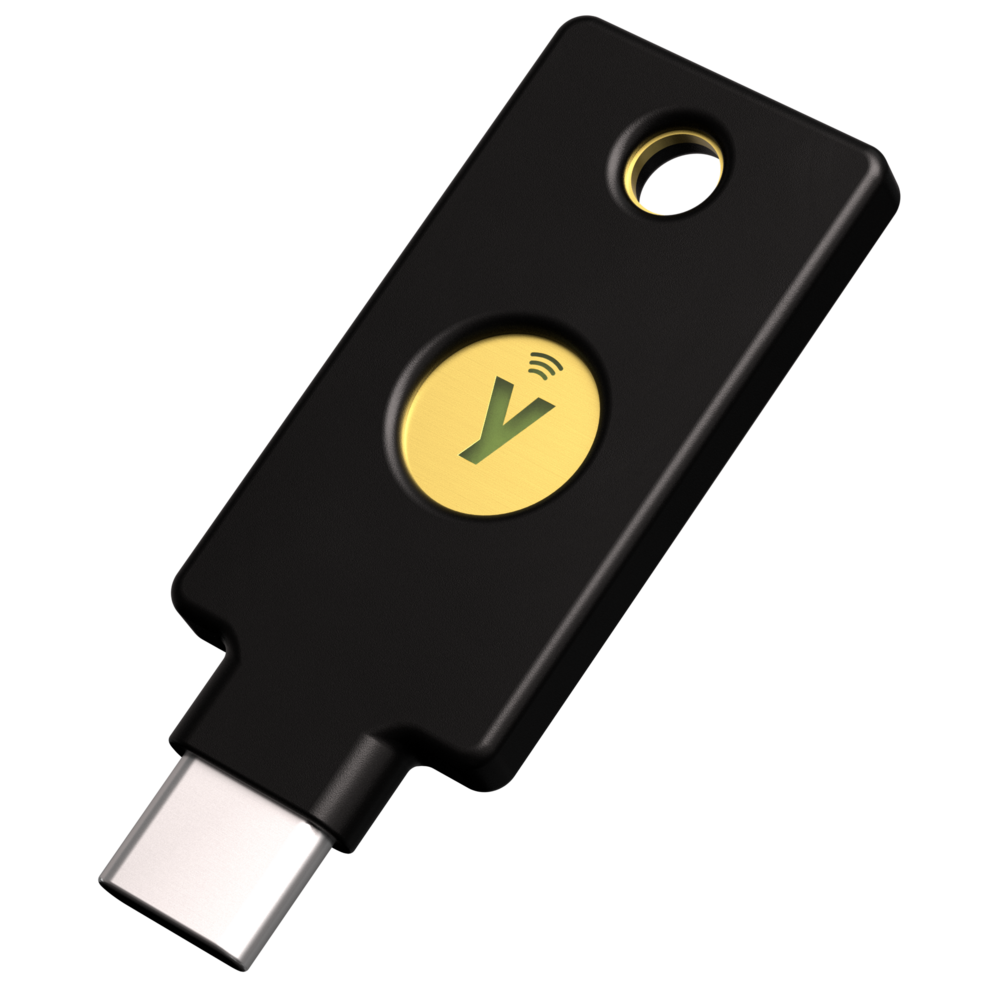
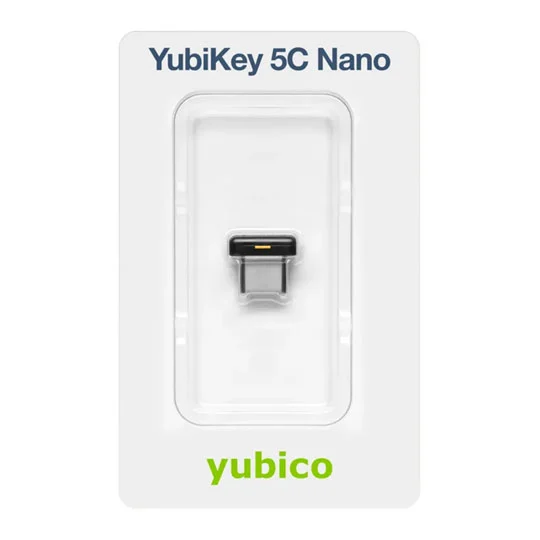
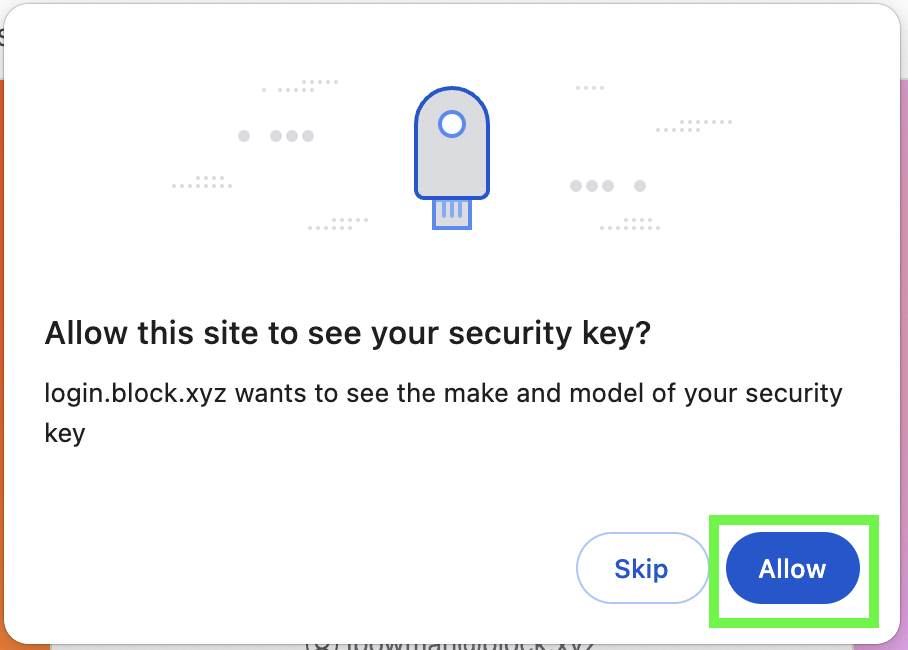
When prompted, touch the gold sensor on the YubiKey. Click Allow when asked if the site can use your Security Key.
Finish sign-in
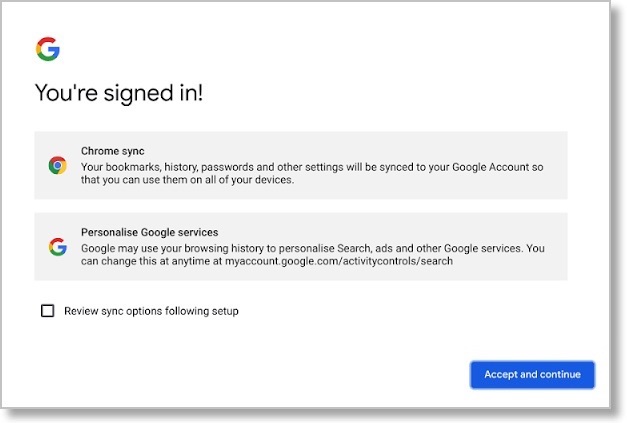
Once signed in, click Accept and Continue. You may hear the Google Assistant announce it has been disabled — press the mute button (above the "0" key) to silence the audio.
Your Chromebook is ready. Let's set up your browser next.