Sign in with Okta
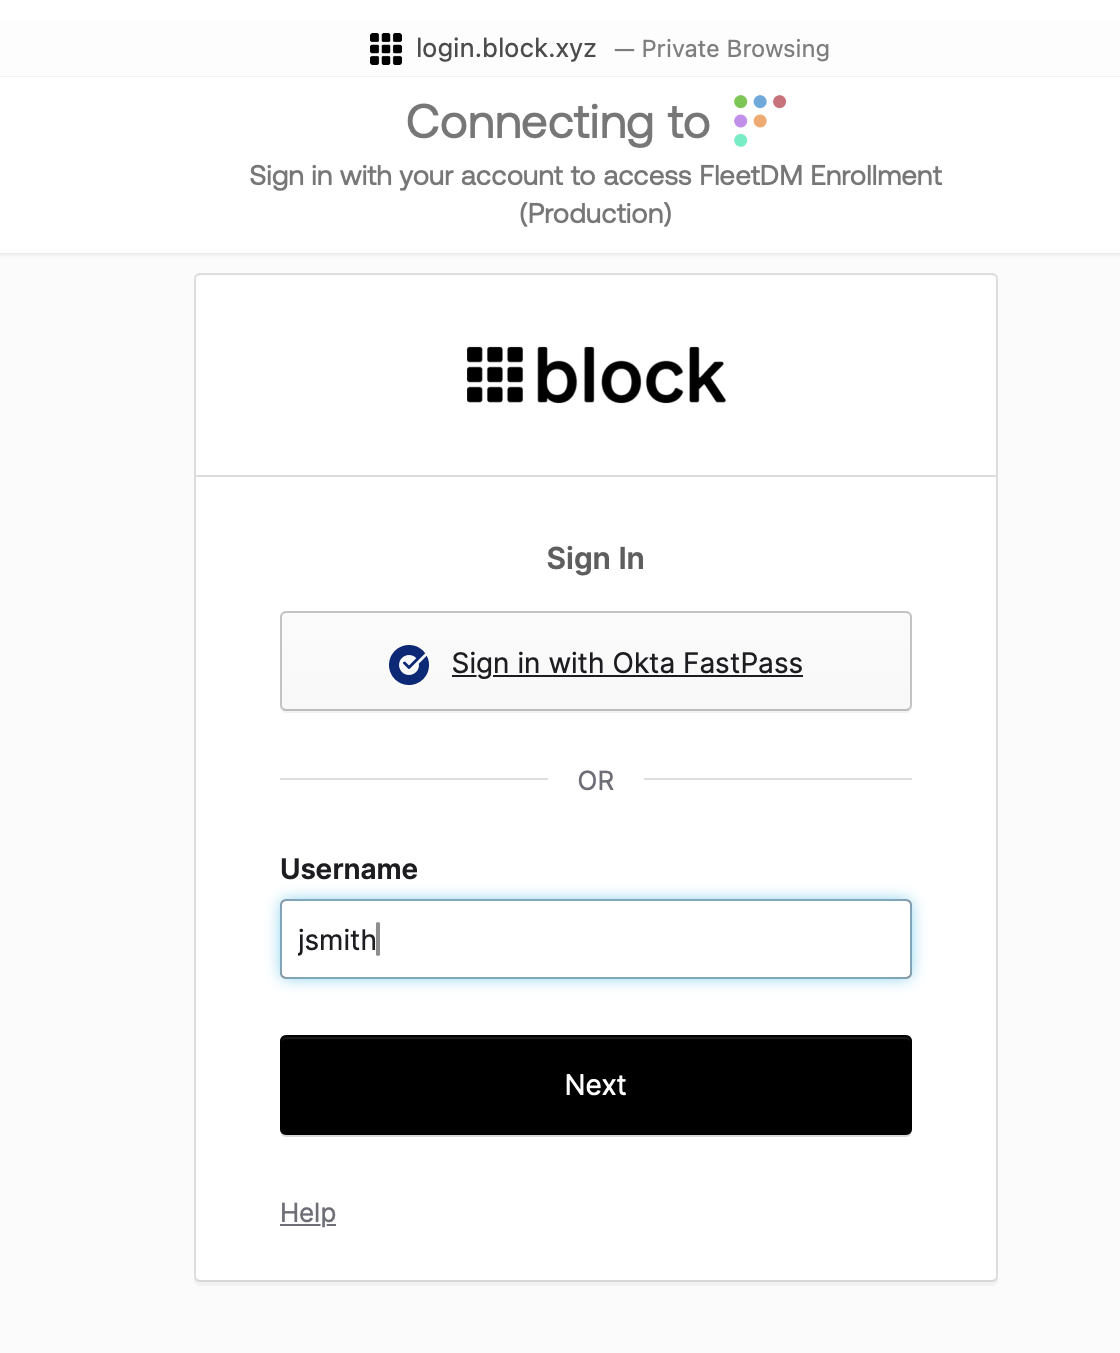
After you click Enroll, the Okta login screen will appear. Enter your username and password, then click Sign in.
FastPass is not available yet and will be set up at a later stage.
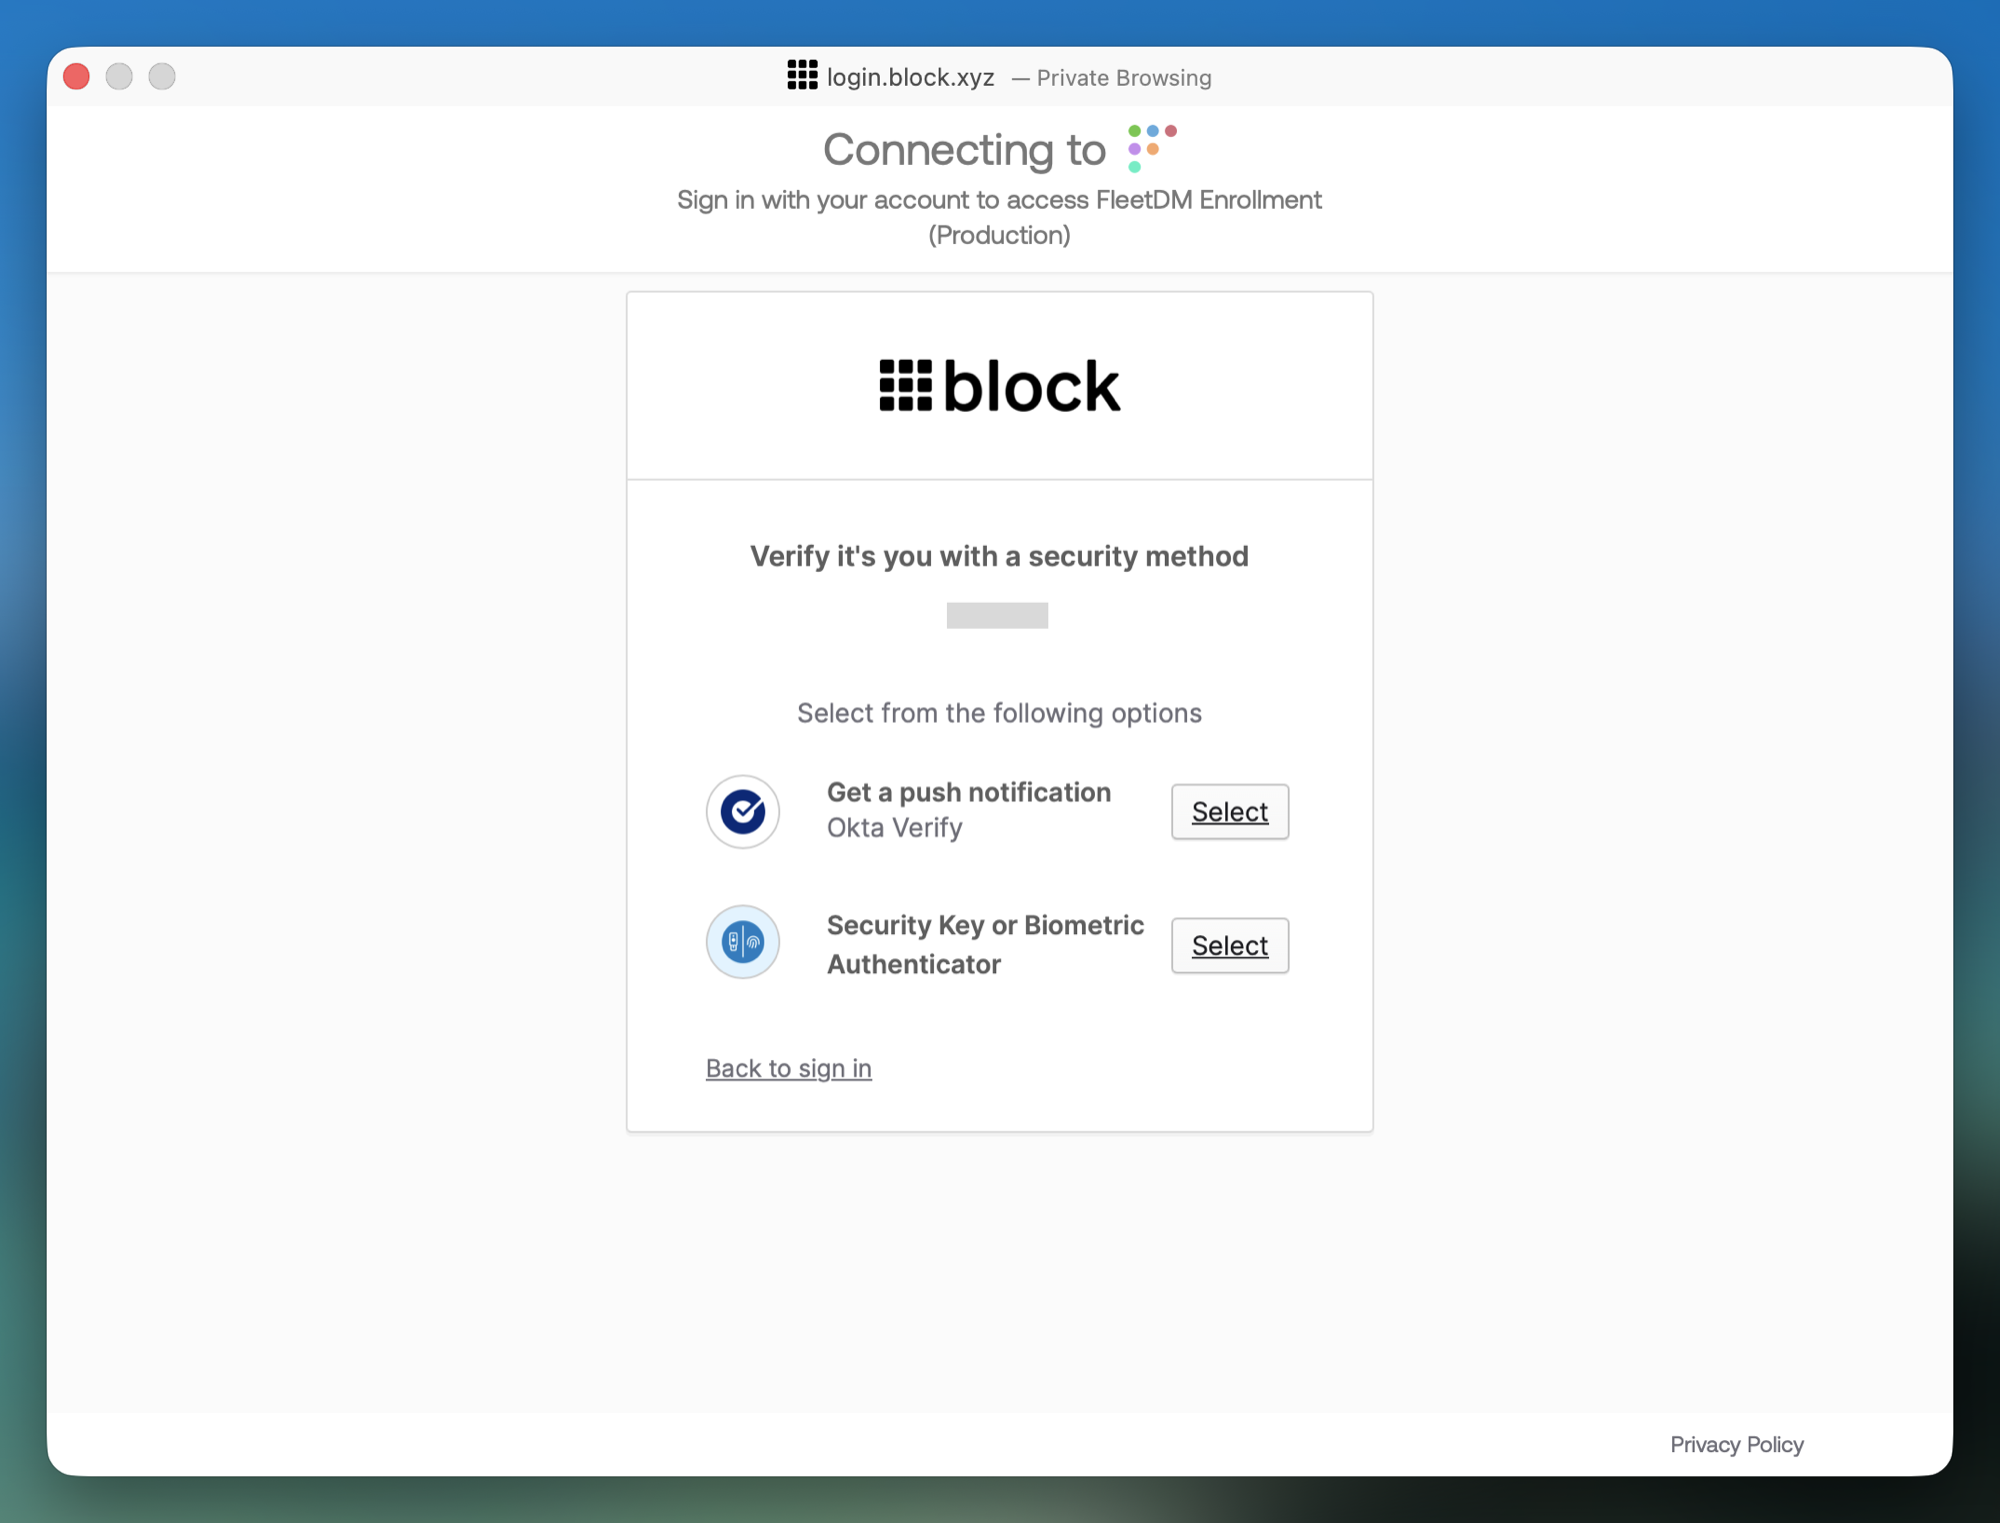
When asked to verify it's you, choose Security Key or Biometric Authenticator and click Select.
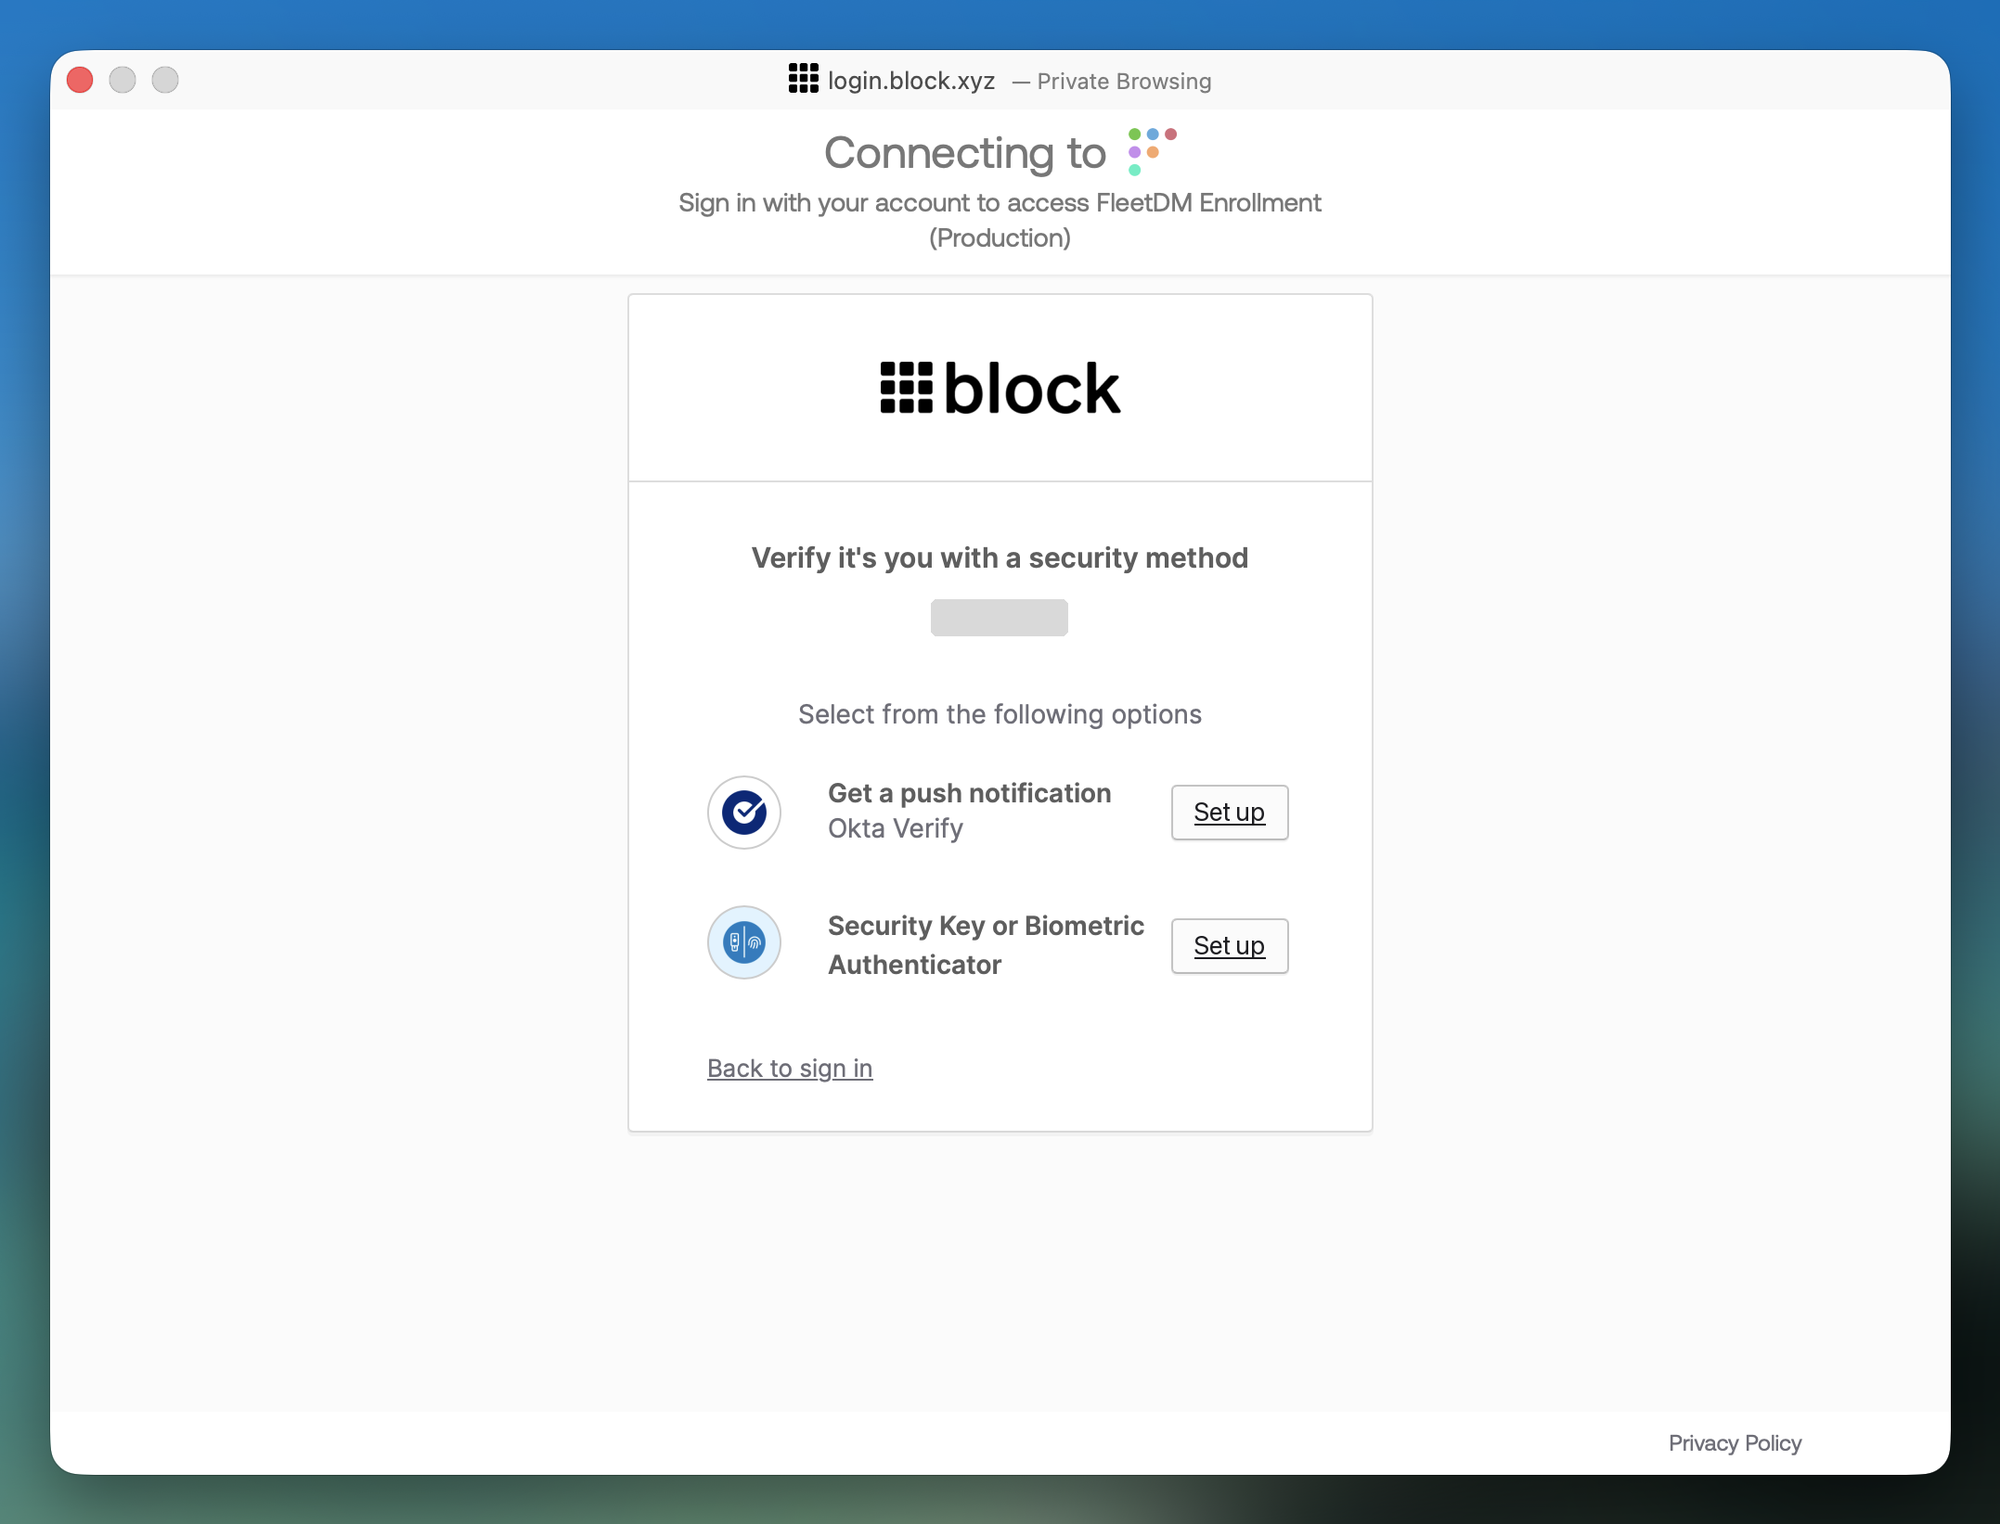
Because this is the first time you're signing in, Okta shows Set up security methods instead, with Set up buttons in place of Select. Click Set up under Security Key or Biometric Authenticator, then continue with step 3 as normal.
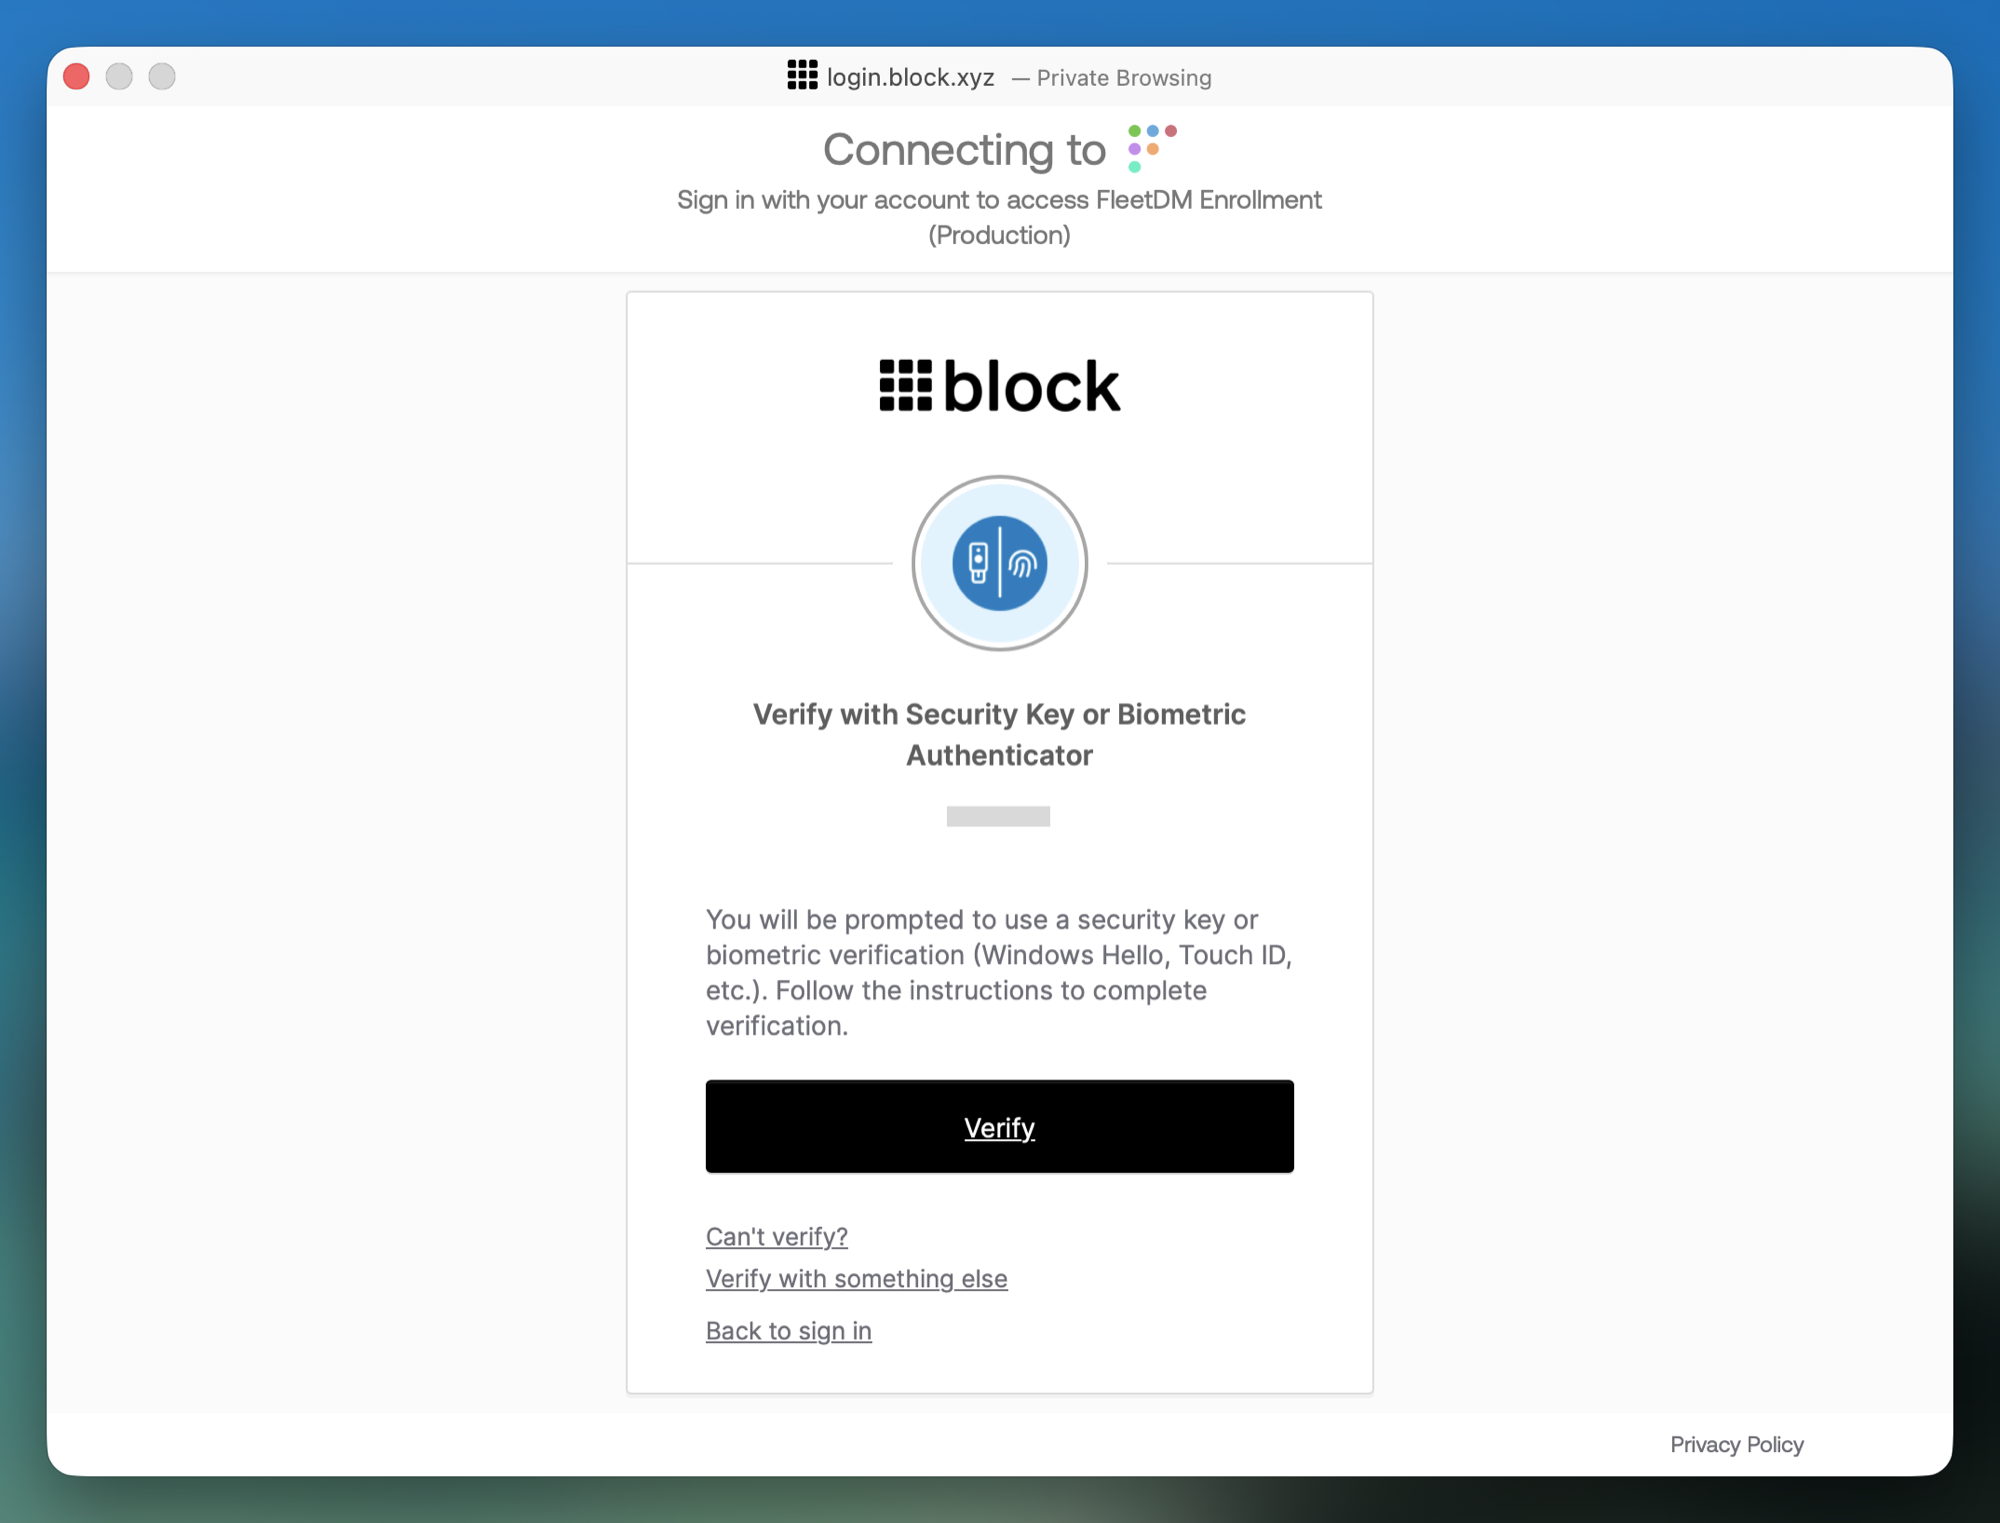
On the Verify with Security Key or Biometric Authenticator screen, click Verify.
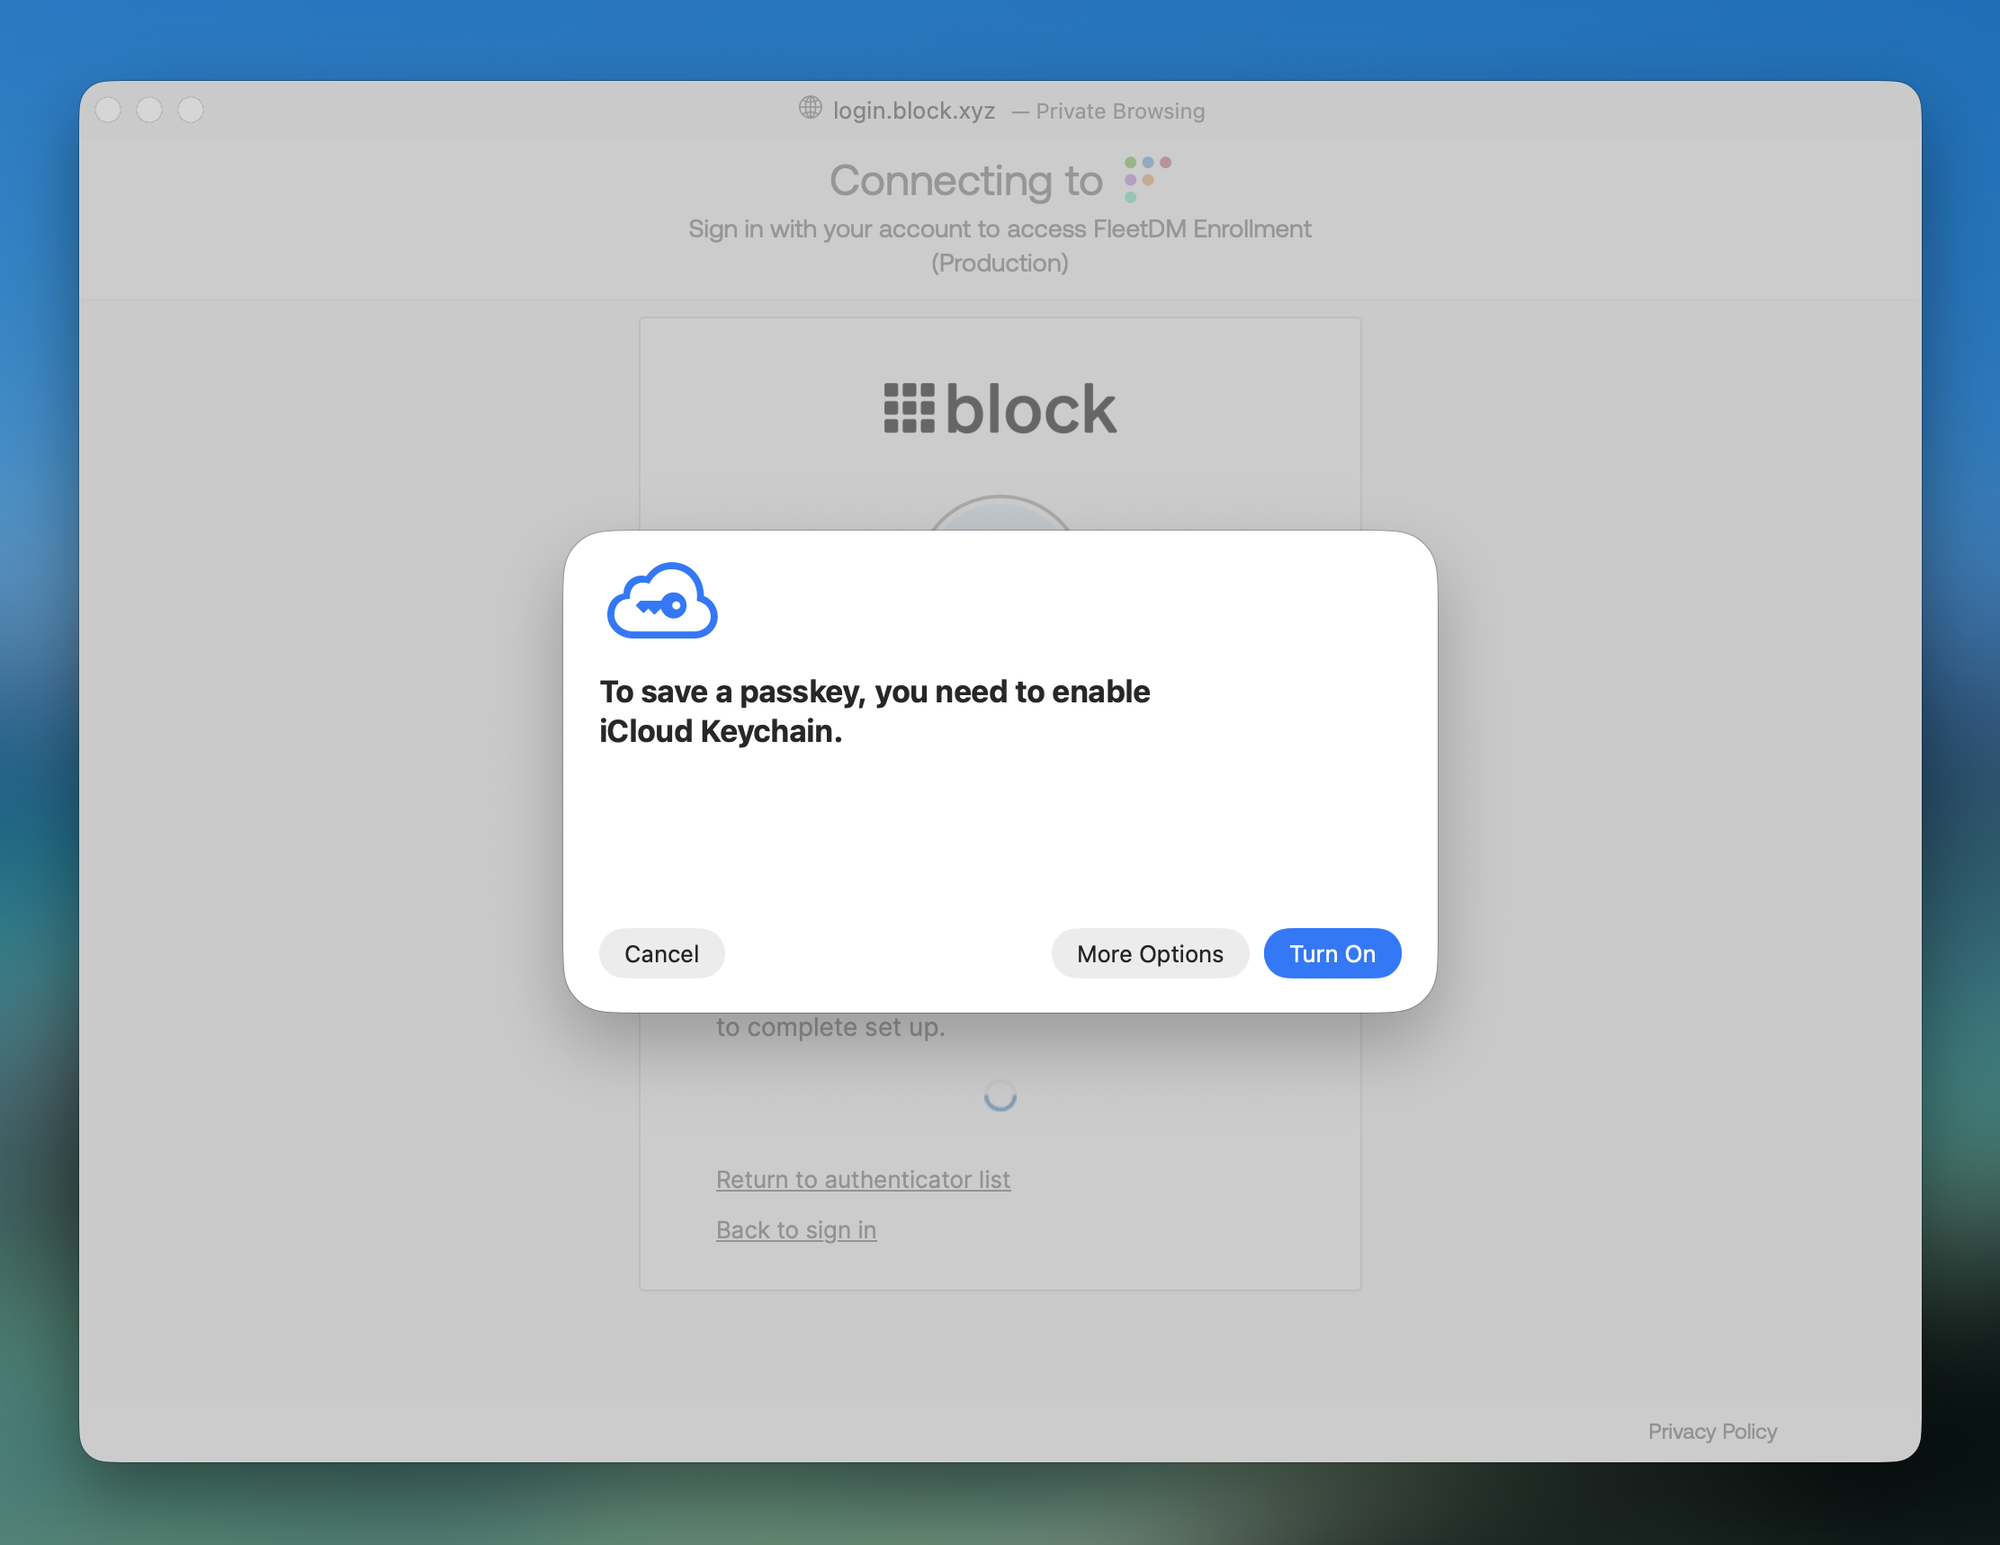
Your Mac will ask you to enable iCloud Keychain to save a passkey. Click More Options — do not click Turn On.
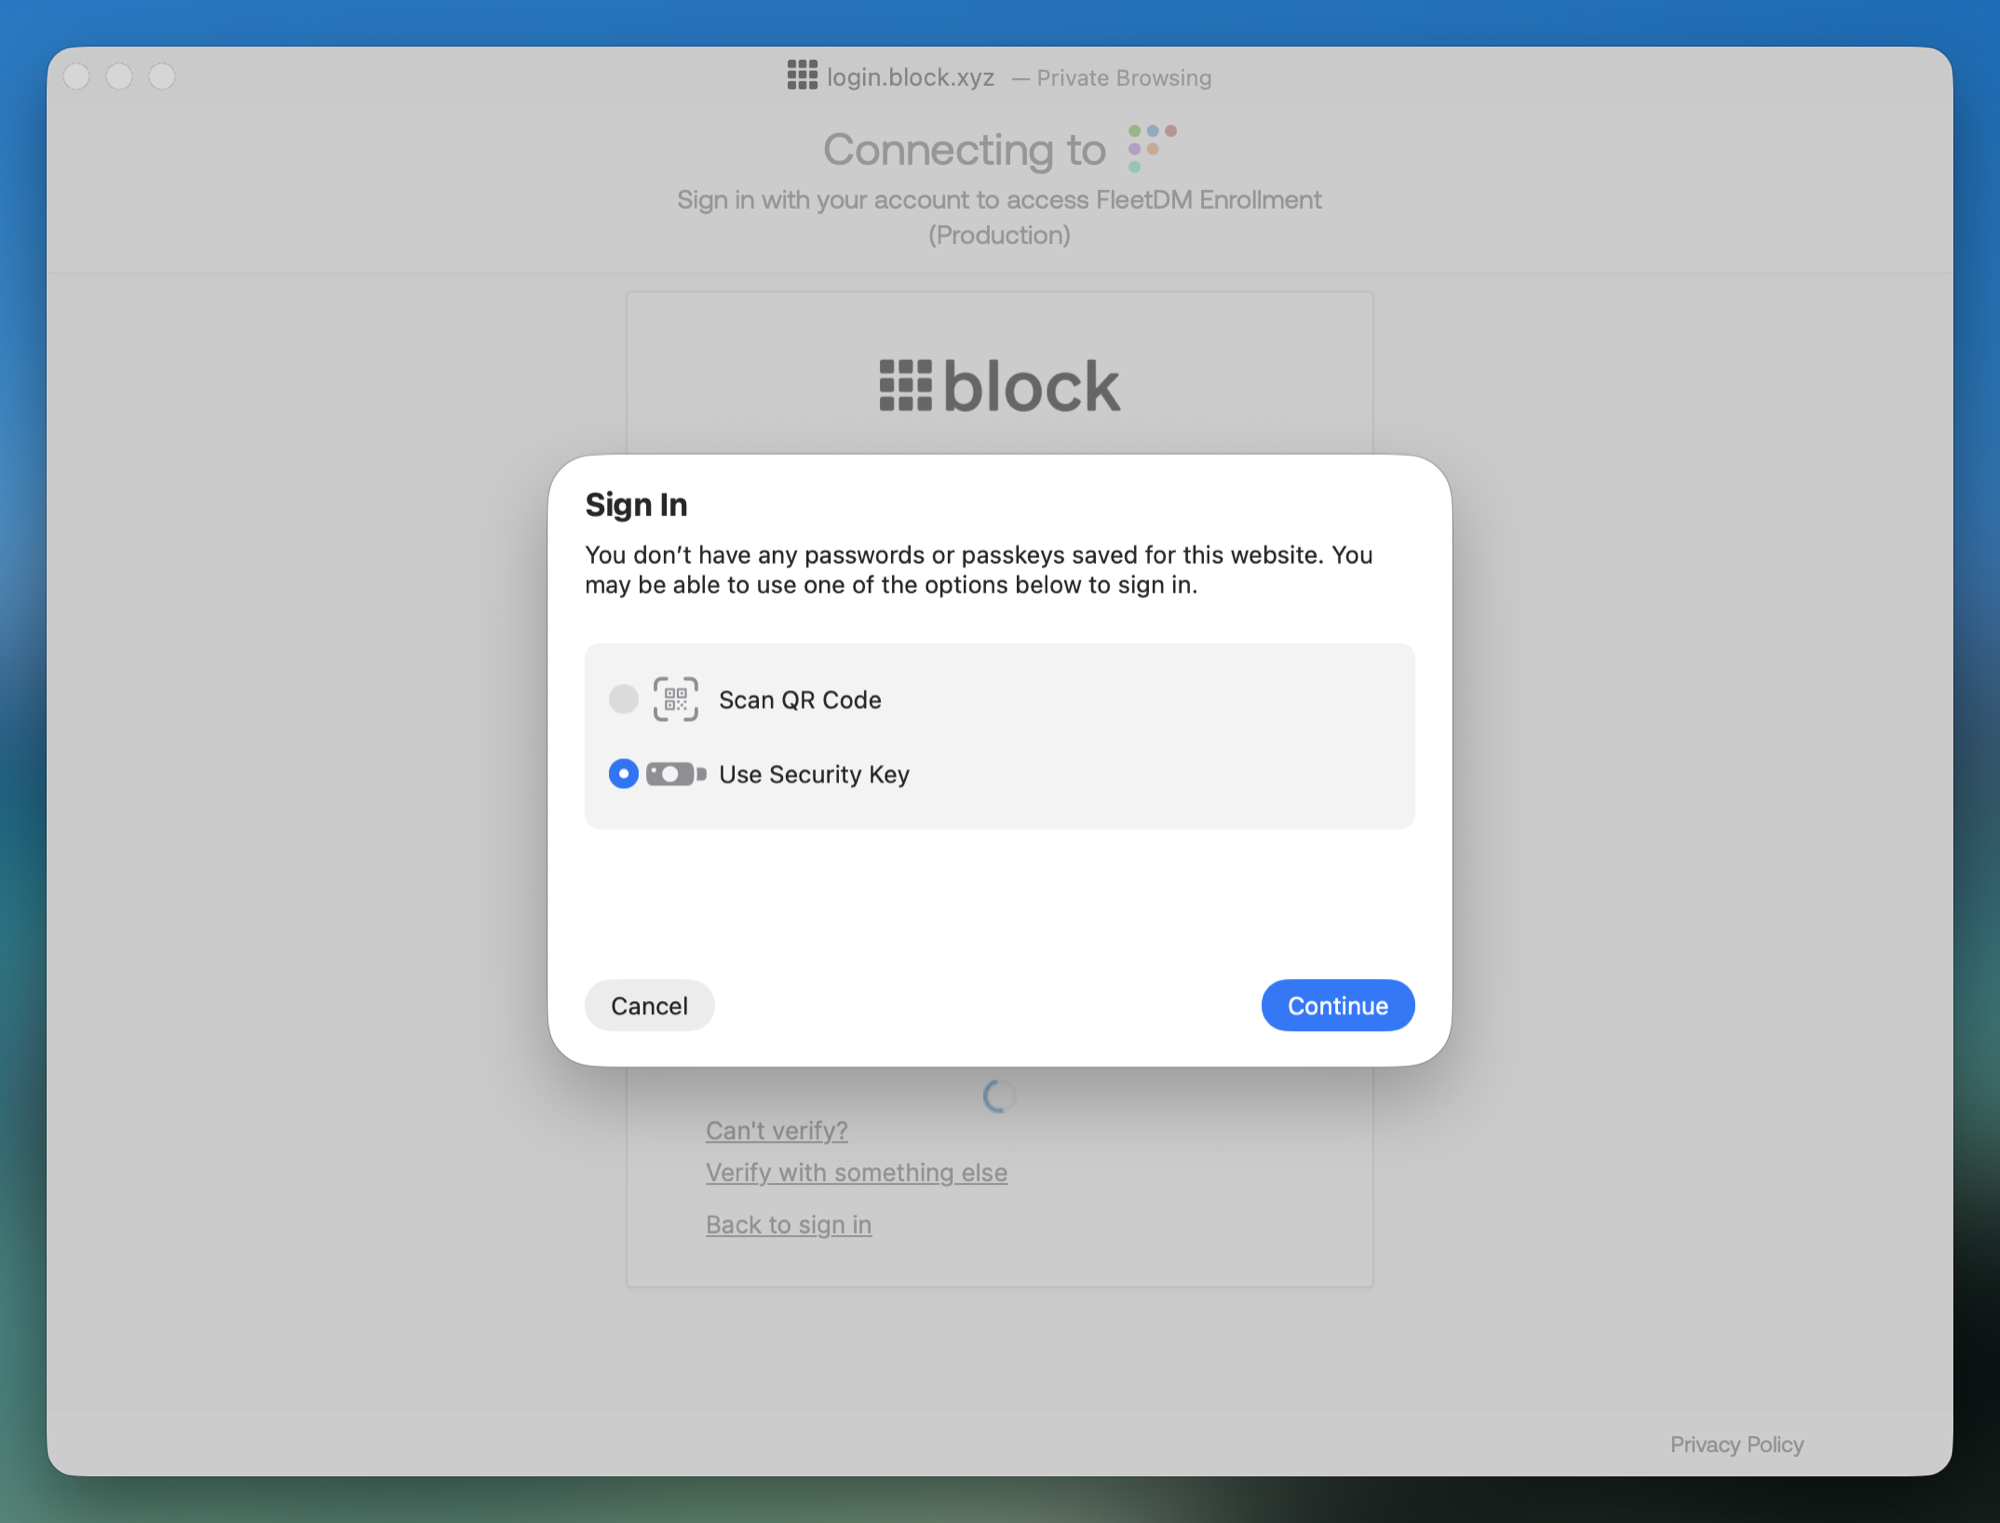
In the Sign In dialog, select Use Security Key and click Continue. Note that Scan QR Code is selected by default — make sure to change it.
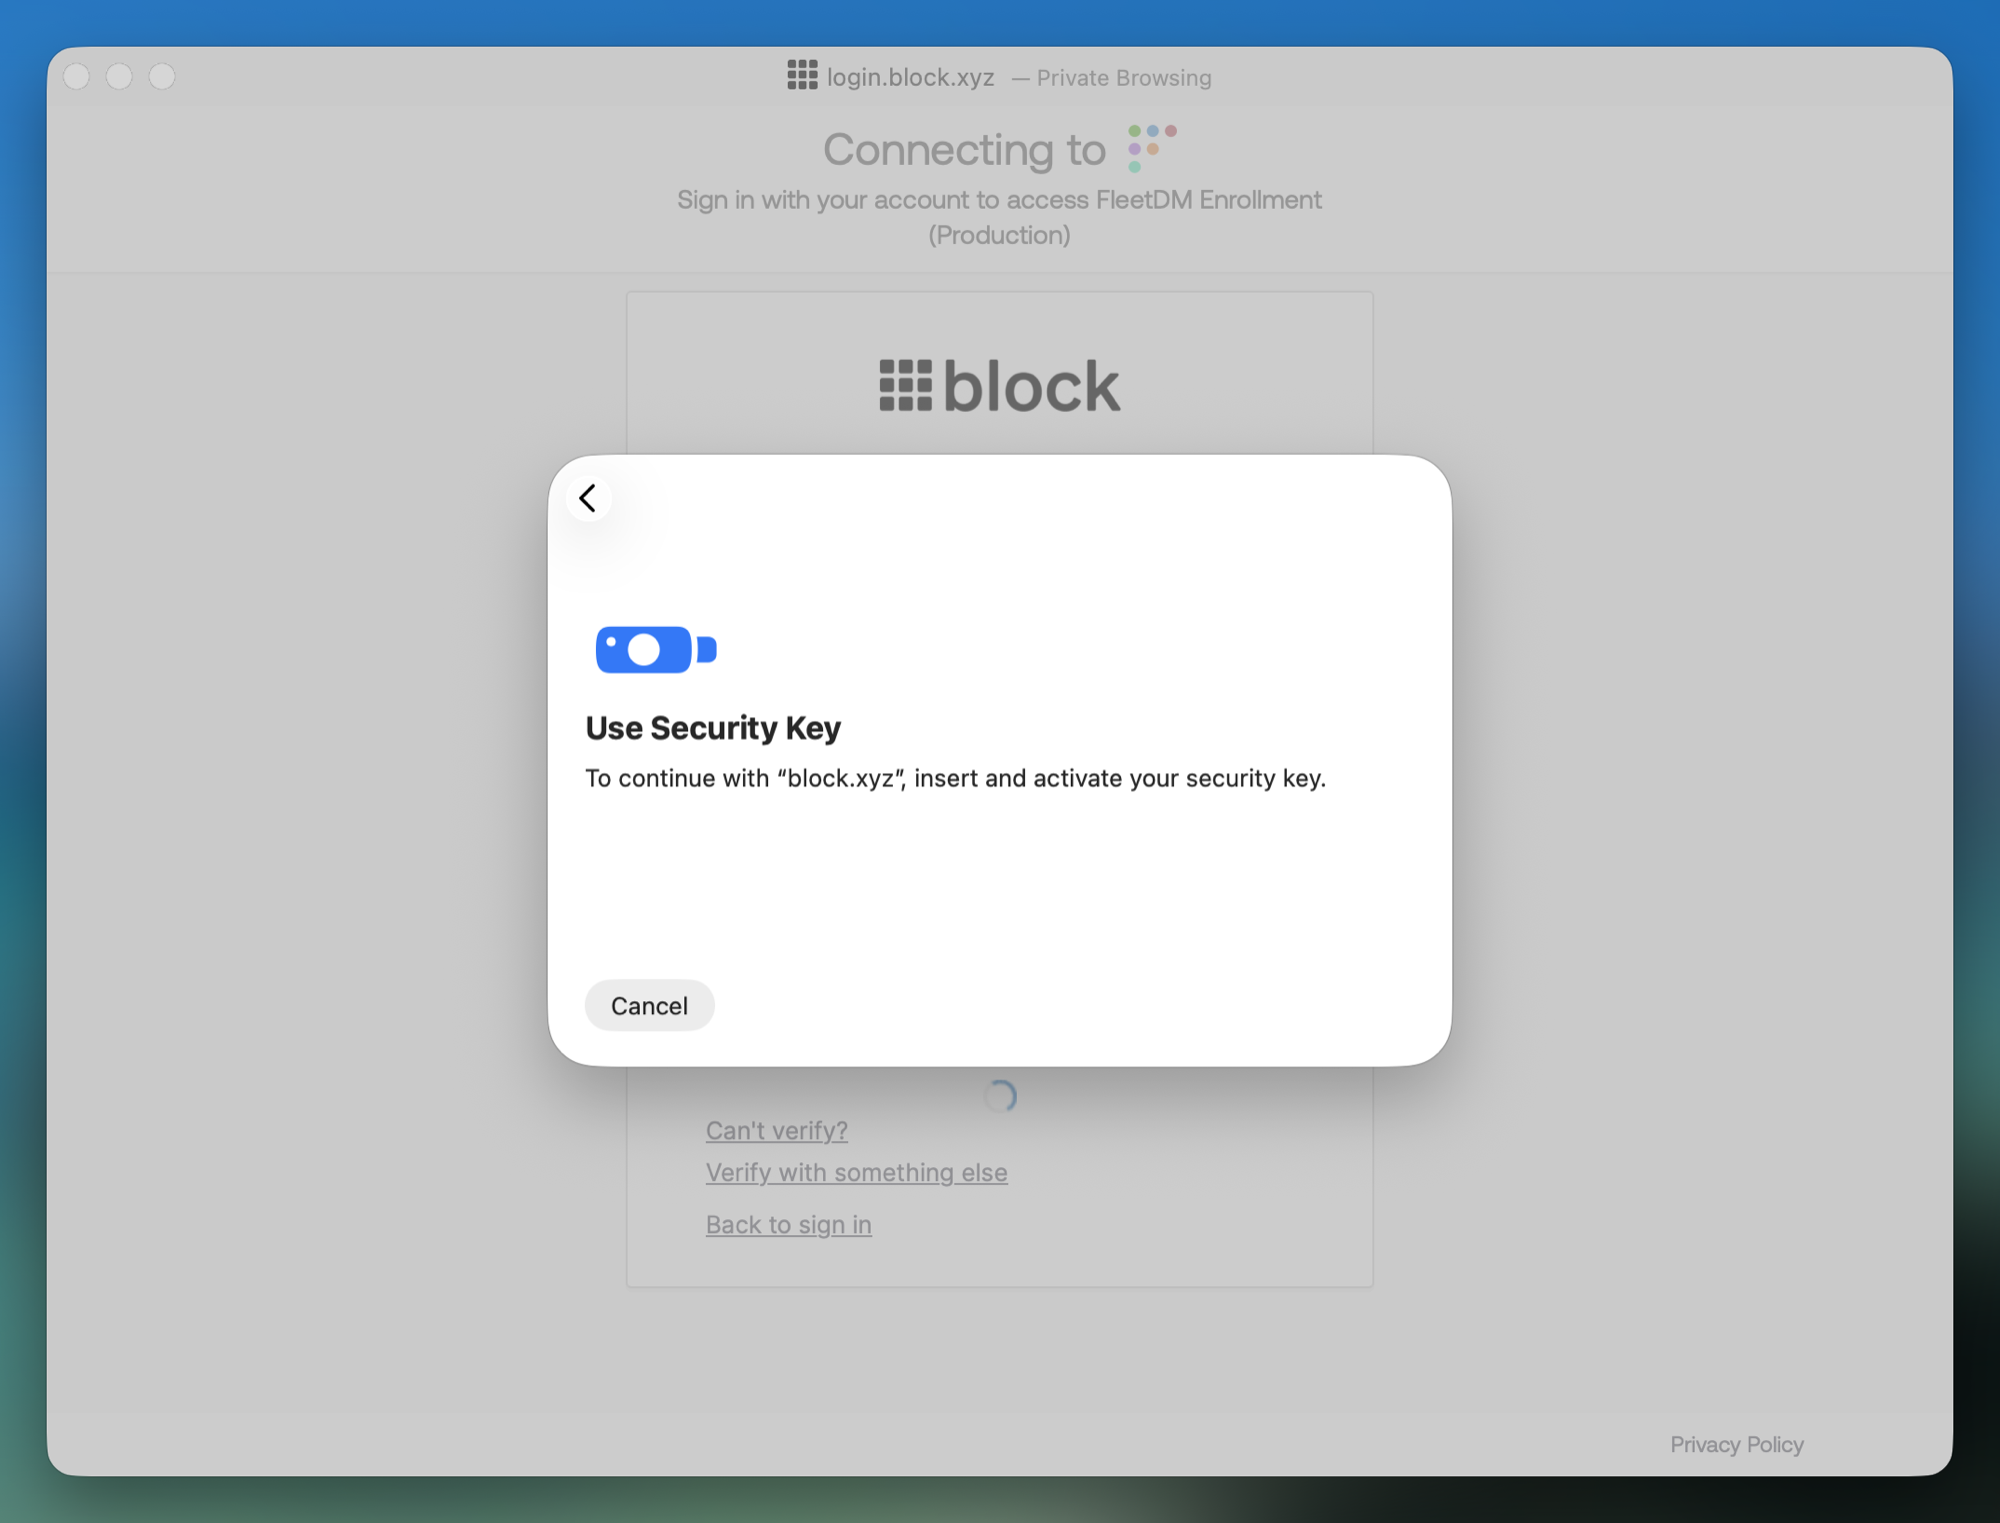
Insert your YubiKey into a USB port on your laptop and tap the metal contact to activate it.
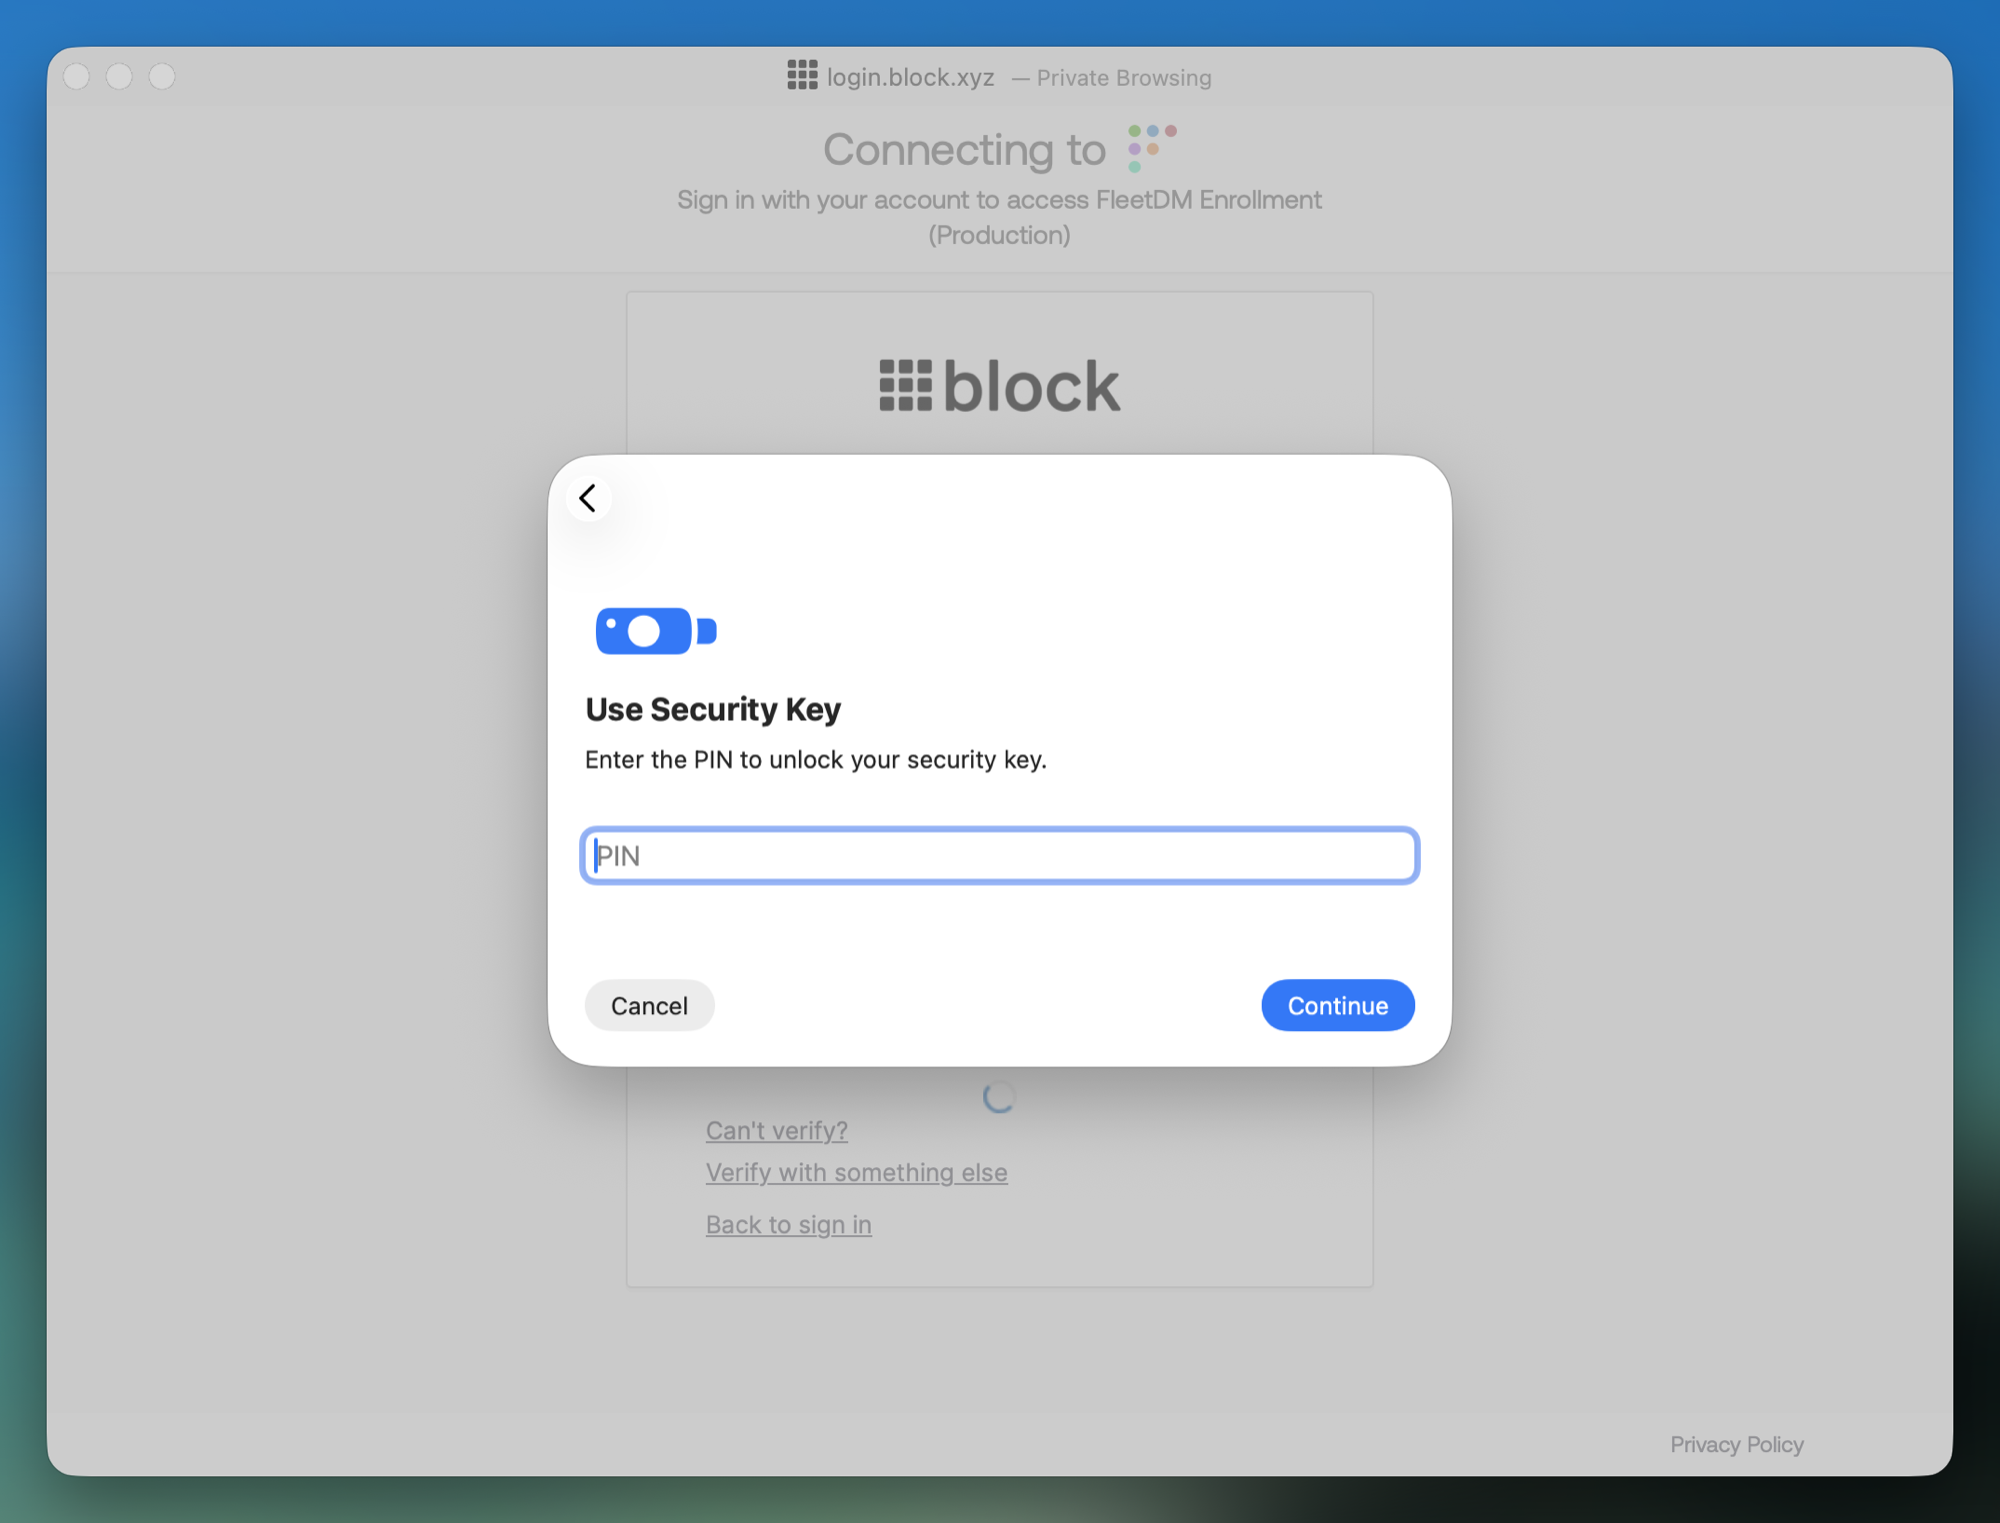
If prompted, set a PIN for your security key (or enter your existing PIN), then click Continue. Remember this PIN — you may need it when using your YubiKey in future.
To finish, tap the metal contact on your YubiKey once more.
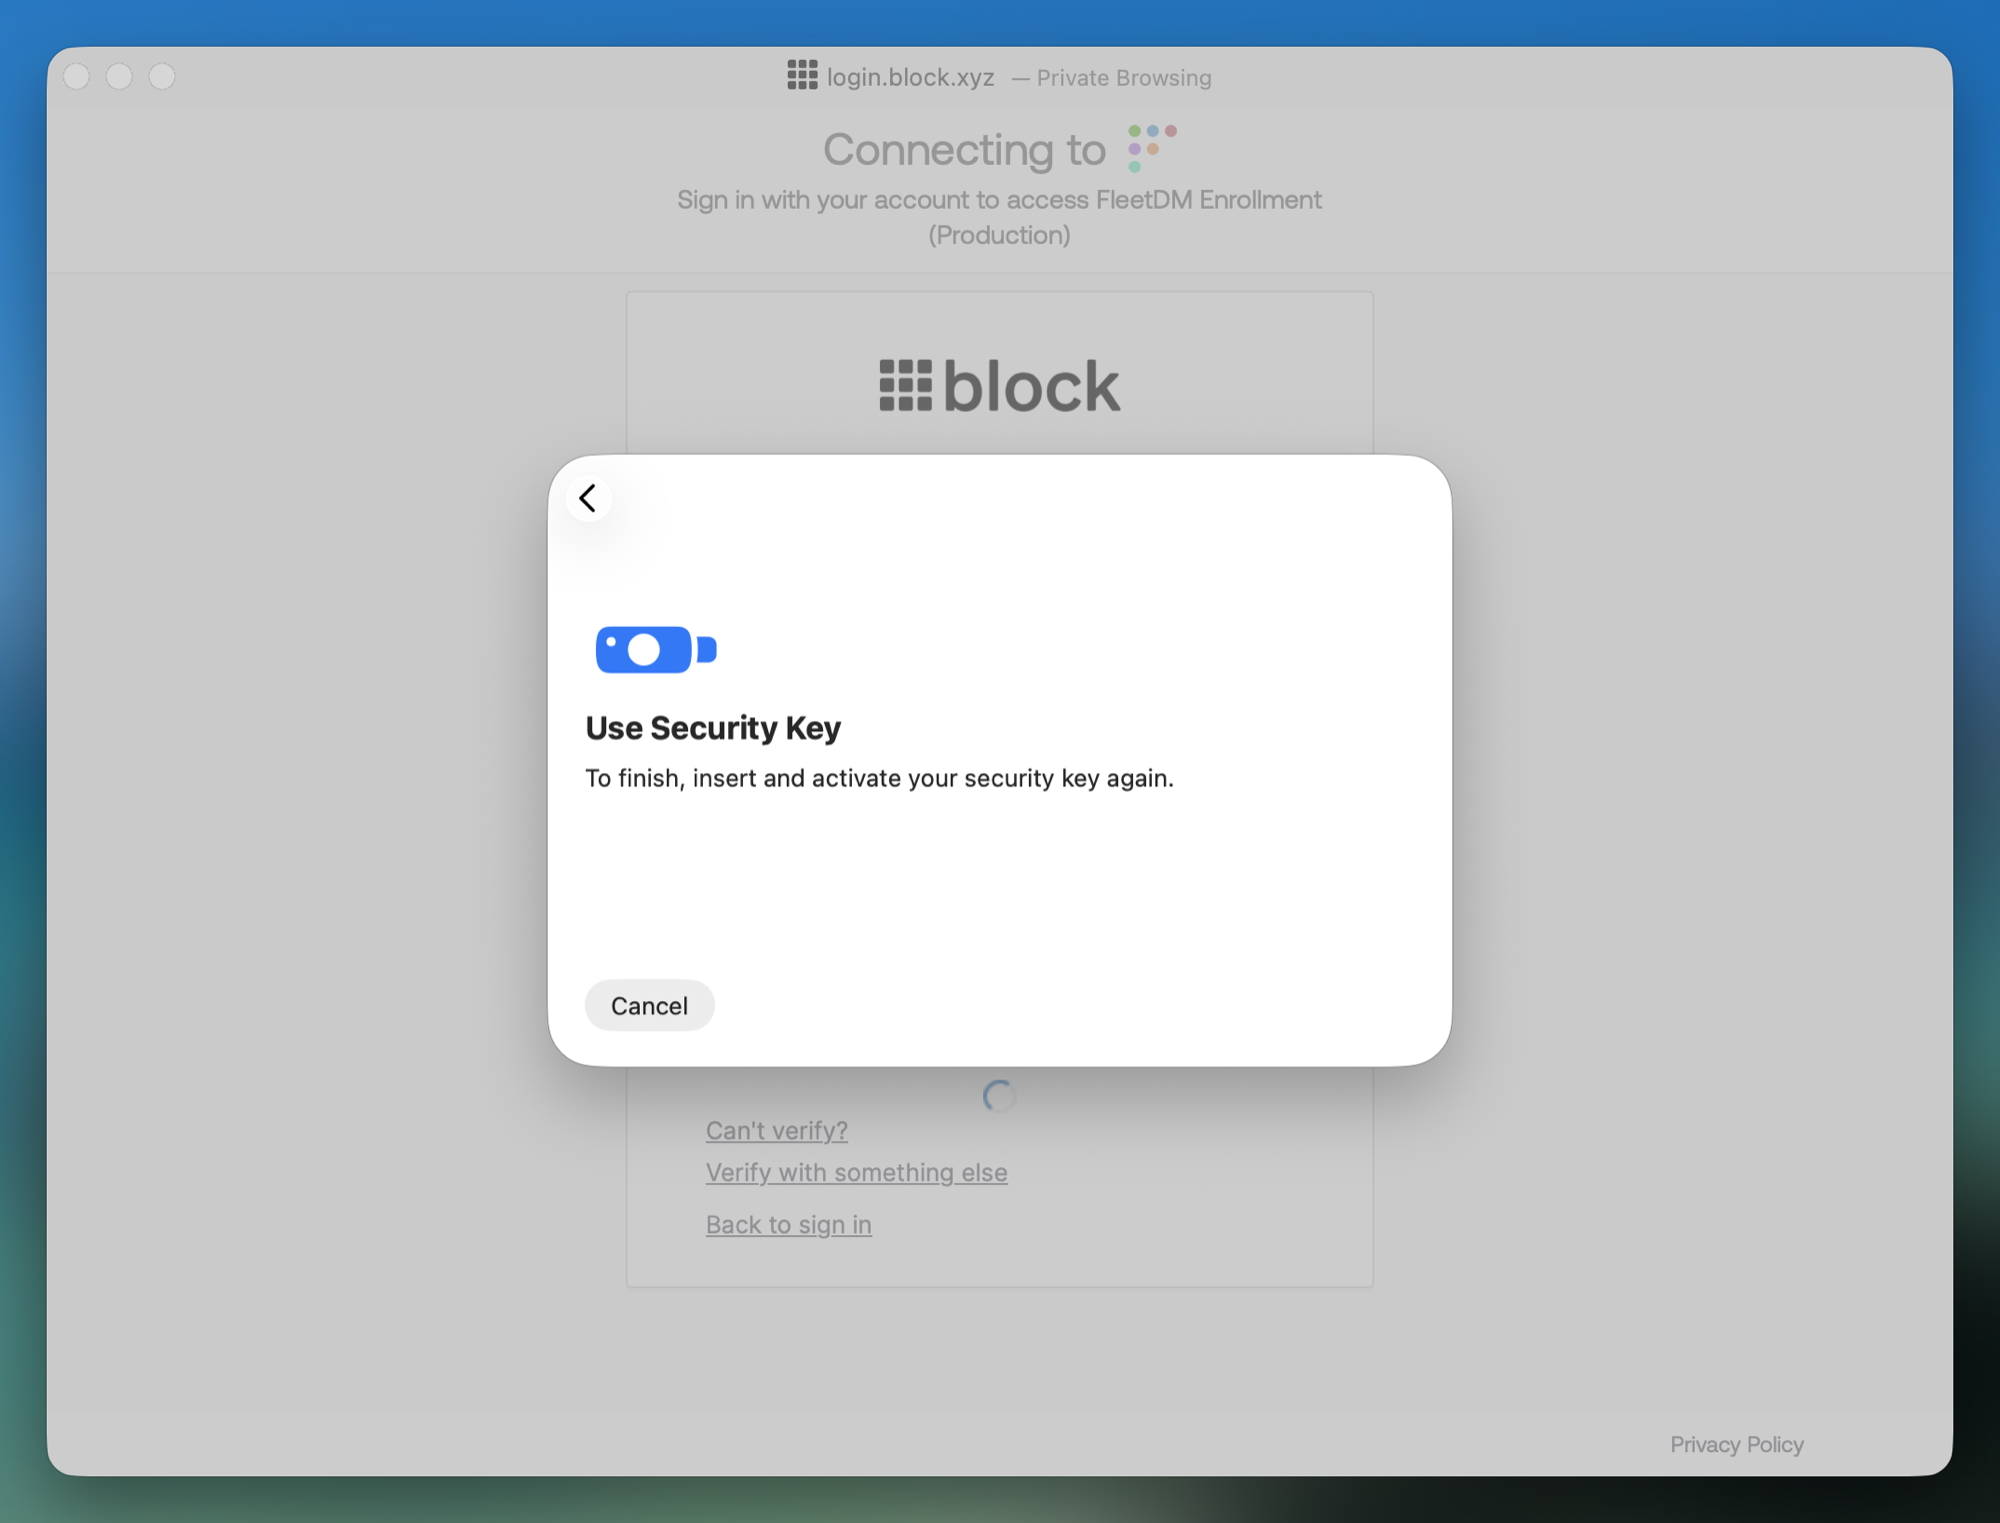
Once your YubiKey has been verified, a Continue button appears — click it. Okta may suggest setting up another security method at this point. You don't need to; just click Continue.
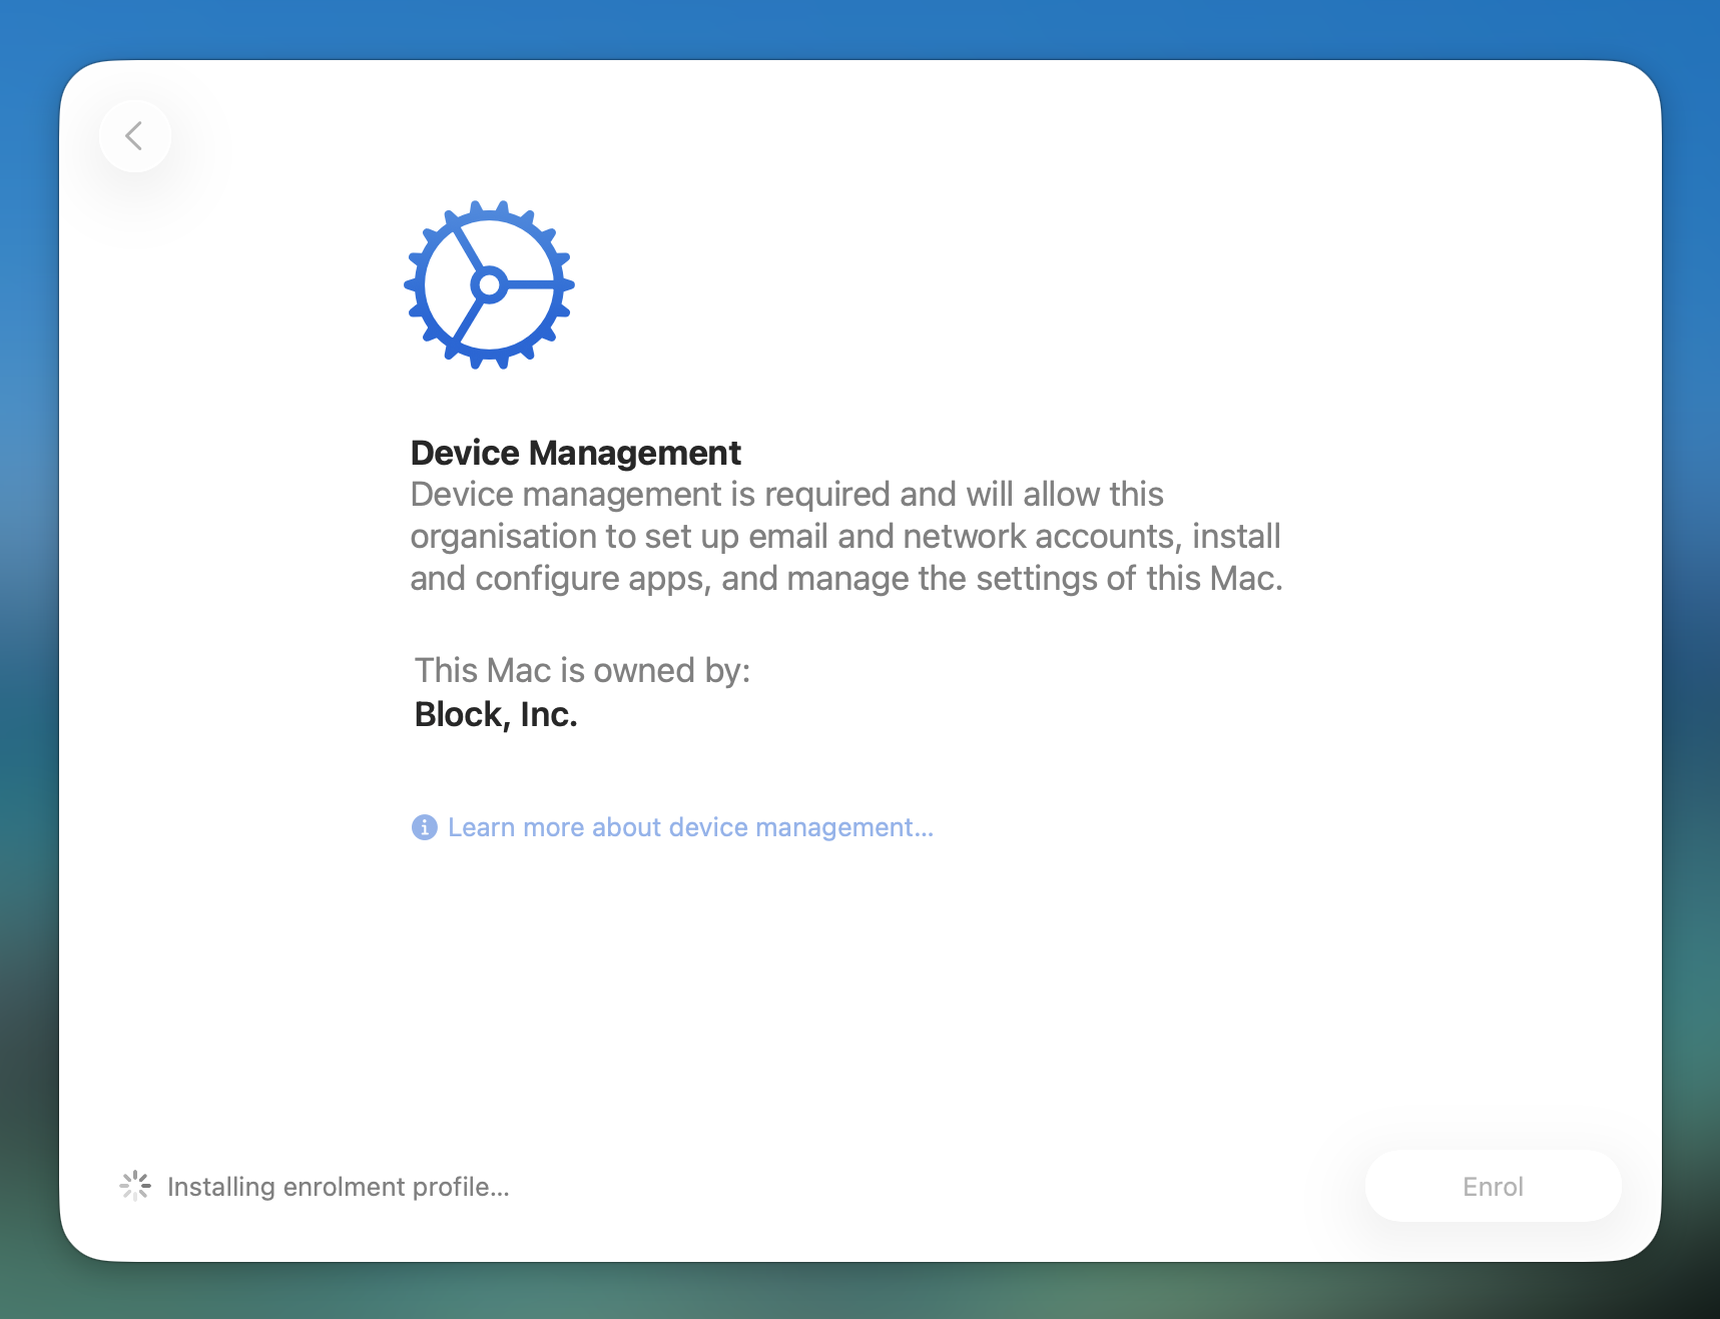
The Device Management screen returns and shows Installing enrolment profile… in the bottom-left corner. Leave it alone — it moves on to account creation by itself.
Create your Mac account
Once the enrolment profile has installed, you'll see a prompt to create a computer account. Your Full Name and Account Name will be pre-filled.
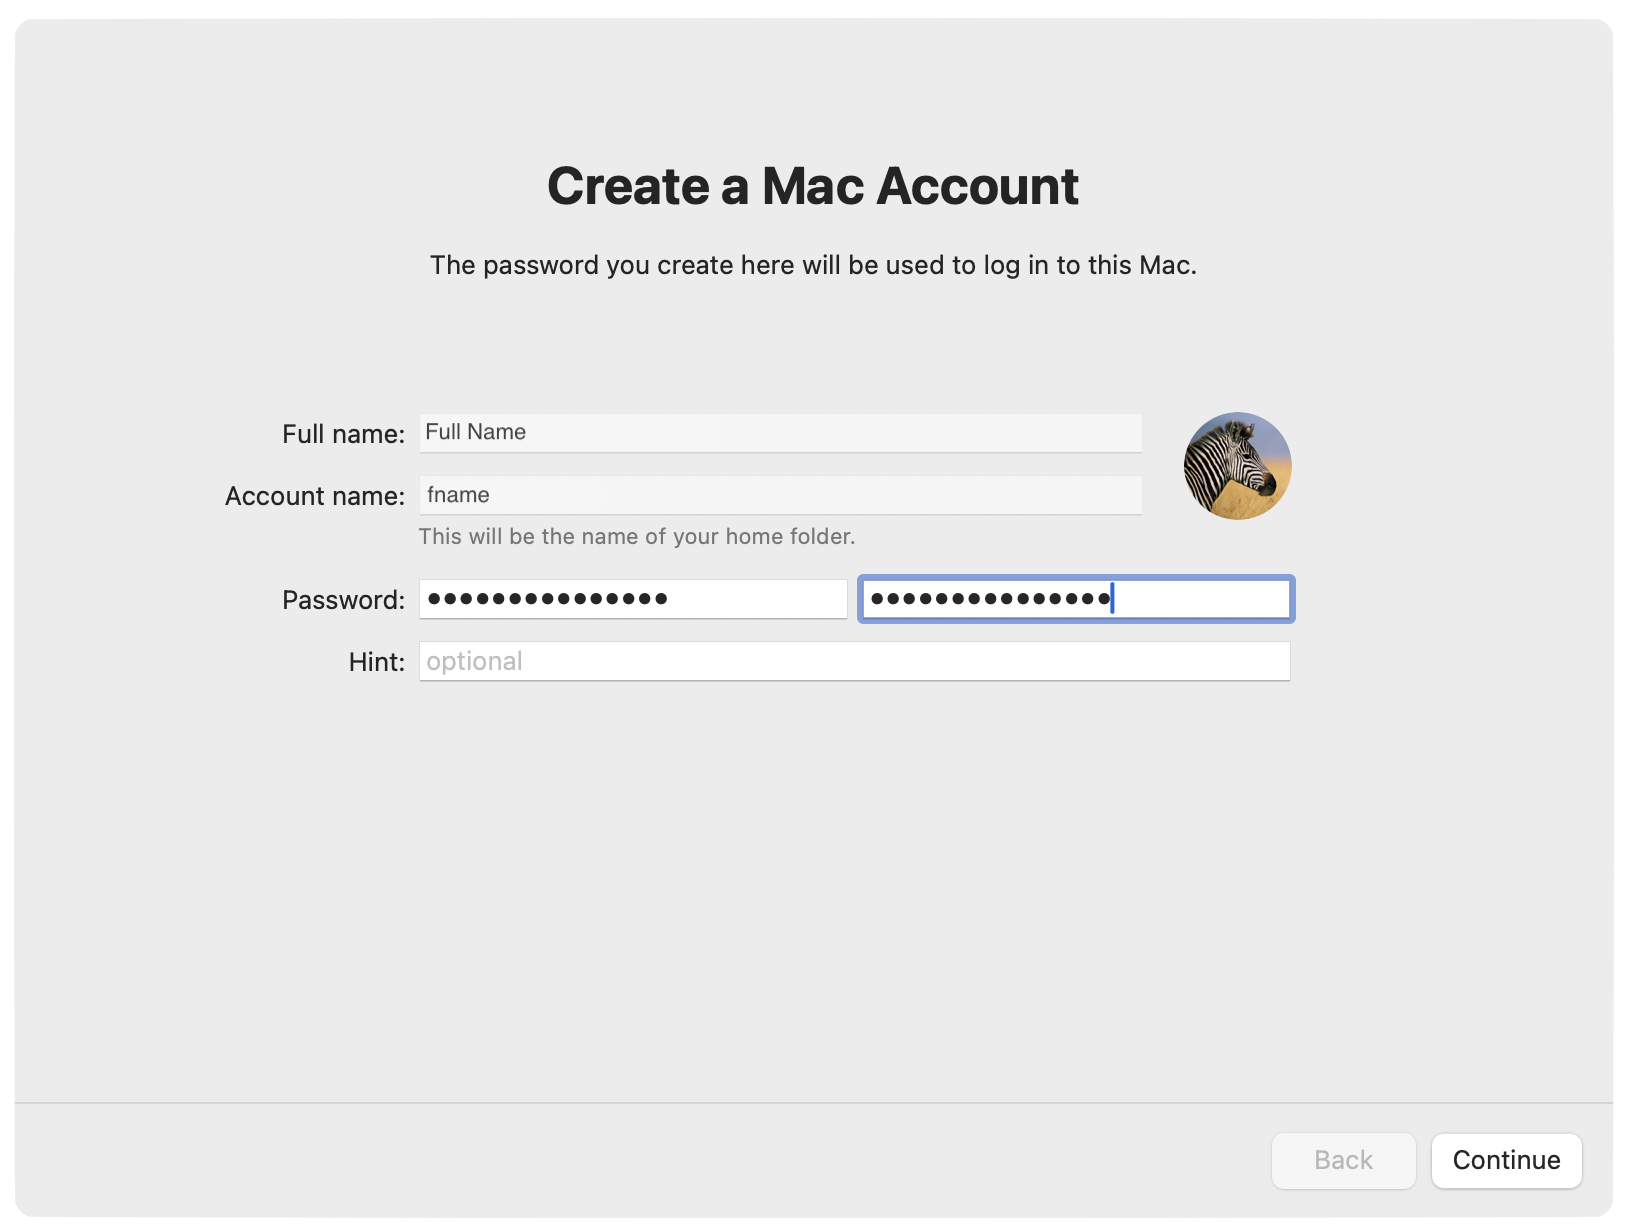
Choose a strong password to unlock your MacBook. We recommend using the same password as your Okta account, but you can choose a different one. We'll refer to this as your Mac/Laptop Password going forward. Leave the password hint field blank — it is not used.
Do not fill out the password hint — it is not used and is never shown on the login screen. Make sure you remember your password.
Finishing touches
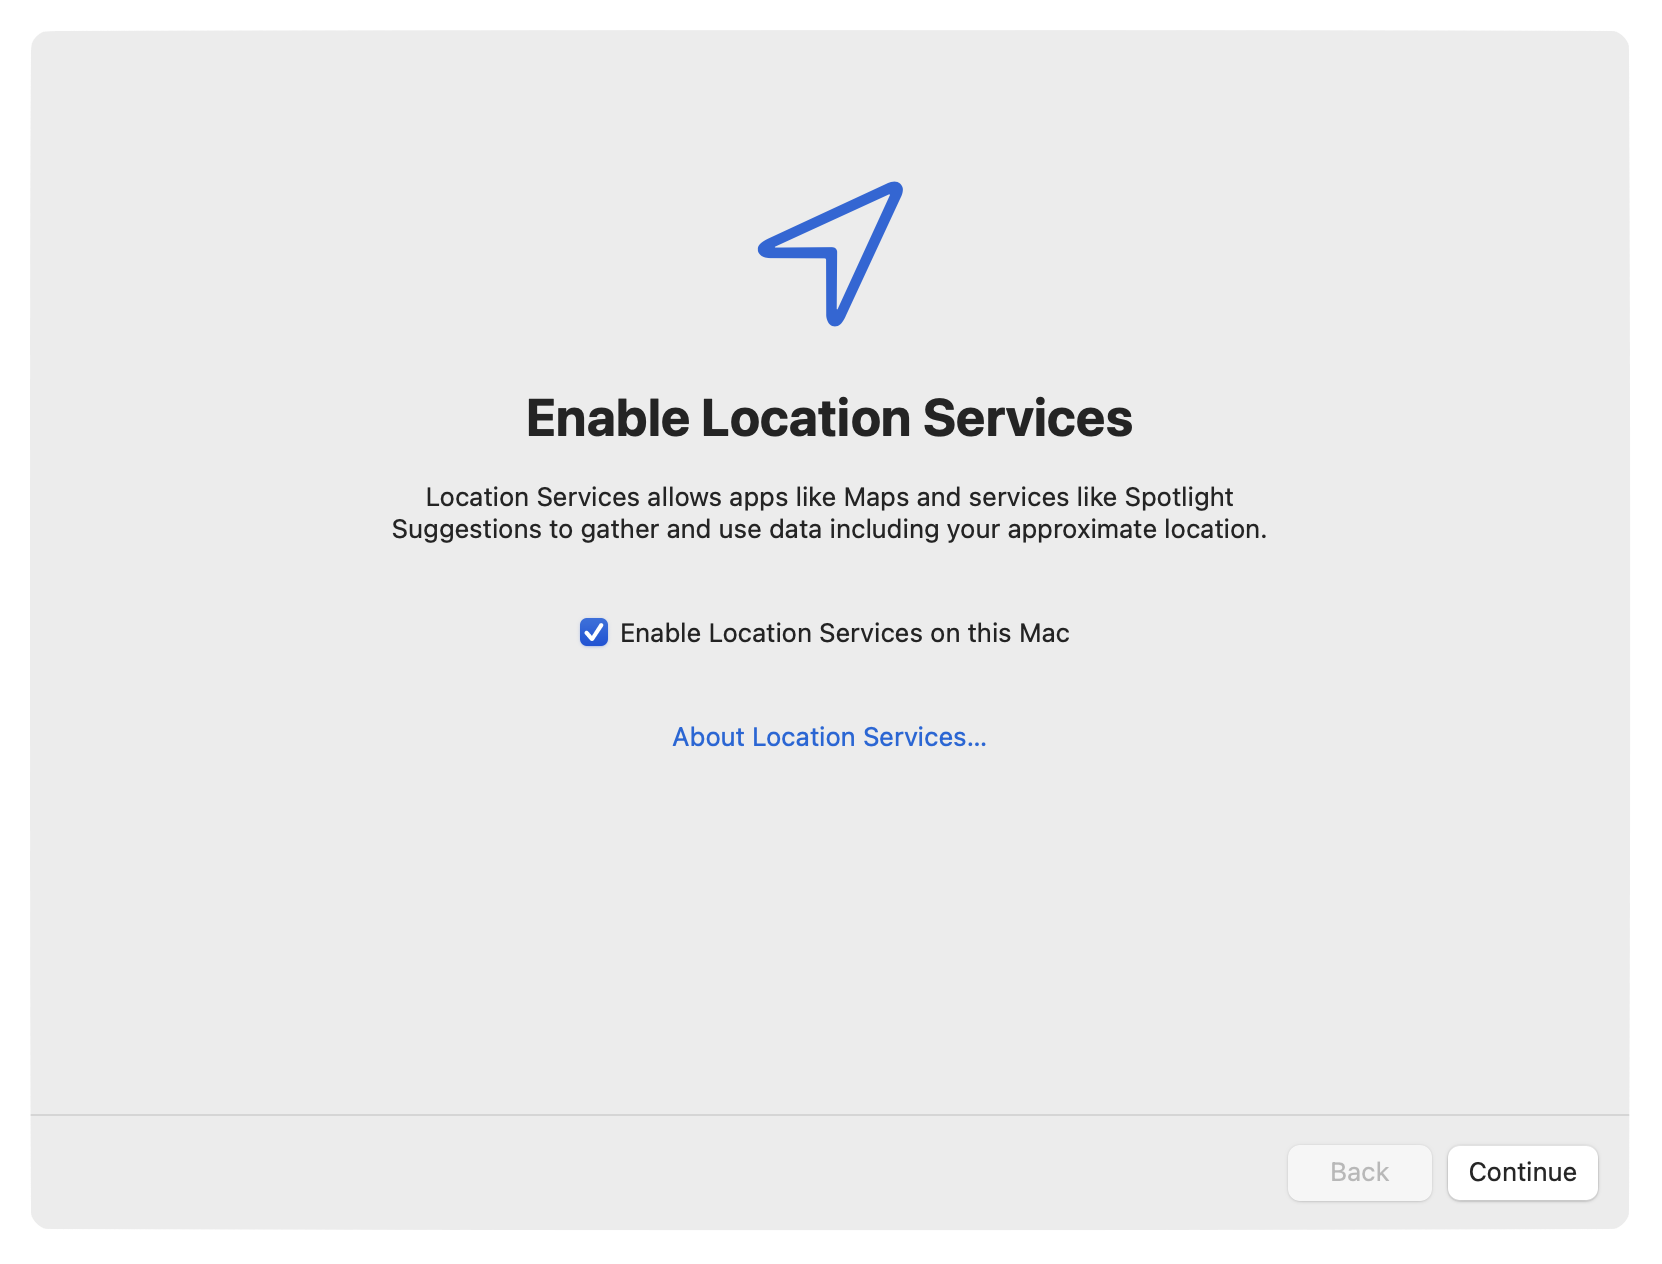
Tick Enable Location Services on this Mac rather than setting your time zone manually. Block applications are time-dependent and may not work properly if your clock or time zone is wrong.
This is optional but recommended for a faster daily login experience. You'll still be asked for your Mac password periodically, even with Touch ID enabled.

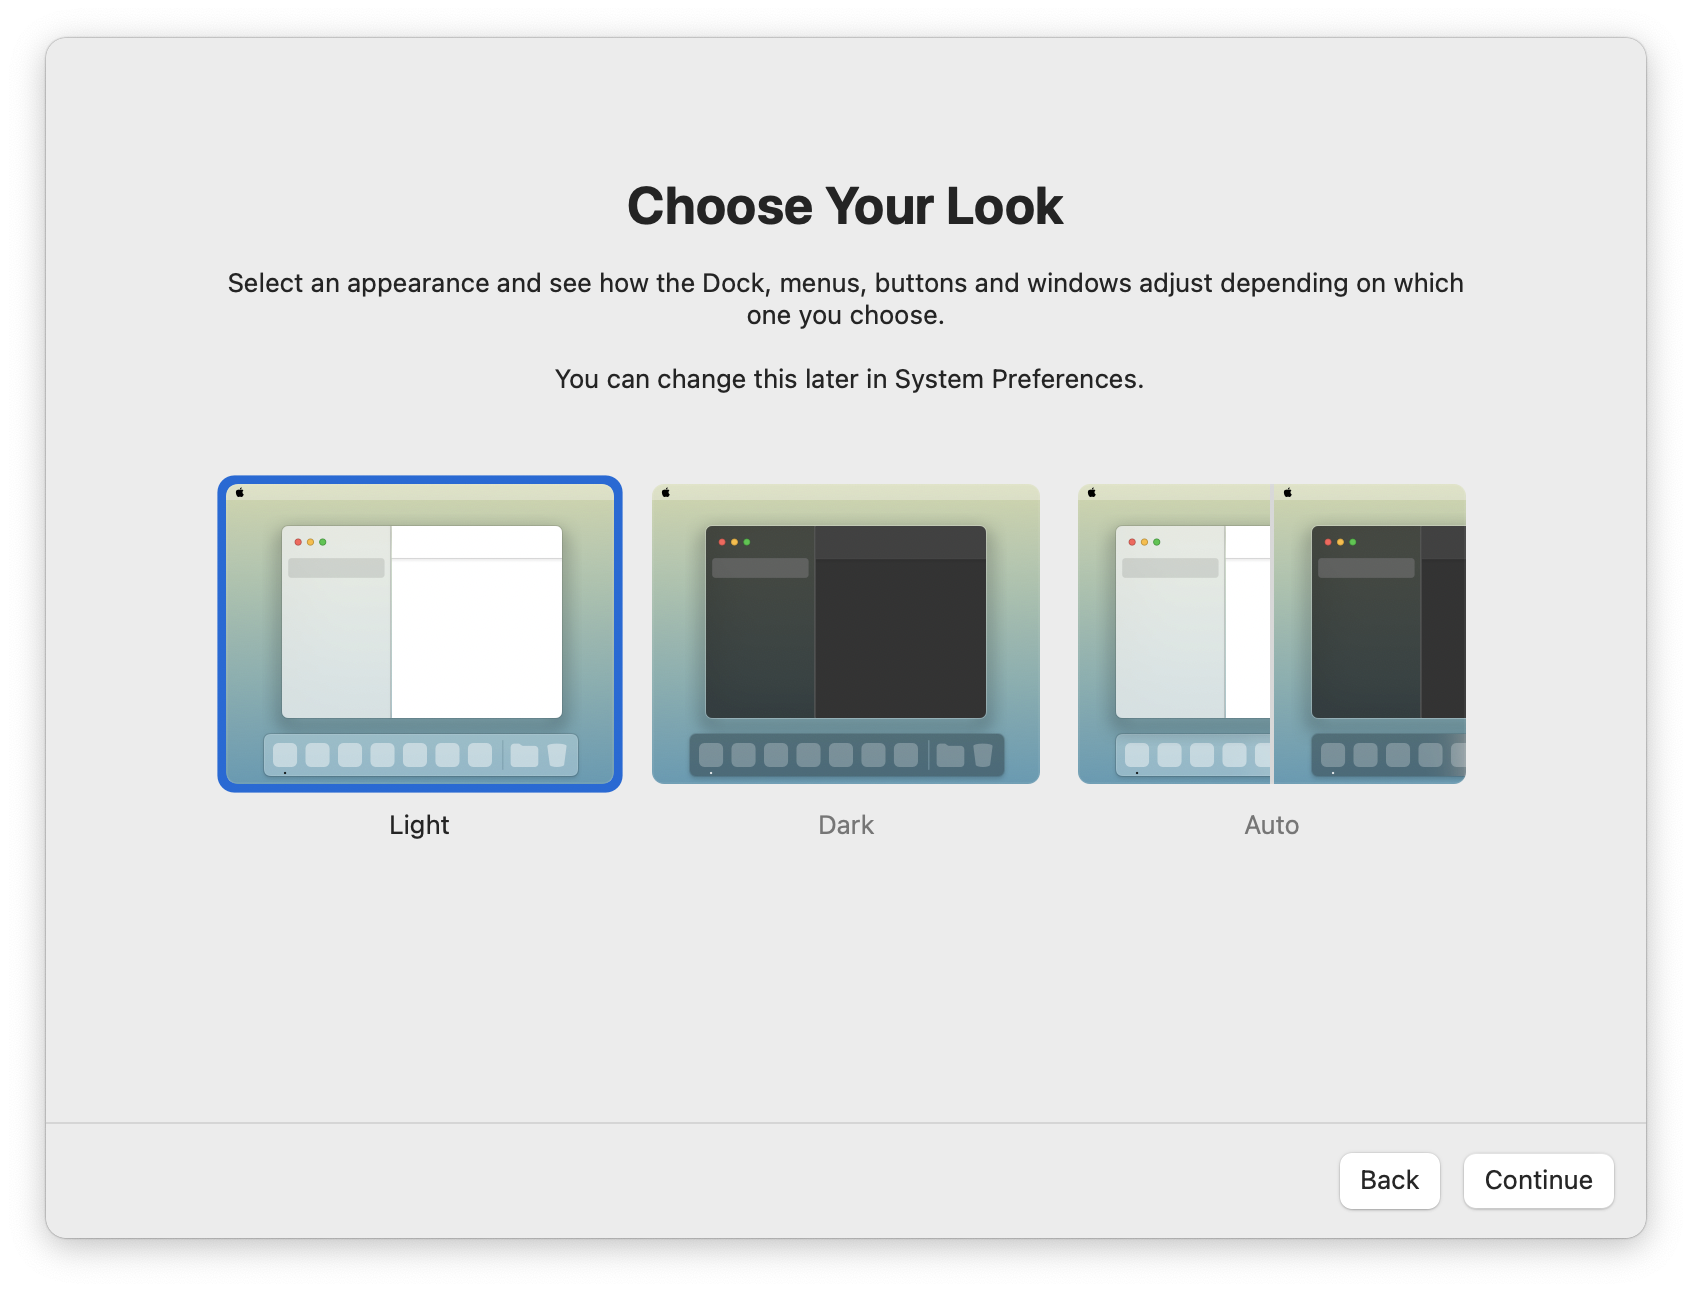
Pick Light or Dark mode. You can always change this later in System Settings.
After clicking through any remaining screens, you'll arrive at the macOS desktop, where Block's automated setup will start on its own. Next we'll install the software you need.
