Check Chrome is your default browser
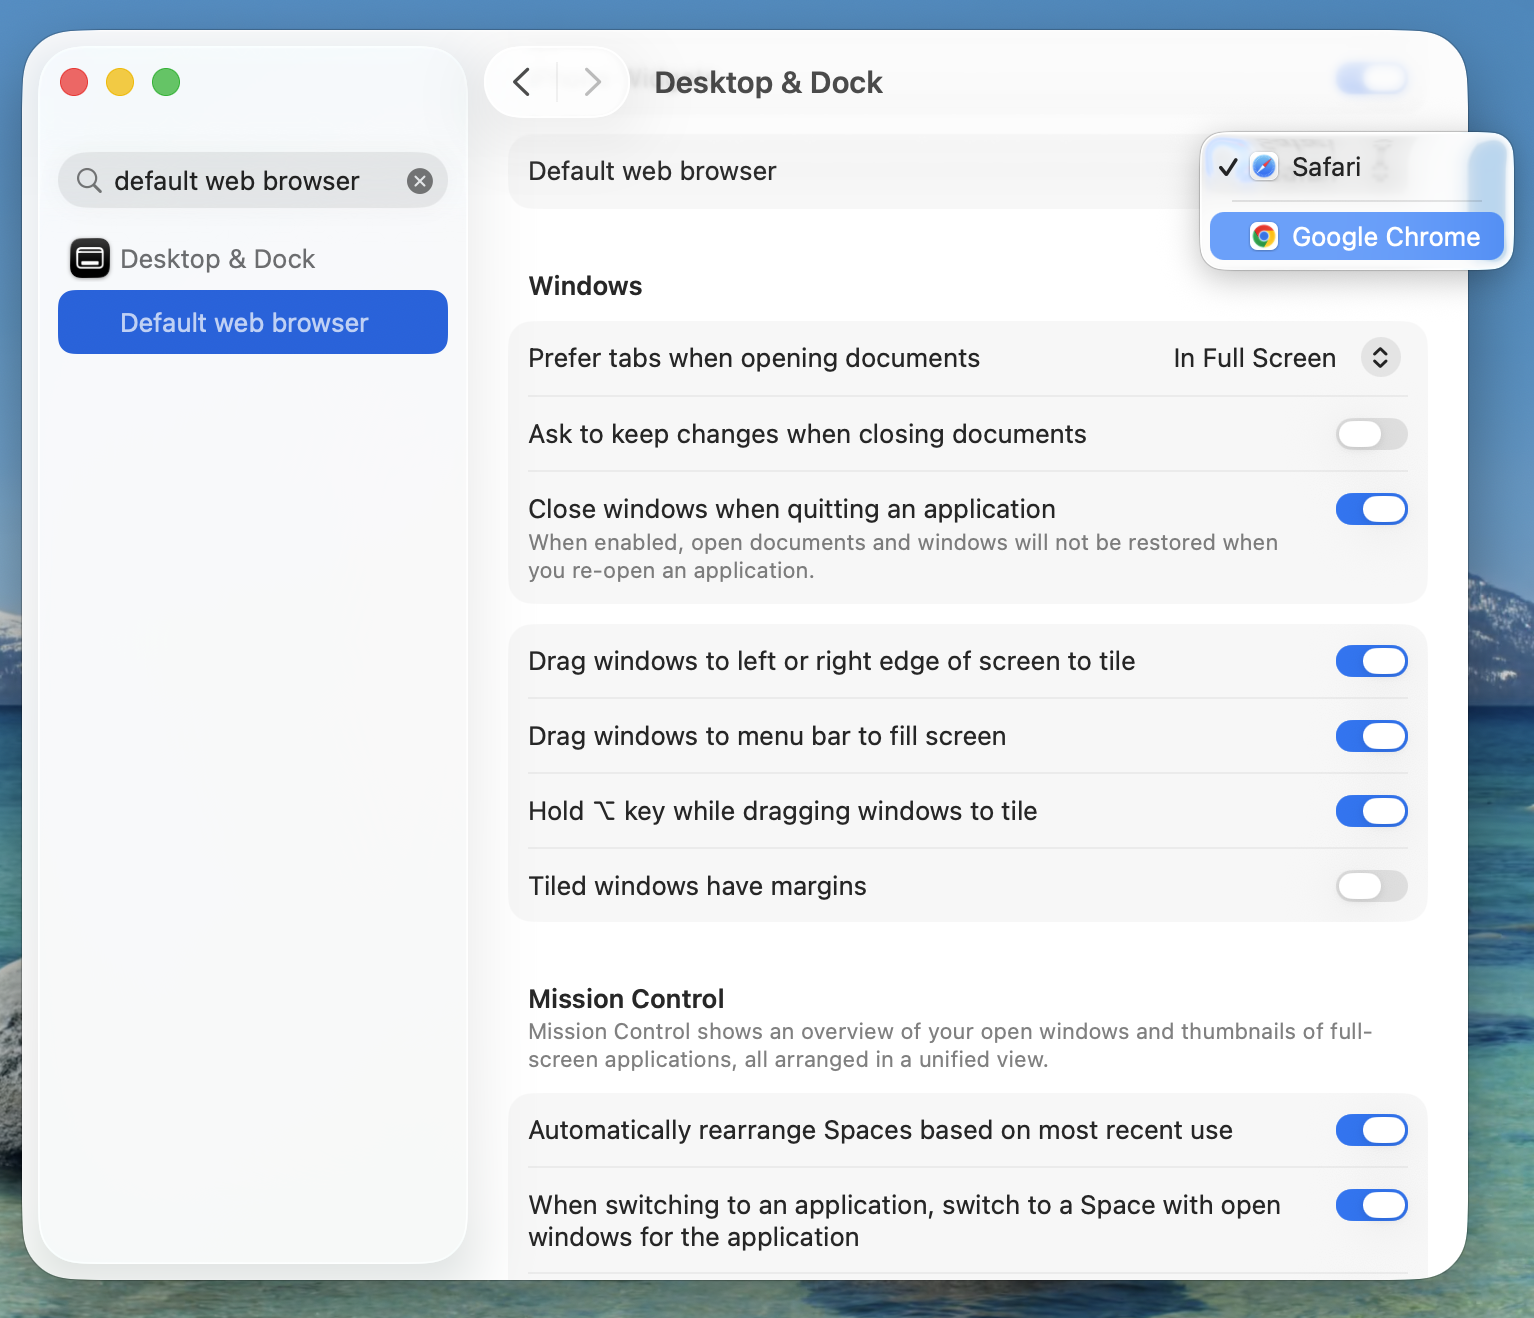
Signing in to Okta FastPass will open your web browser. Google Chrome is usually set as your default automatically, but it's worth checking first.
Click the Apple menu in the top-left corner of your screen, then choose System Settings.
Type Default web browser in the search bar and select the result. If it already says Google Chrome, you're set. If not, change it to Google Chrome.
Set up Okta FastPass
Okta FastPass provides quick, secure sign-in and helps protect you from phishing. Let's set it up before configuring Google Chrome.
Do not install it from the App Store. Okta Verify must be installed through the Managed Software Center. Go back to Software Installation if you haven't completed that step.
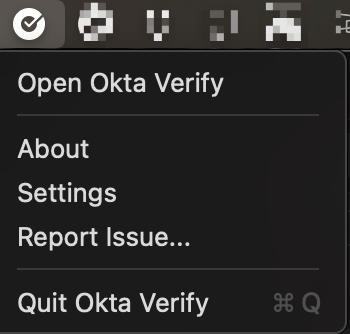
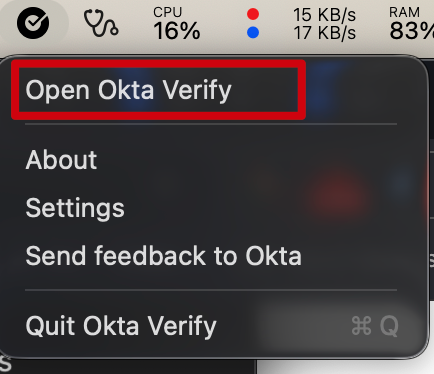
Click the Okta Verify icon in the menu bar at the top-right of your screen, then click Open Okta Verify.

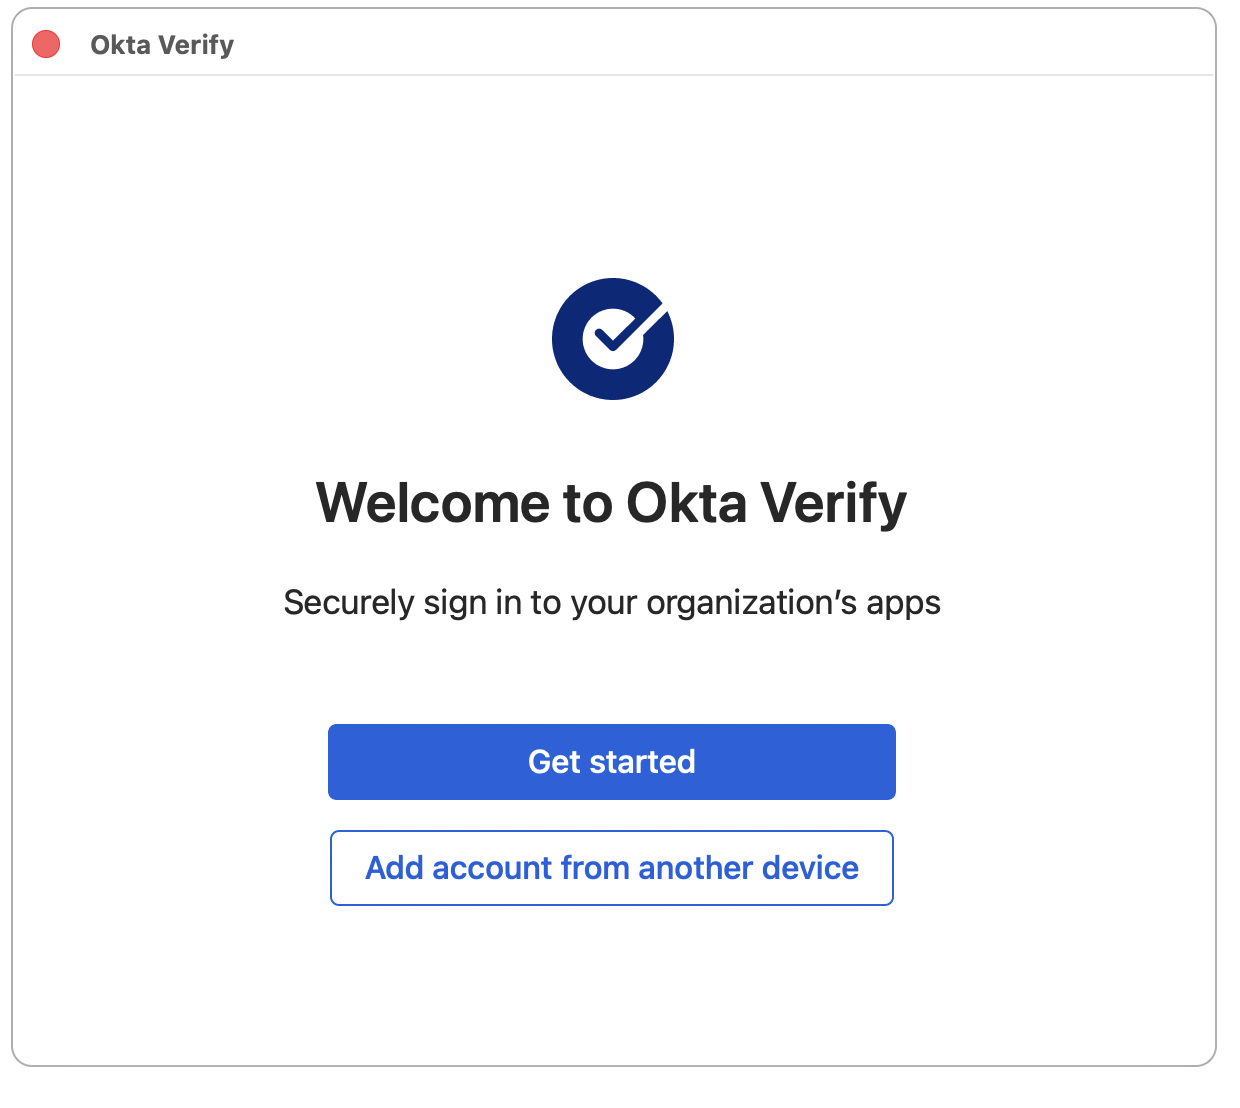
Okta Verify opens on its welcome screen. Open the option below that matches what you have.
🔑 I have a YubiKey
On some versions this button says Sign In.
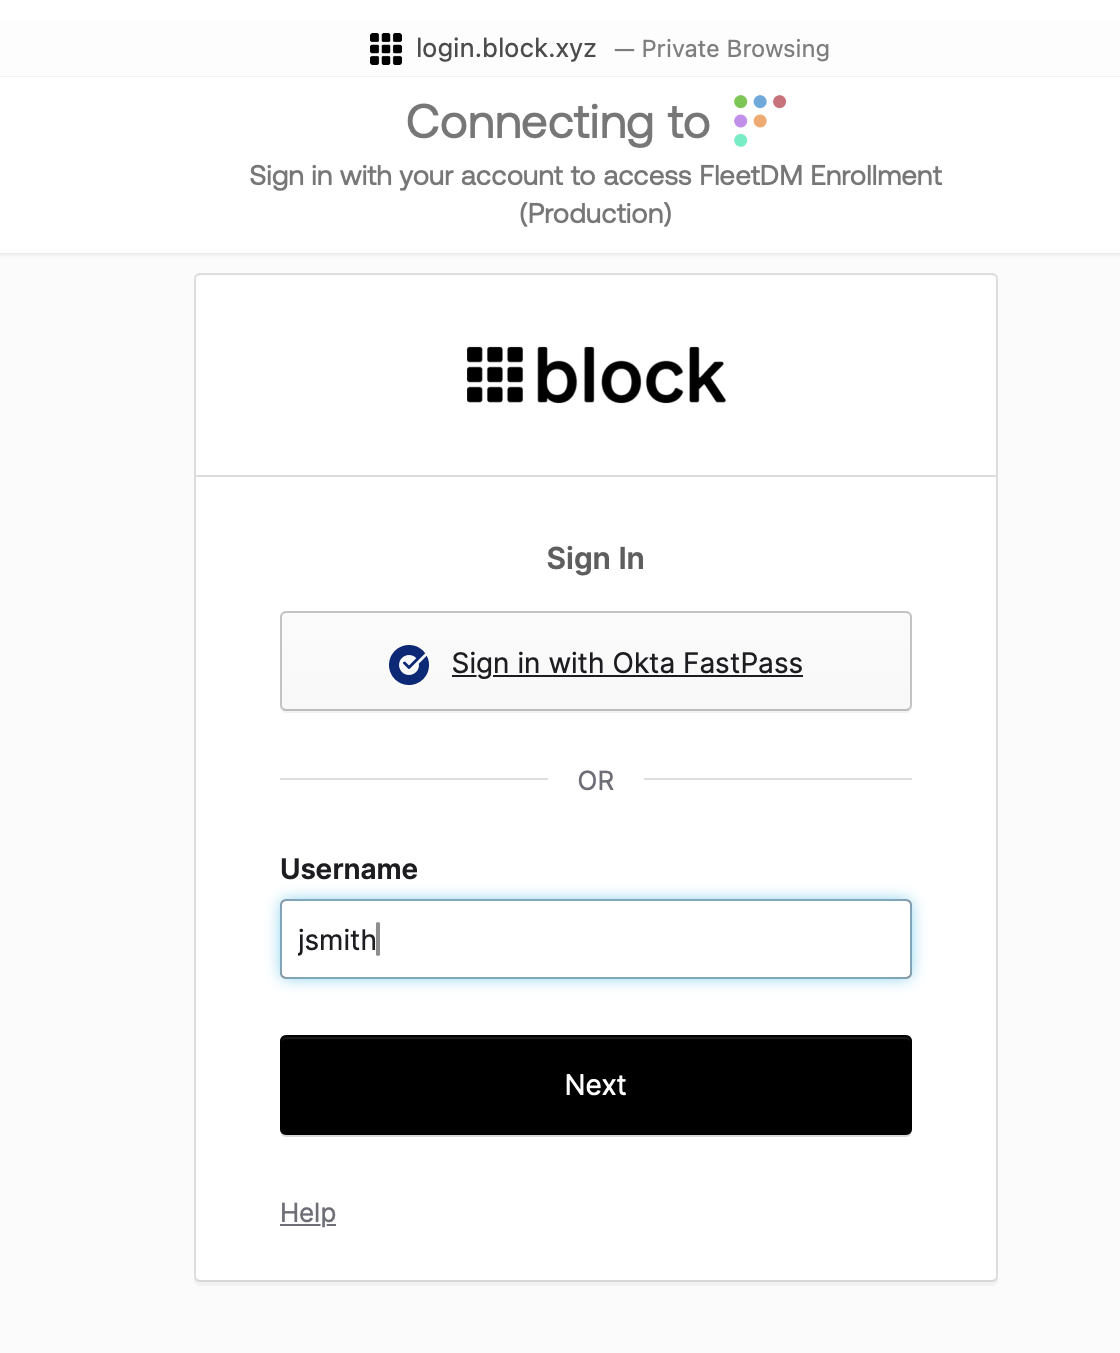
When asked for your organization's sign-in URL, enter login.block.xyz and click Next.
Then click Sign In.
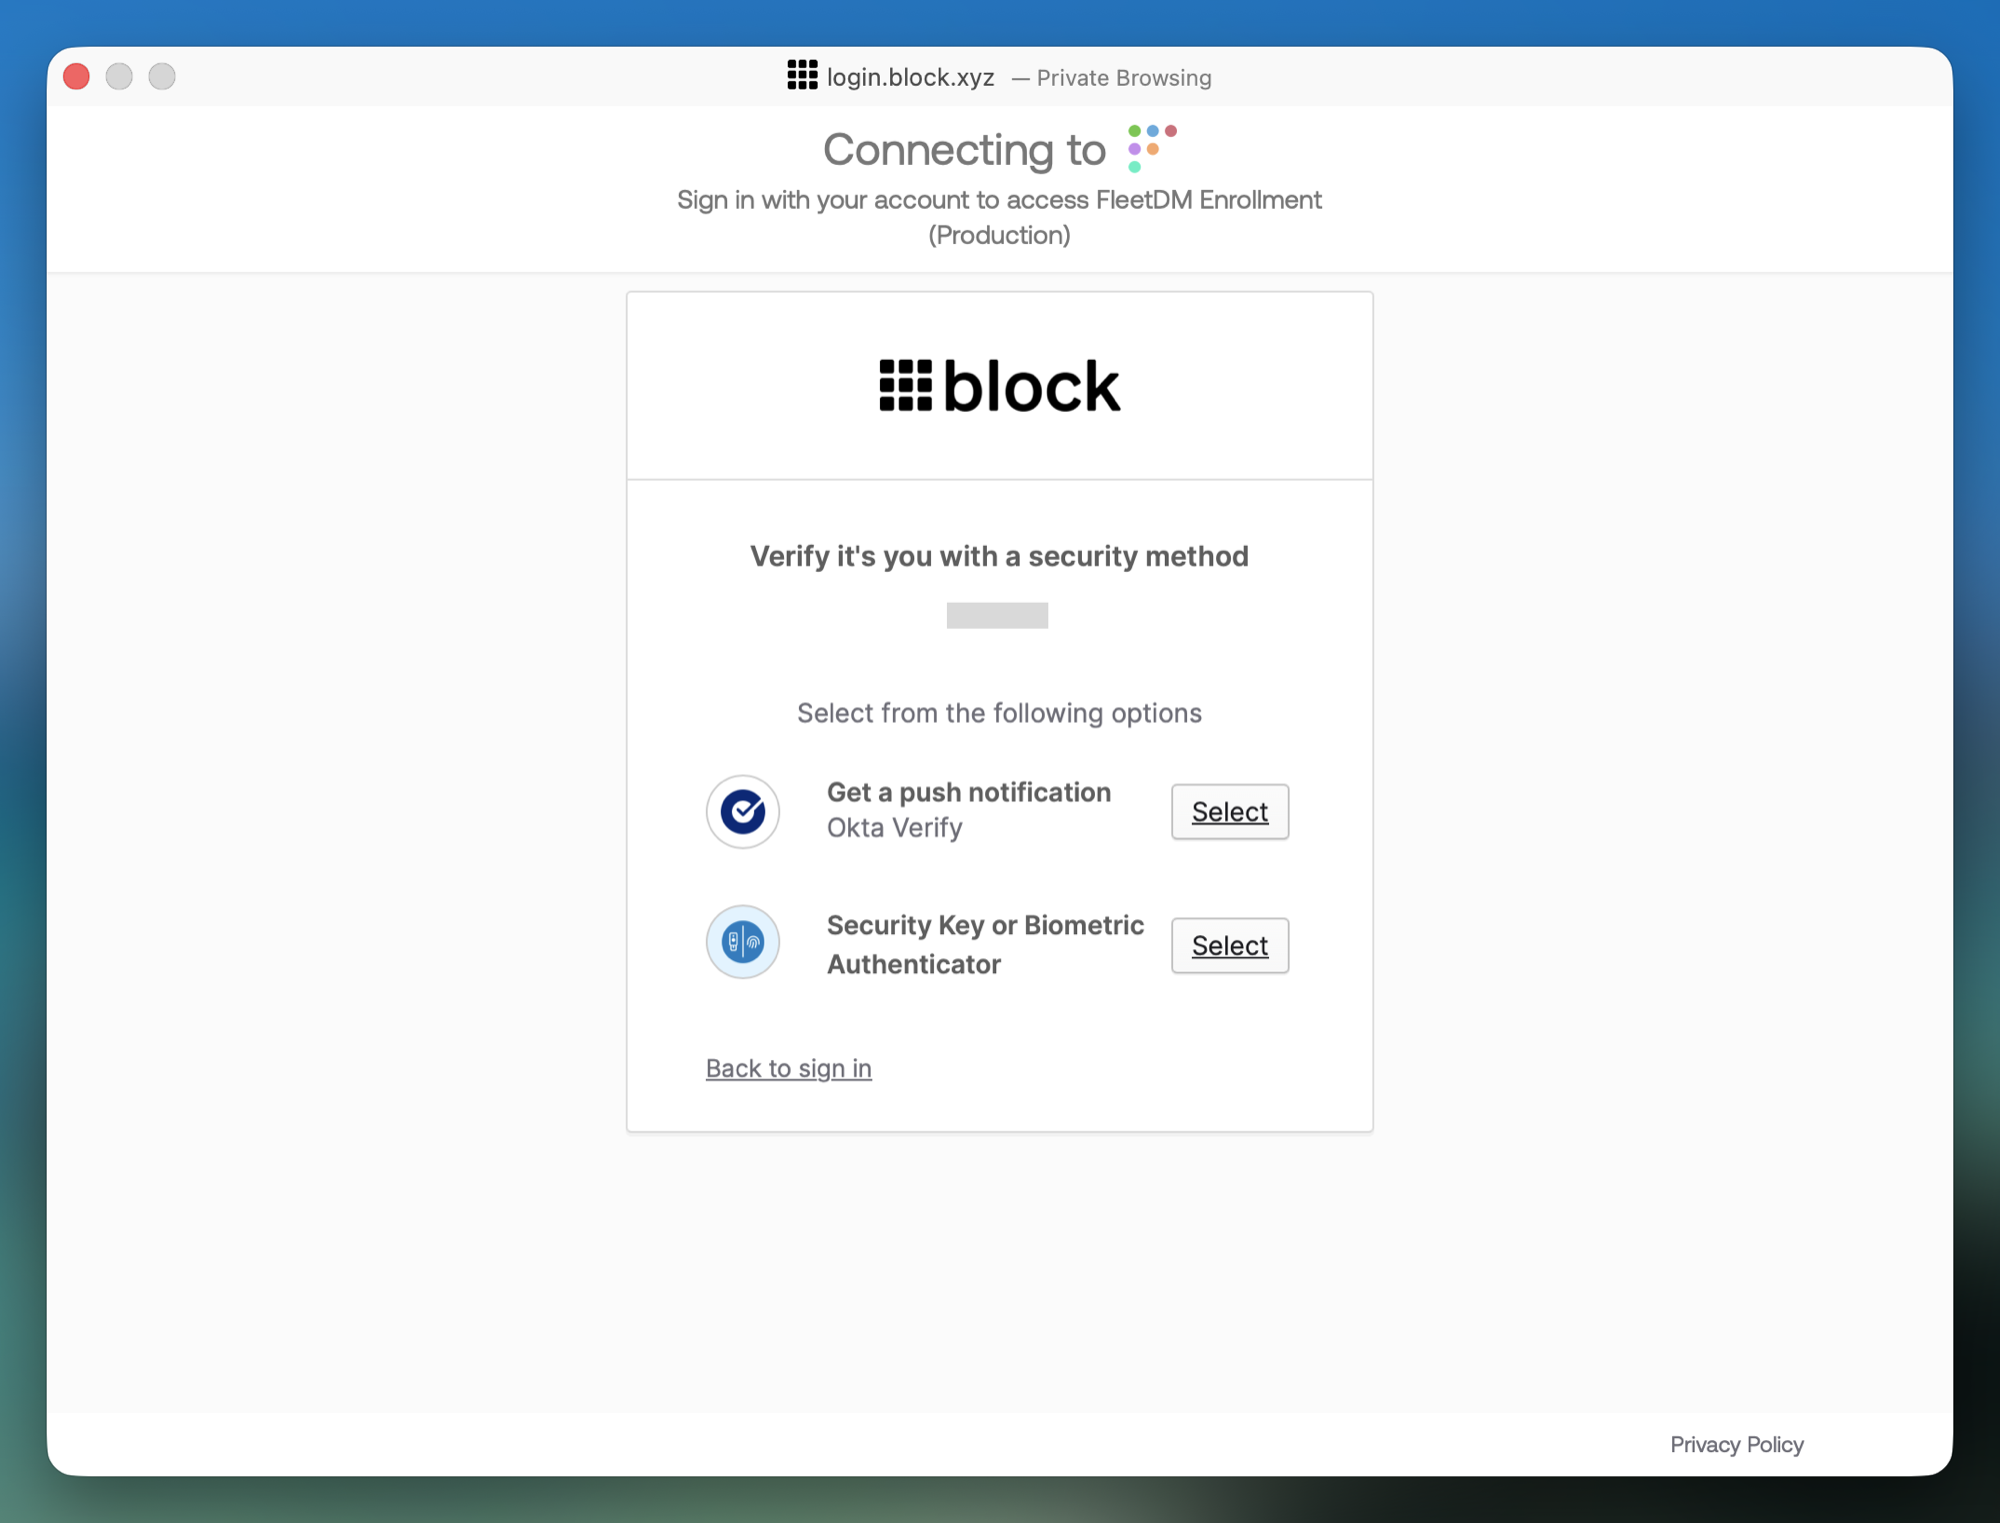
When asked to verify it's you, find Security Key or Biometric Authenticator and click Select.
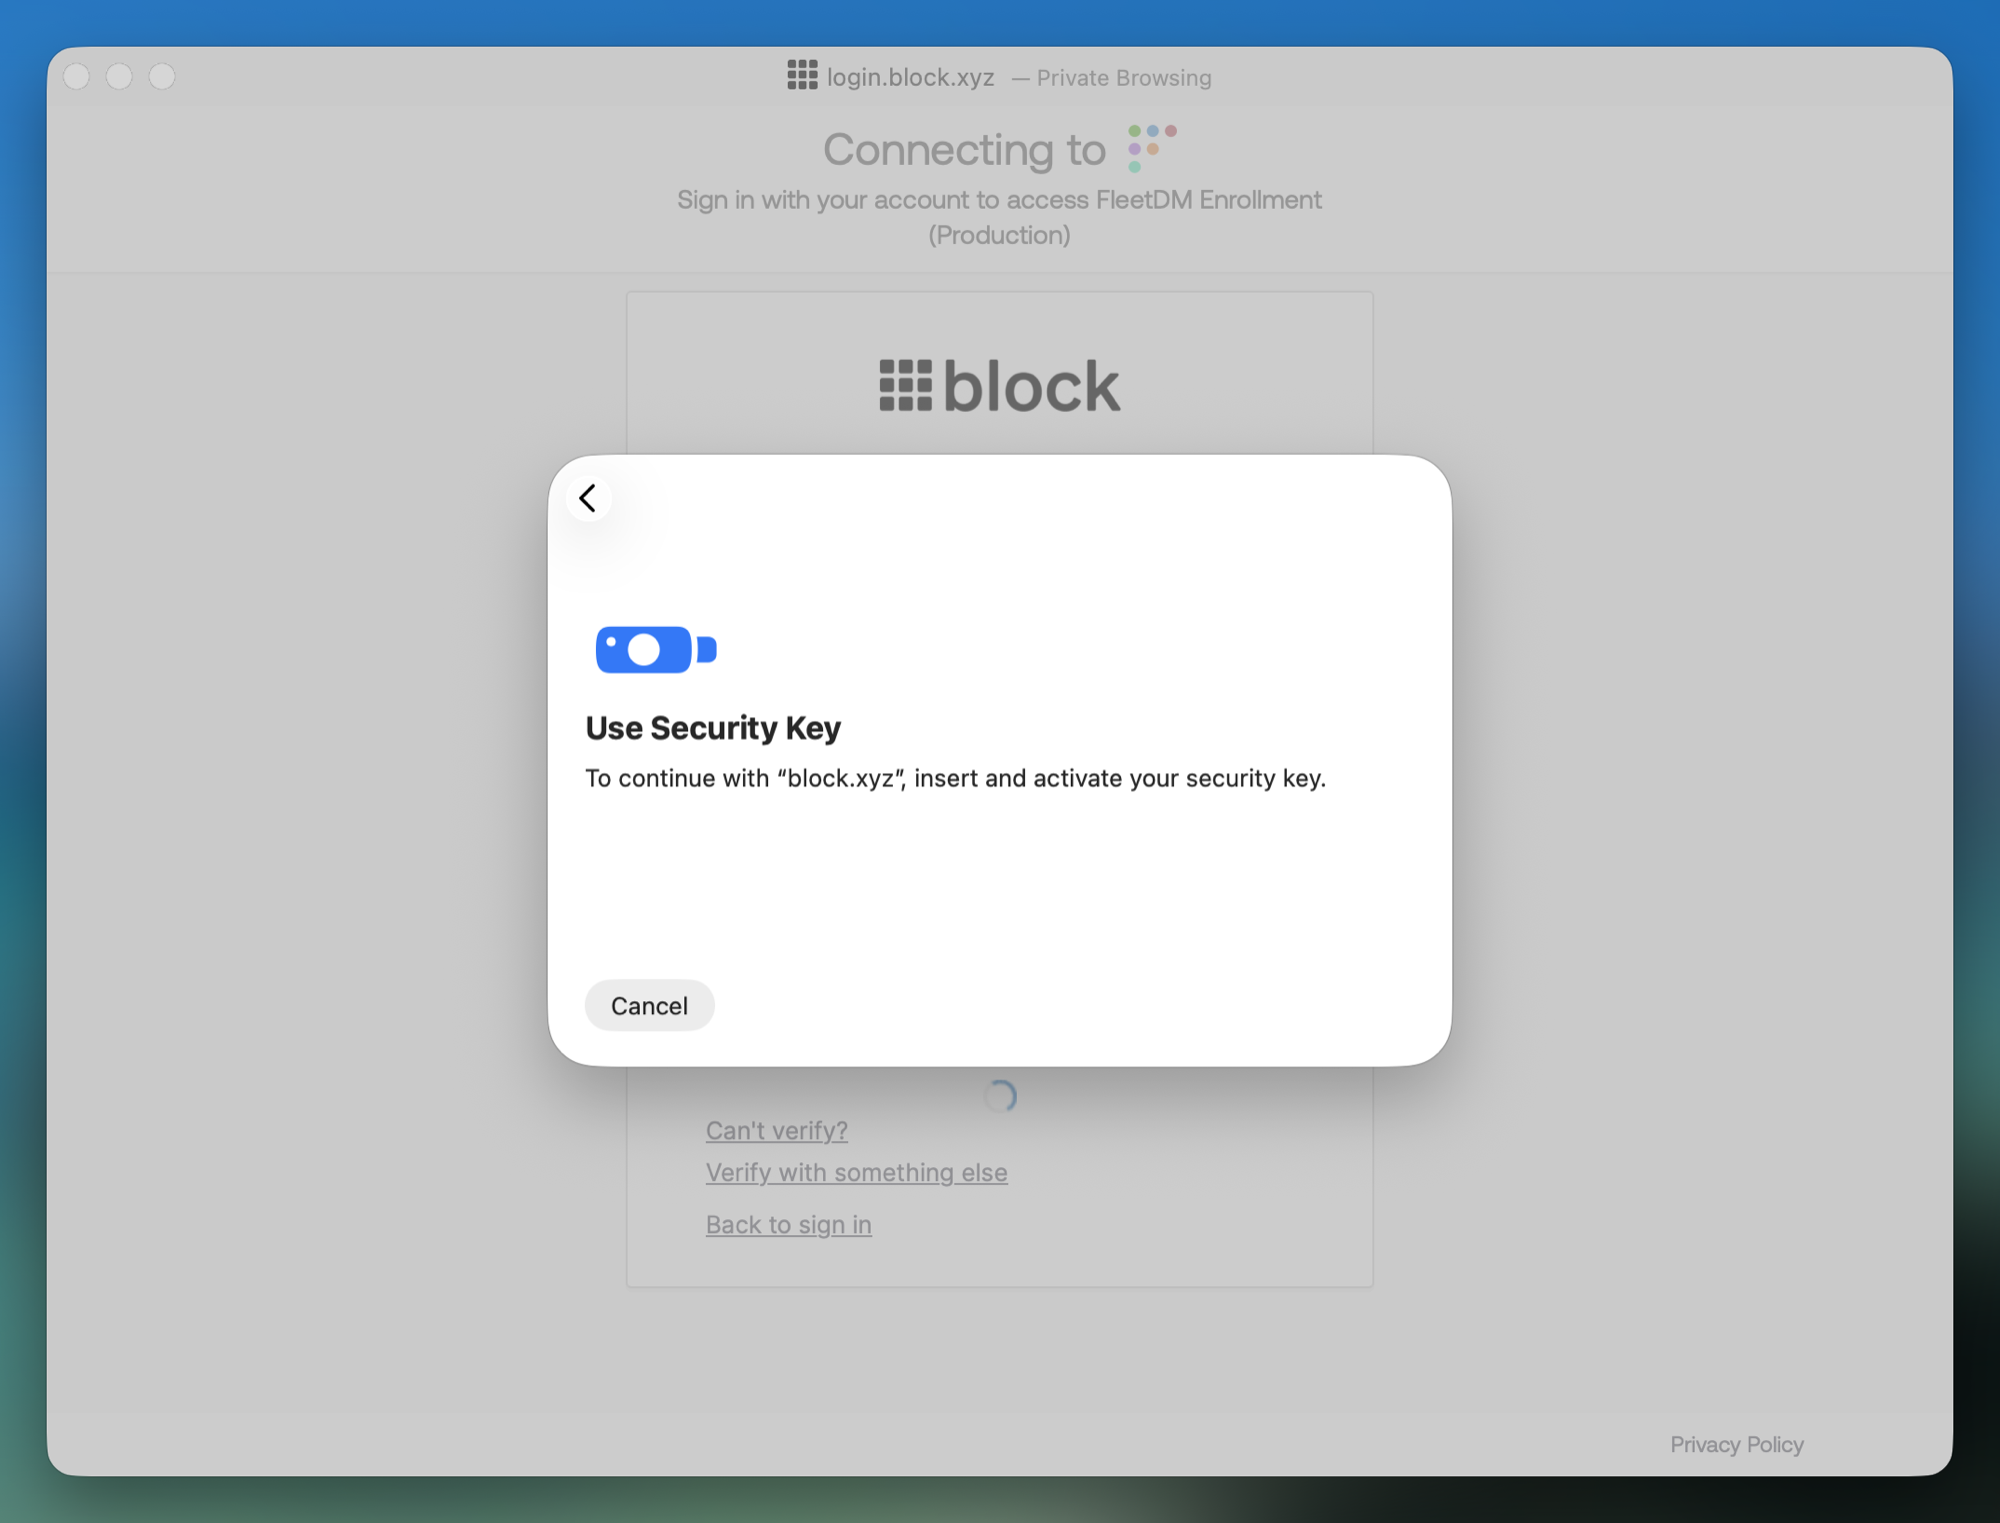
When asked, insert your YubiKey and touch its metal contact.
📱 I have Okta Verify on my phone
If you already use Okta Verify on your mobile phone, you can import your account to your Mac over Bluetooth. Make sure Bluetooth is enabled on both devices.
On your phone
Then tap your Block account.
Follow the instructions on screen.
This approves the Bluetooth export. A QR code and an alphanumeric code appear on your phone. Keep this screen open.
On your Mac
It's on the Okta Verify welcome screen. Then follow the prompts.
This allows the Bluetooth import. If asked to enable Bluetooth, click OK, then Got it.
Enter the alphanumeric code shown on your phone. When it succeeds, a 6-digit PIN appears on your Mac.
Back on your phone
Enter the 6-digit PIN from your Mac into Okta Verify. You'll see a confirmation message on your Mac once your account has been added.
Only pair with codes you generated yourself during this setup.
💻 I have Okta Verify on my old laptop
If you already use Okta Verify on another Mac or Windows device, you can import your account to your new Mac over Bluetooth. Make sure Bluetooth is enabled on both devices.
On your old device
Click the Okta Verify icon in the menu bar (Mac) or system tray (Windows), click Open Okta Verify, then select your Block account.
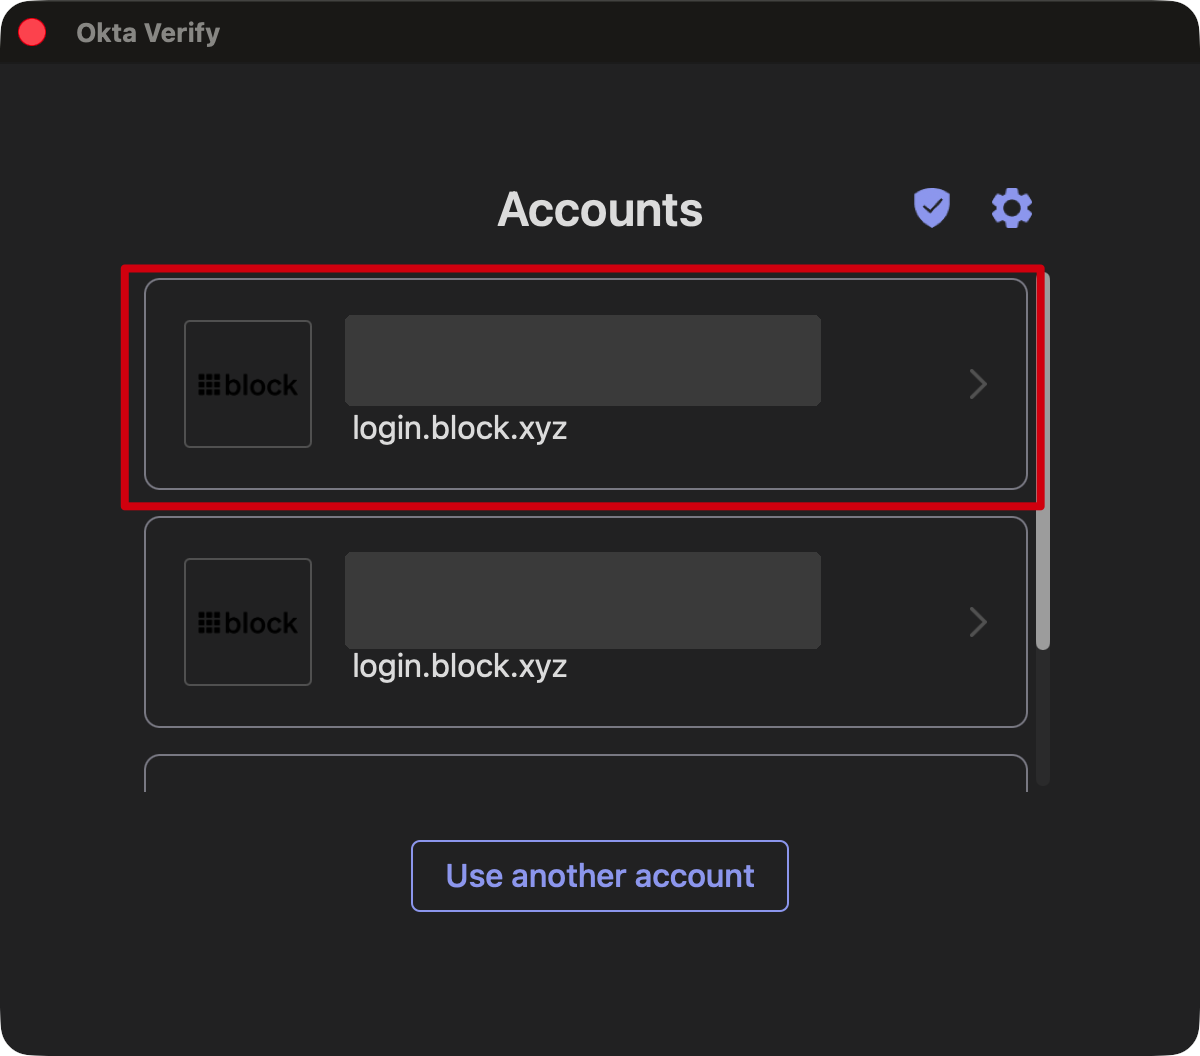
Confirm it's you with Touch ID, Windows Hello or your password when asked.
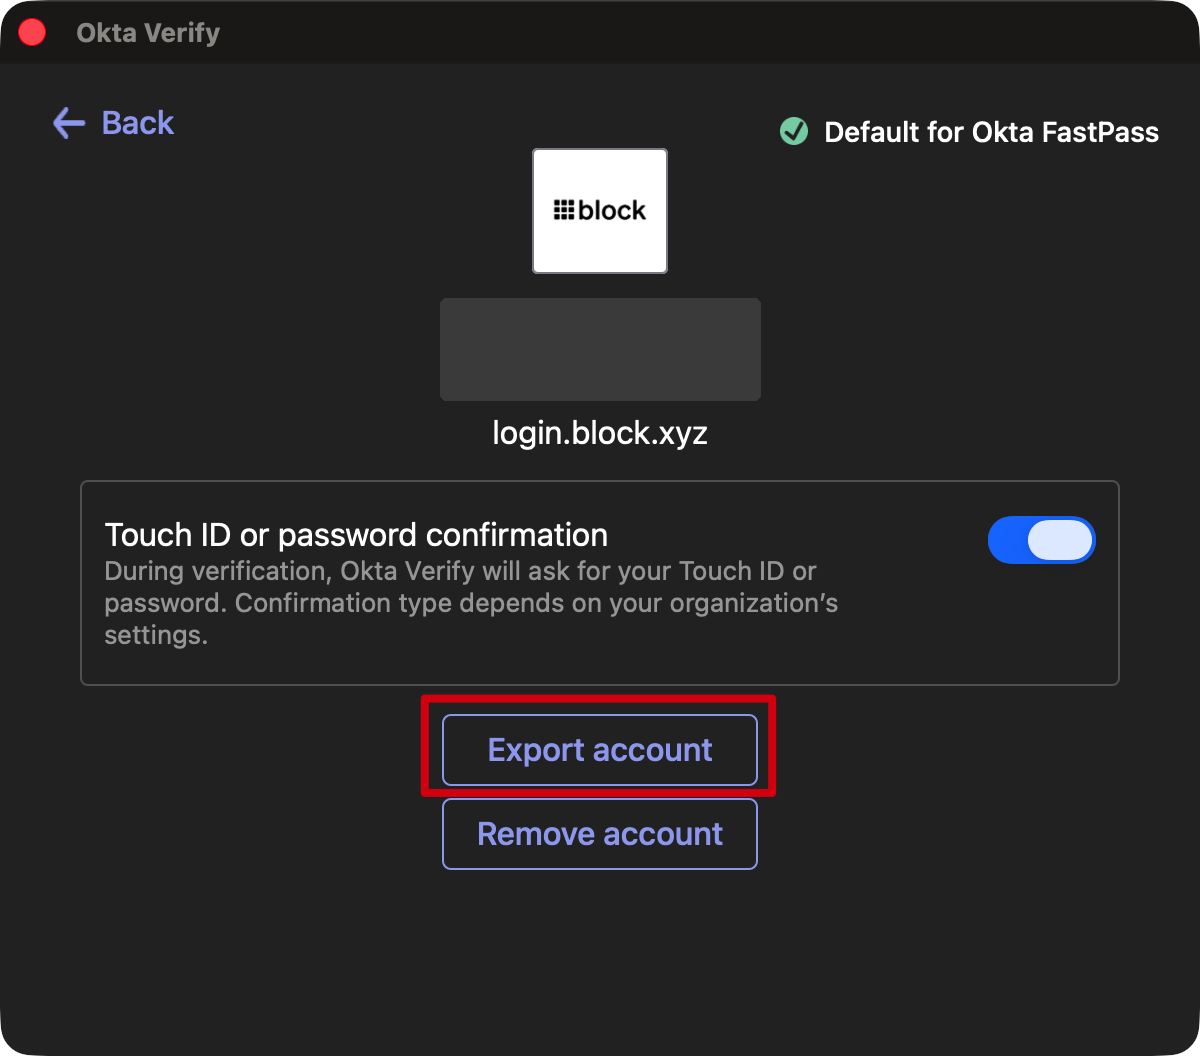
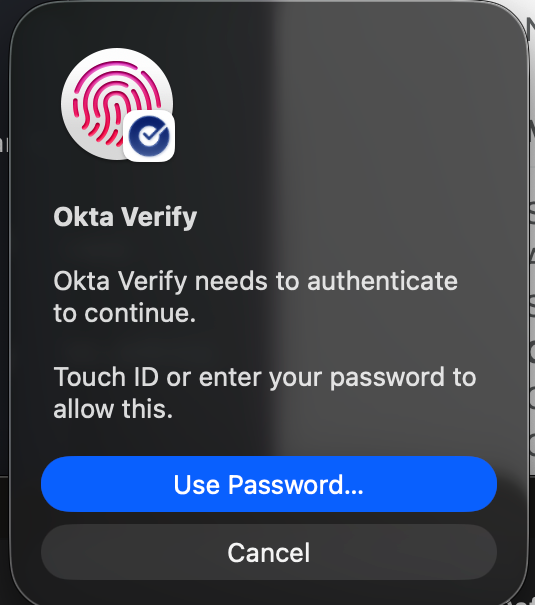
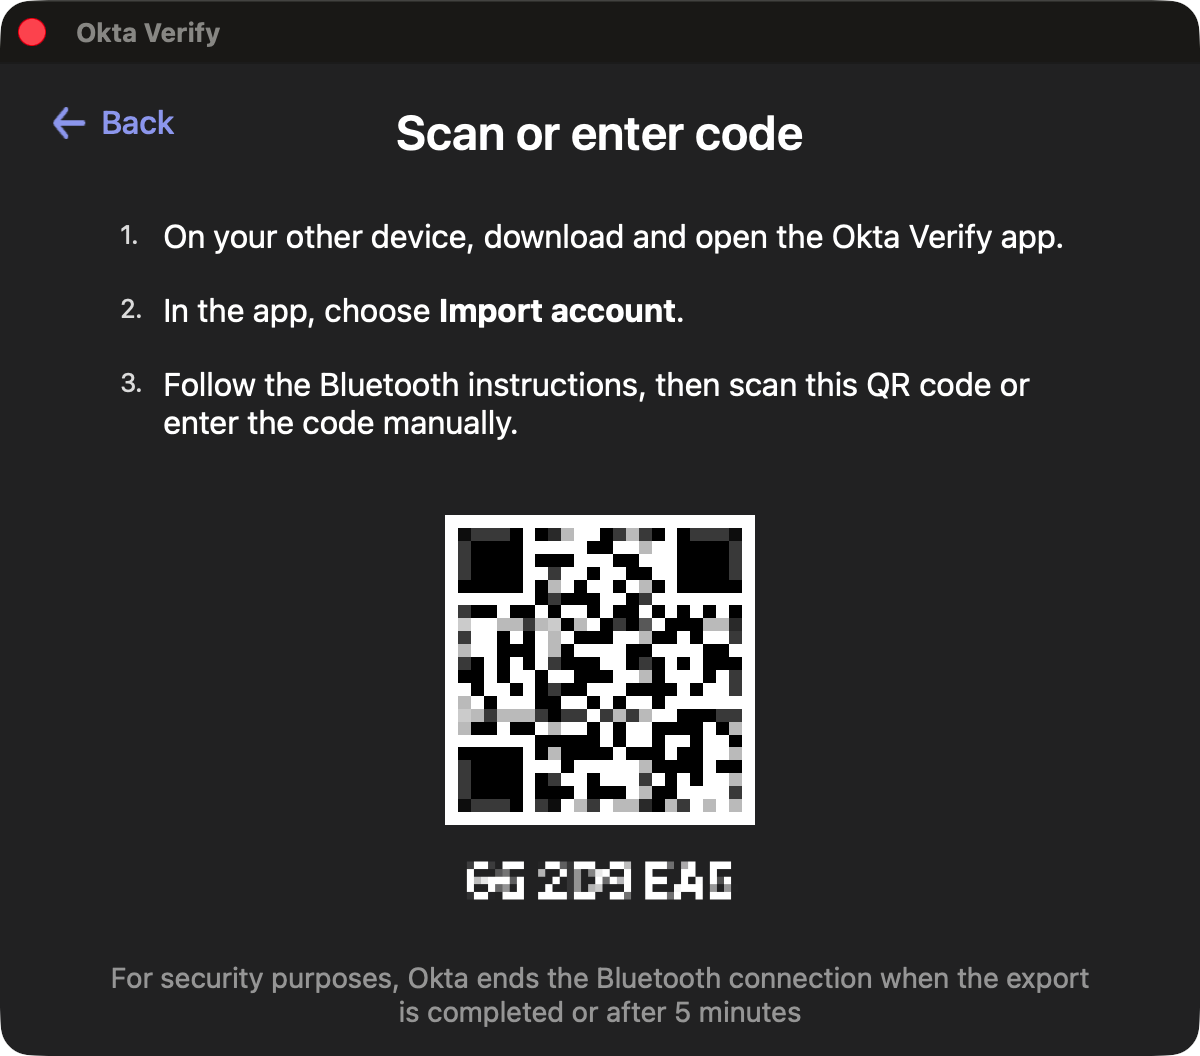
This approves the Bluetooth export. A QR code and an alphanumeric code appear. Keep this screen open.
On your new Mac
It's on the Okta Verify welcome screen. Then follow the prompts.
This allows the Bluetooth import. If asked to enable Bluetooth, click OK, then Got it.
Enter the alphanumeric code shown on your old device. When it succeeds, a 6-digit PIN appears on your new Mac.
Back on your old device
Enter the 6-digit PIN from your new Mac into Okta Verify. You'll see a confirmation message on your new Mac once your account has been added.
Only pair with codes you generated yourself during this setup.
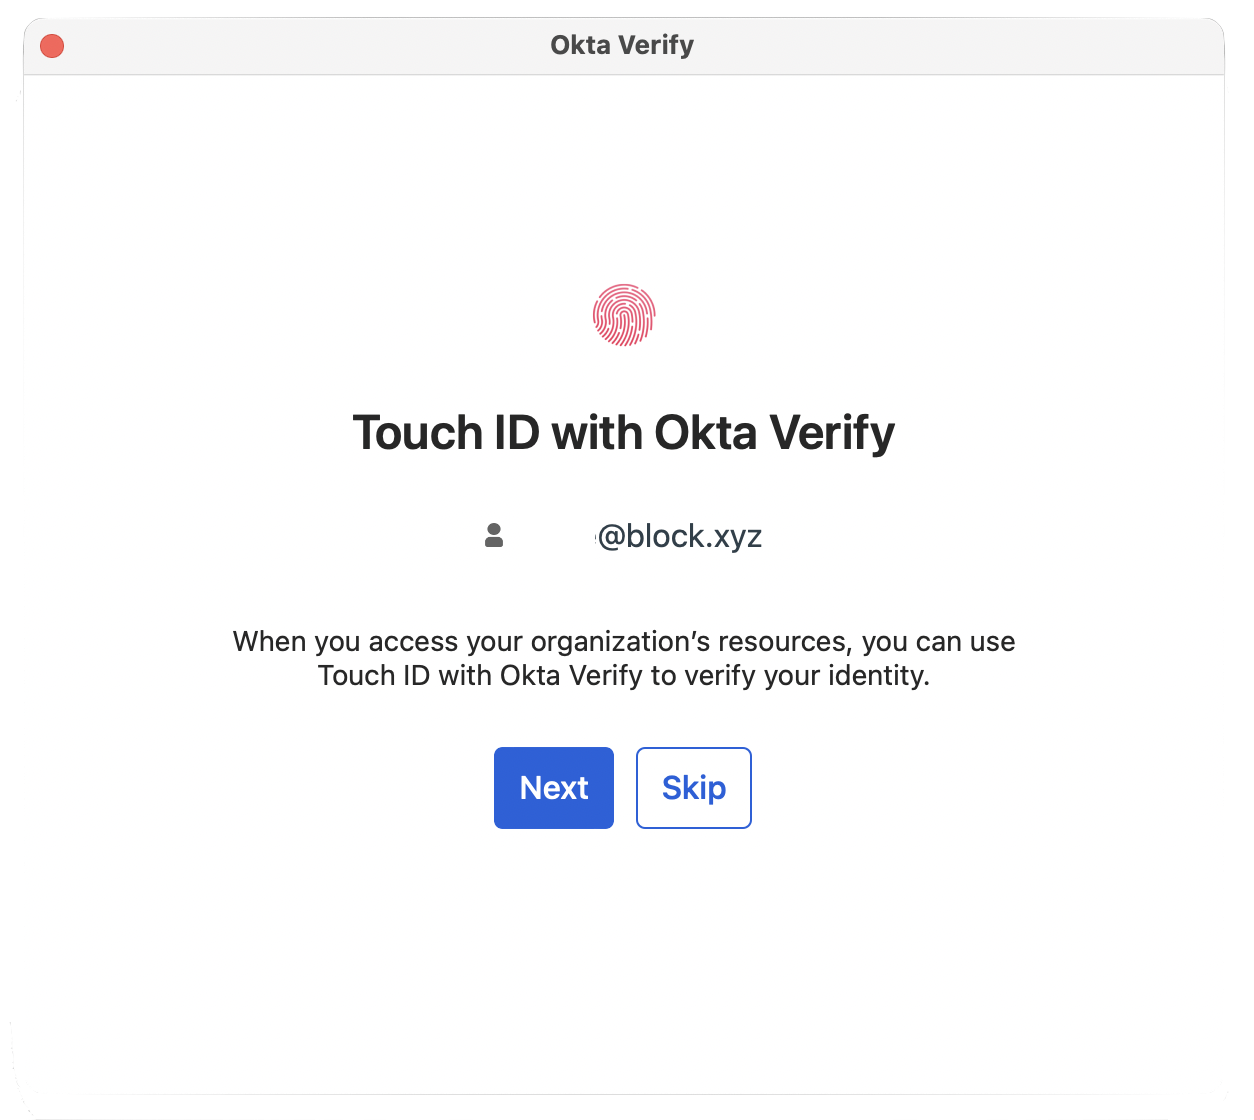
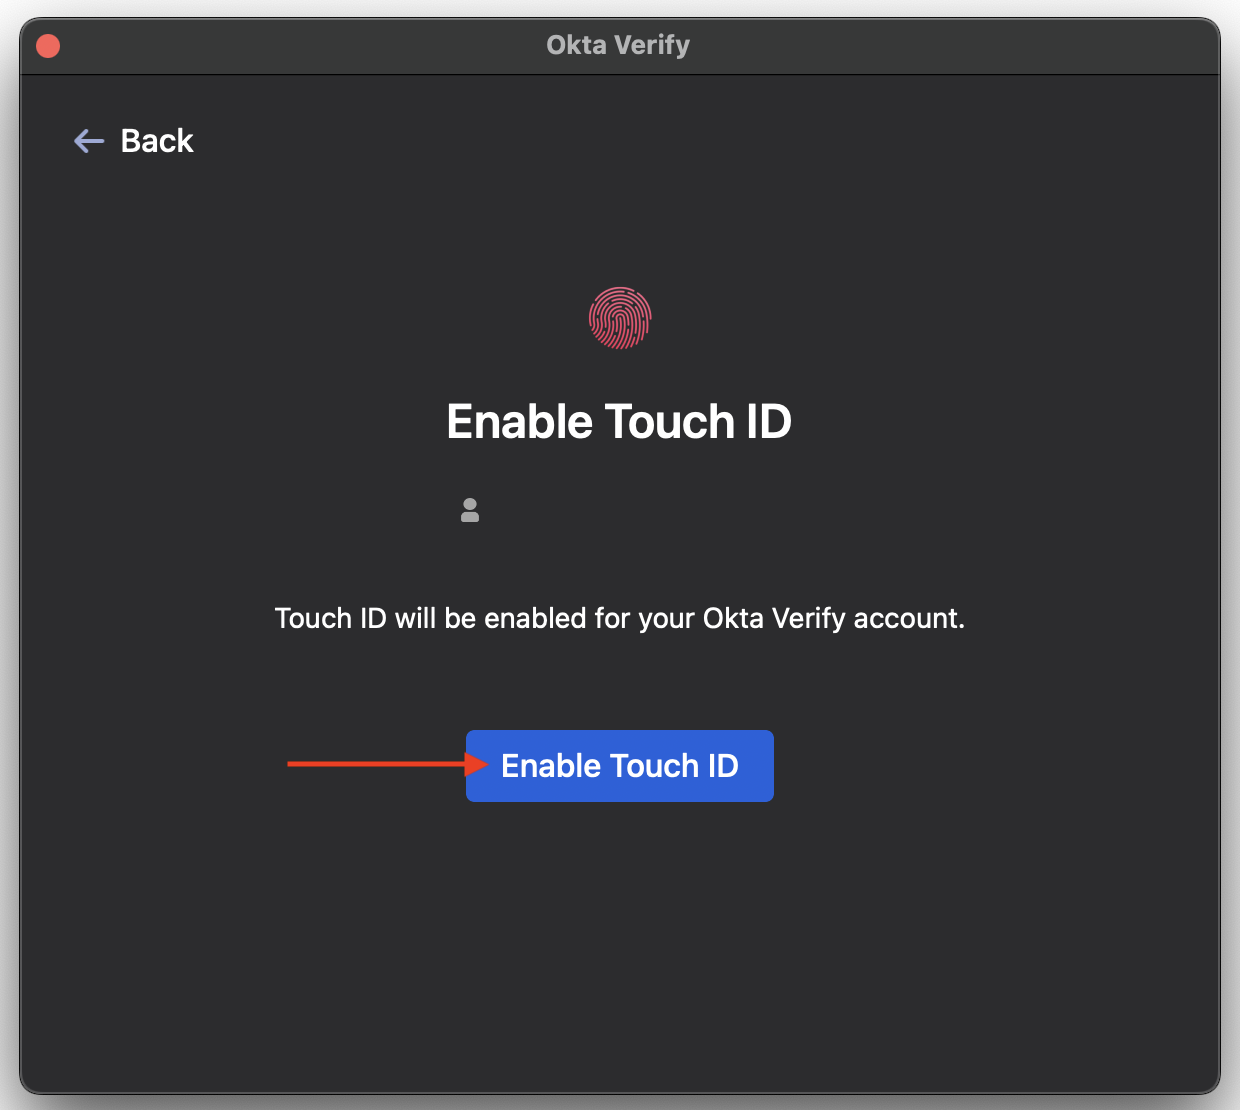
Then confirm with your fingerprint. Touch ID is the preferred method for Okta FastPass. If you skip it, you'll be asked for your password each time instead.
You're all set up. Next we'll configure Google Chrome.