Windows VPN
In this section we will discuss how to install the WARP client on a Windows device.
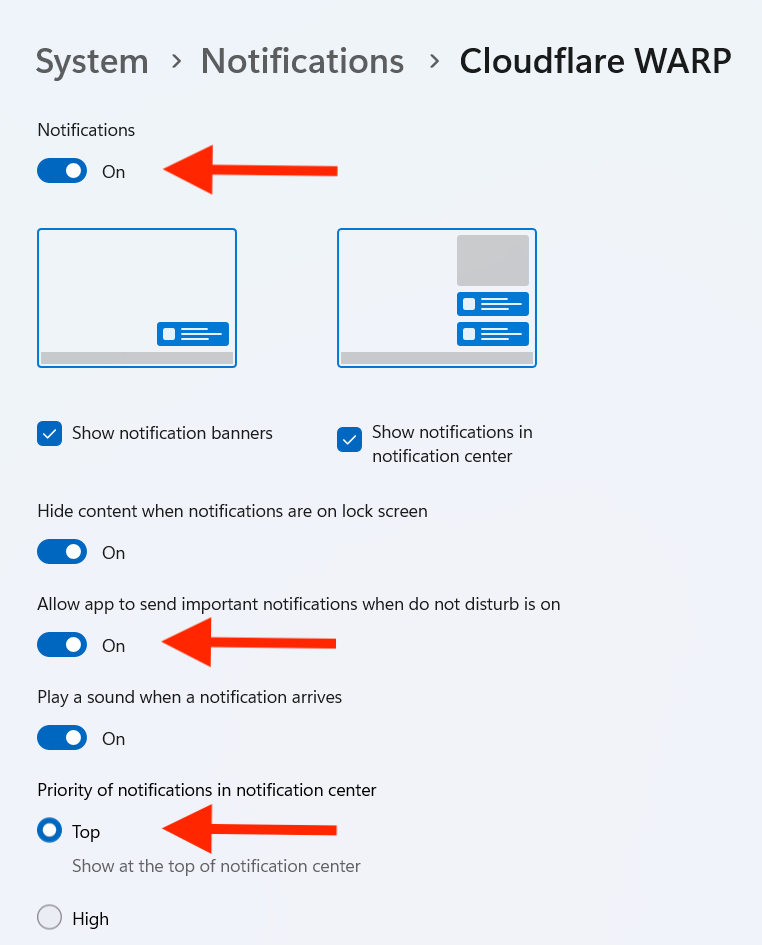
Note: It is important that you enable all notifications from the WARP client in order to receive re-authentication alerts.
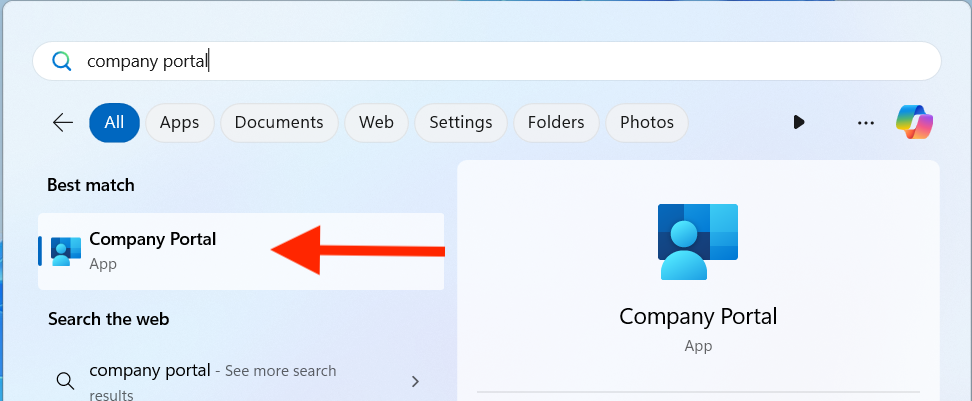
- Open the Start Menu.
- Search for Company Portal.
- Select the Company Portal application.
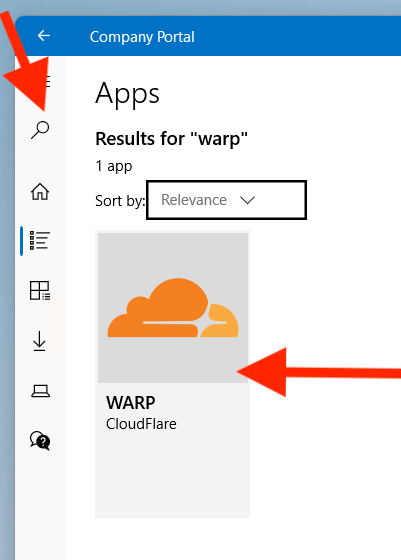
- In the Company Portal tool, use the search option in the top left corner to search for WARP.
- Select the WARP Cloudflare application.
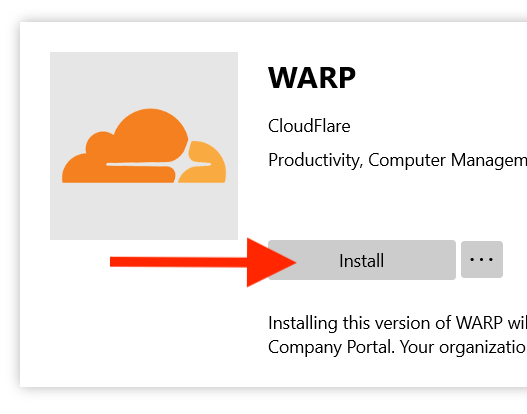
- Select Install.
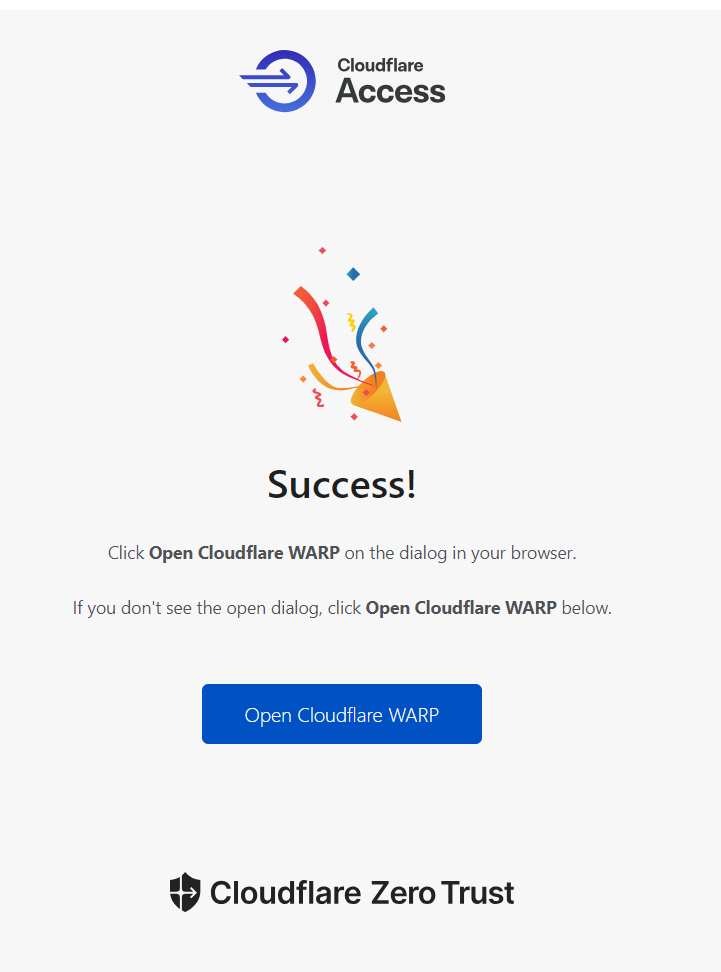
- Once installed, a browser window will appear and ask you to authenticate to Cloudflare.
- Login through the normal Okta login process.
- A success page should appear once logged in.
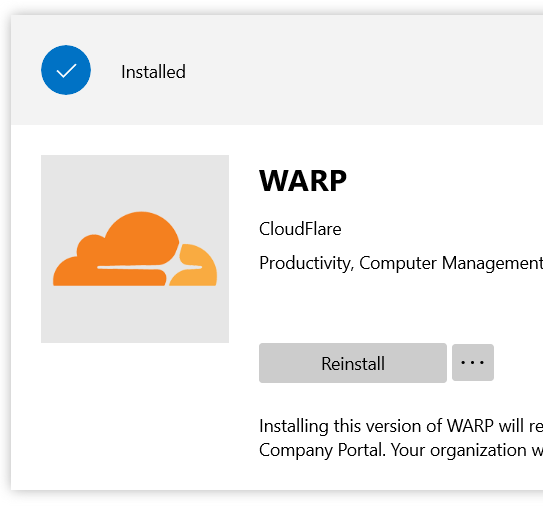
- The Company Portal will now show WARP as Installed.
- You can close the Company Portal.
- Ensure notifications are turned on by opening Settings -> System -> Notifications -> Cloudflare WARP from the Windows start menu.
- Make sure the following settings are turned On.
- Notifications
- Allow app to send important notifications when do not disturb is on
- Select Top for the priority of the notification.