Windows Computer Setup
⚠️ Important Note
Before proceeding with setting up your Windows device, you will require a Yubikey. If you did not receive a Yubikey or do not have one to setup your device, please reach out to IT via go/IT or email mission-control@squareup.com
-
Turn on your new laptop using the power button.
-
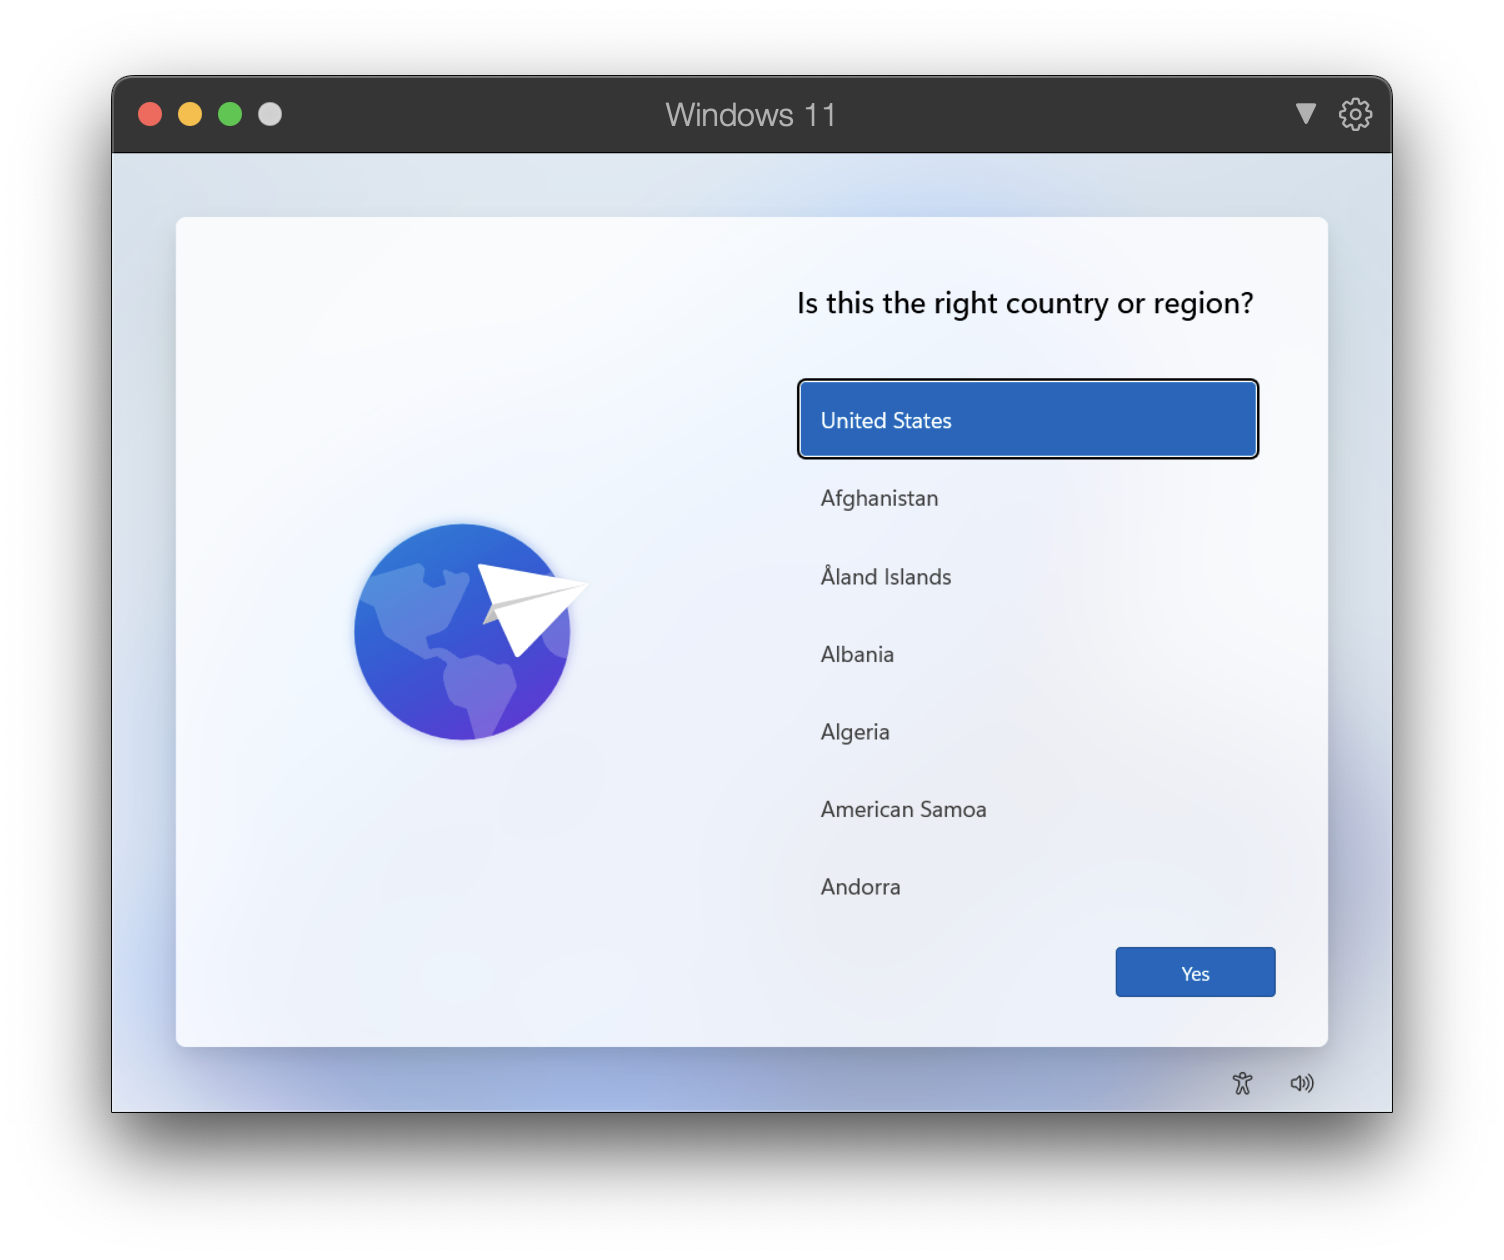
Select the Country you reside in.
-
Choose your keyboard layout.
-
IMPORTANT: Connect your device to a wireless network (either your home WiFi or the Block-Guest) with Internet access.
-
After connecting to your network, the computer will check for updates and reboot.
-
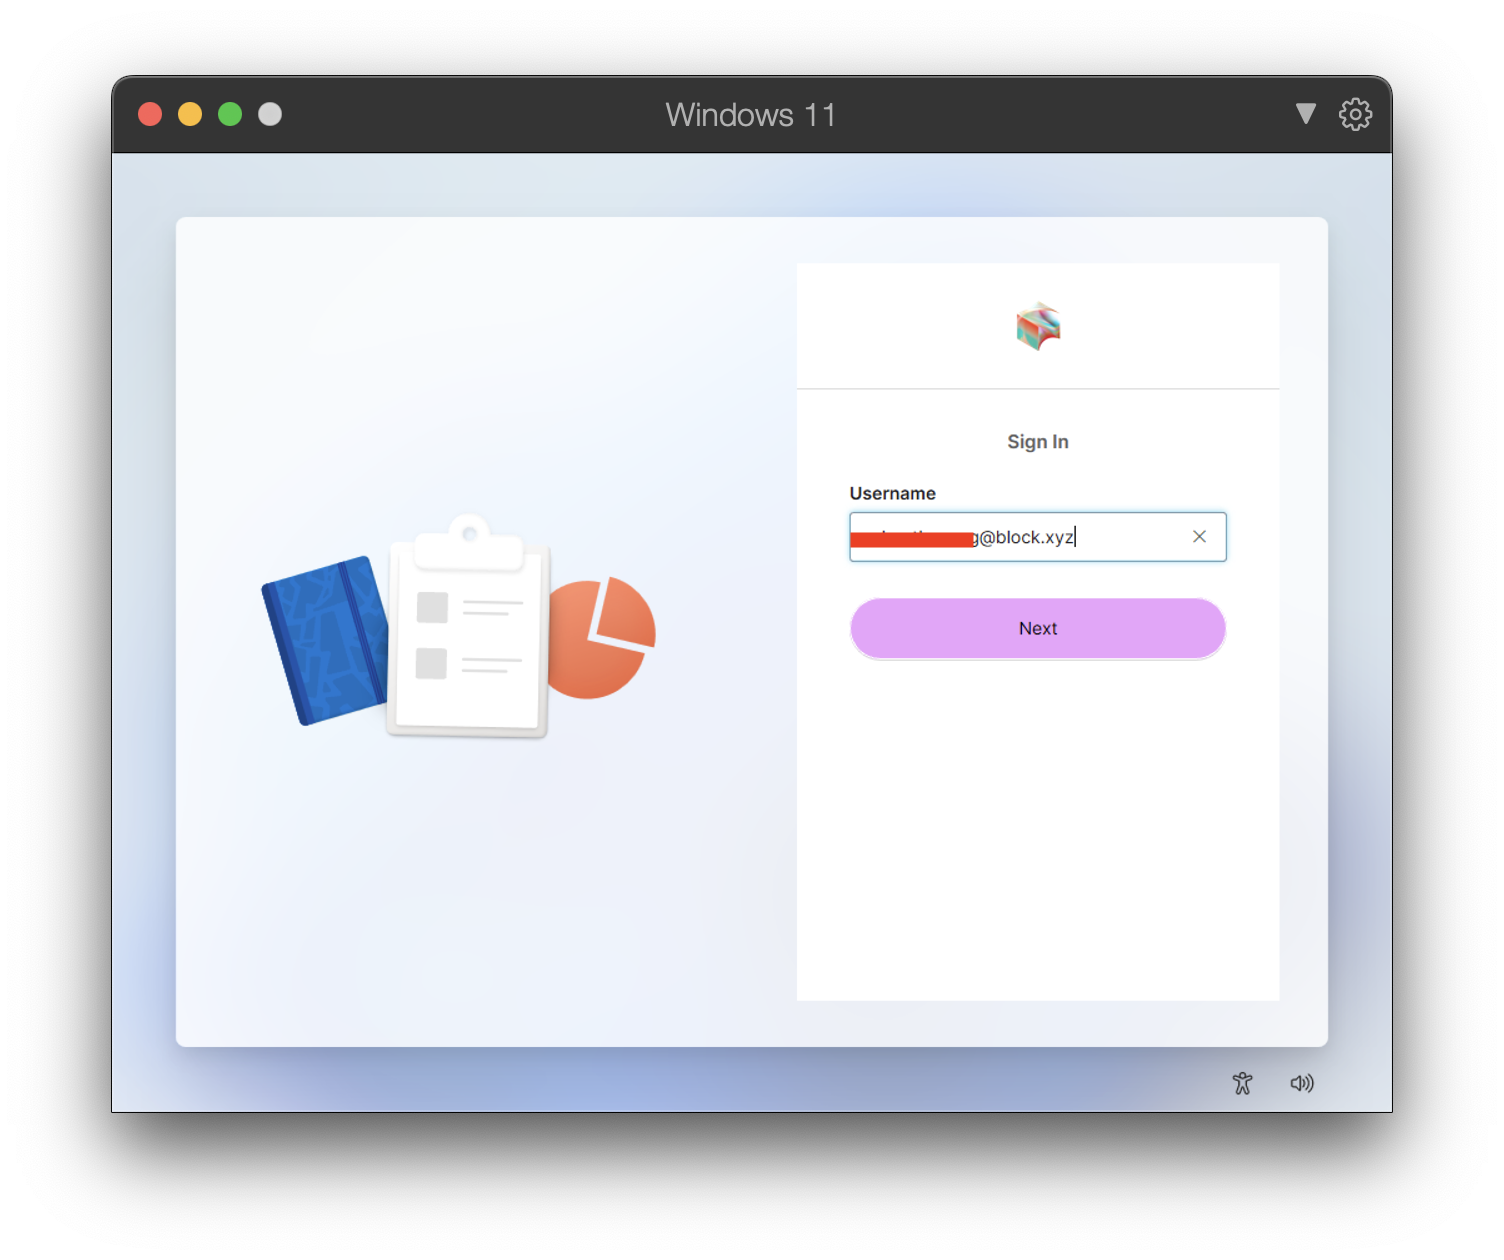
You will then see a Let’s get things set up for your work or school screen.
IMPORTANT: If you do not see the Square or Block logo, as shown in the screenshot, do not attempt to proceed. If you’re new starter please email mission-control@squareup.com for assistance, otherwise raise a ticket at go/IT from a Block-Issued Device
- Enter your squareup.com or block.xyz email into the Microsoft login page.(example:
johndoe@block.xyzorjohndoe@squareup.com)

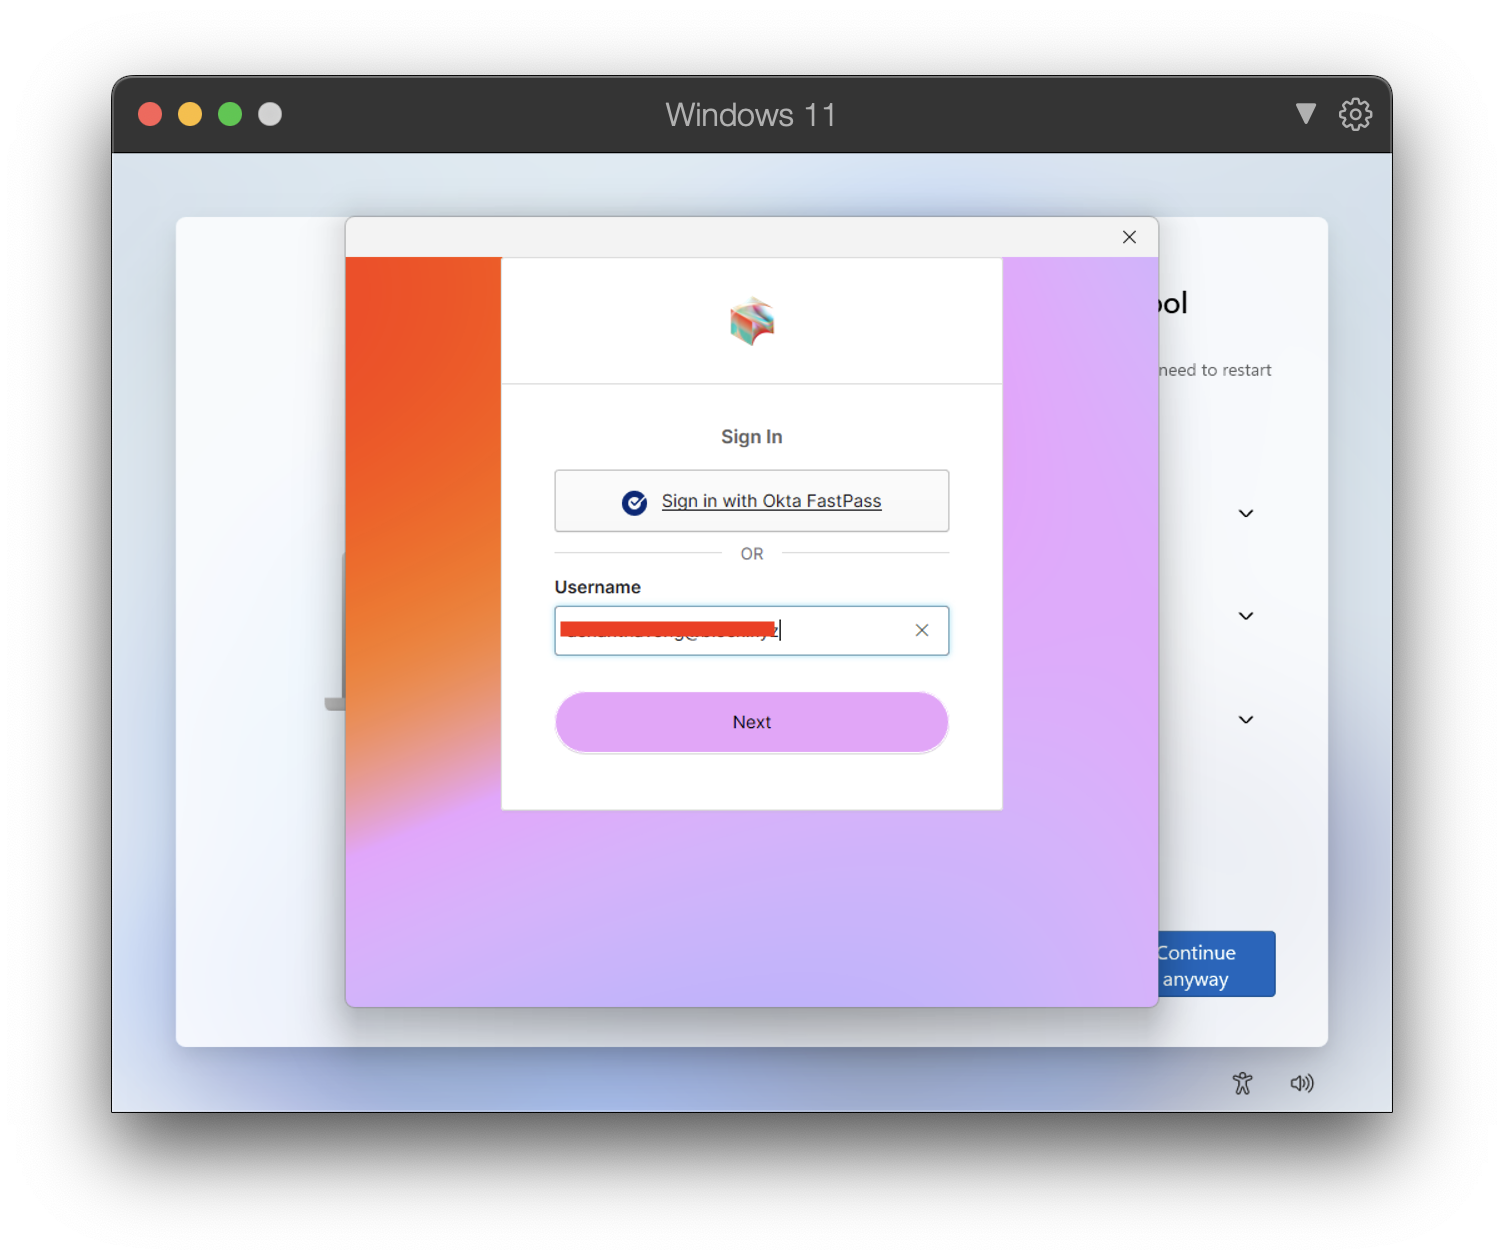
- The next page will take you to an Okta login page.
Enter your username (example: if your email is
johndoe@block.xyzorjohndoe@squareup.com, you will enter johndoe) and enter the password you’ve created from our Welcome Email.
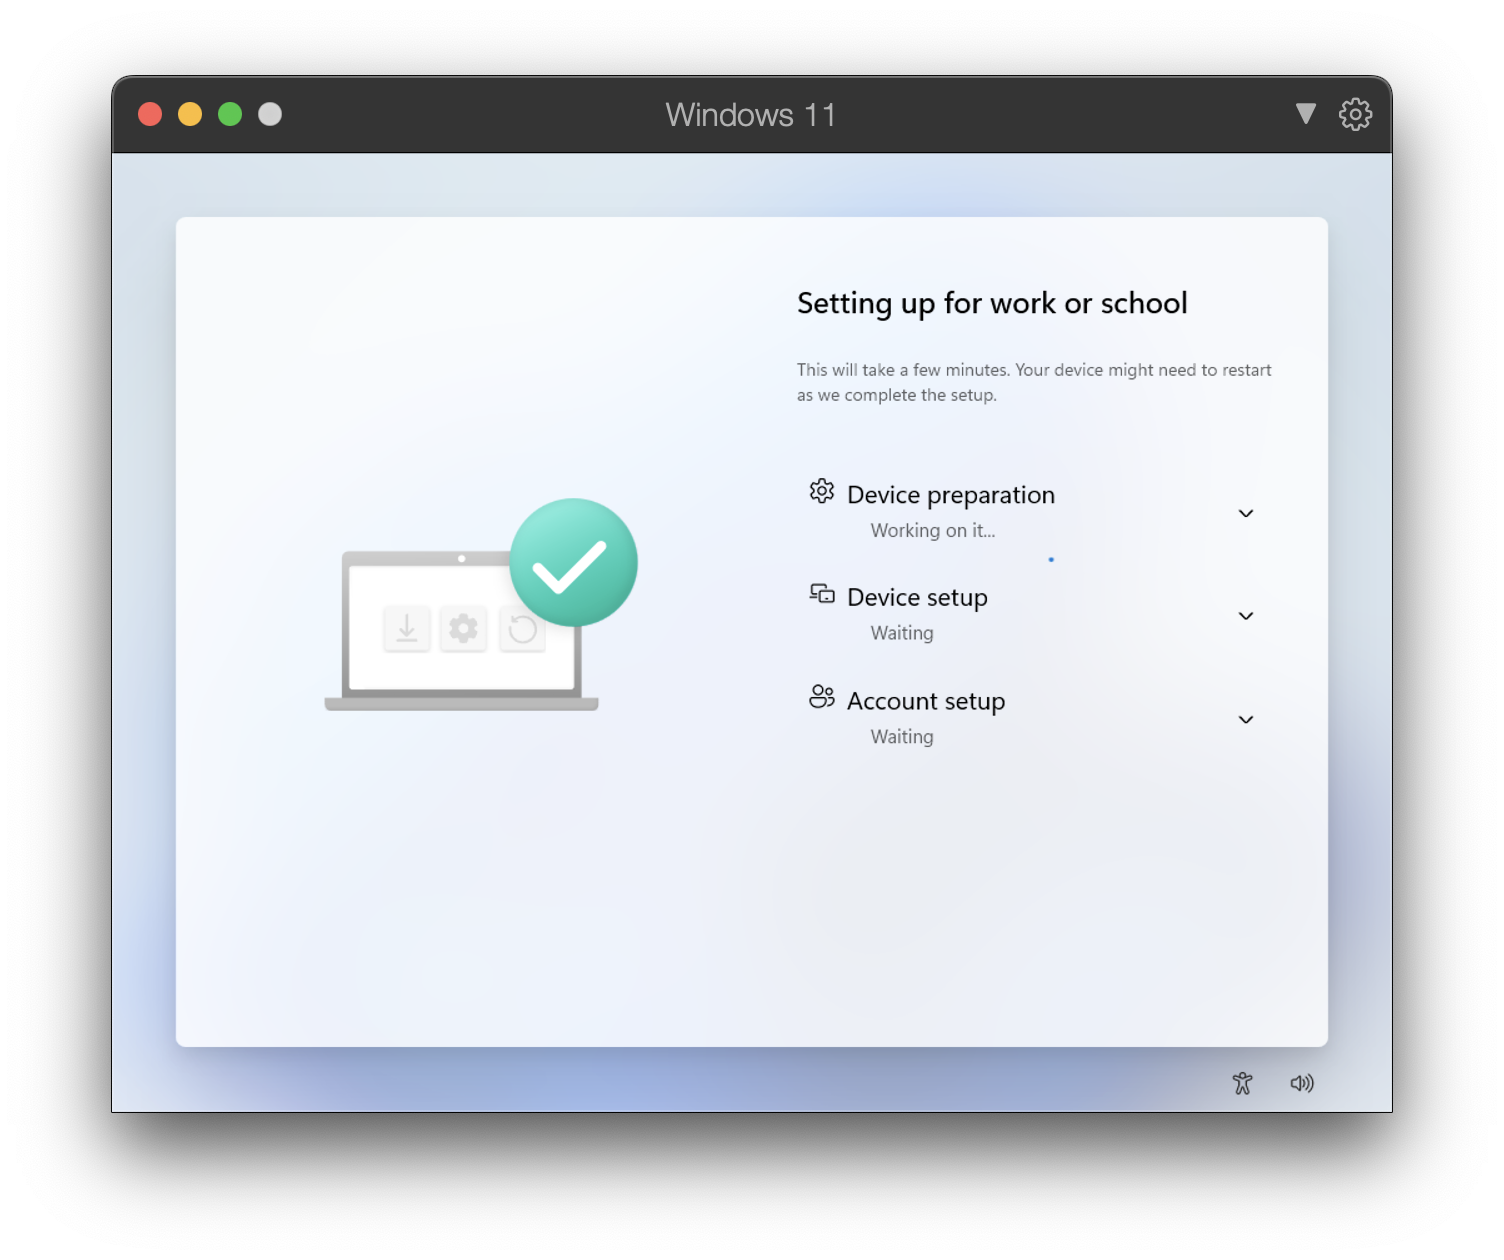
- After logging in, you will need to accept some terms and conditions. Your computer will continue setting up and may restart again. Eventually, you will see a screen that says Setting up for Work or School.
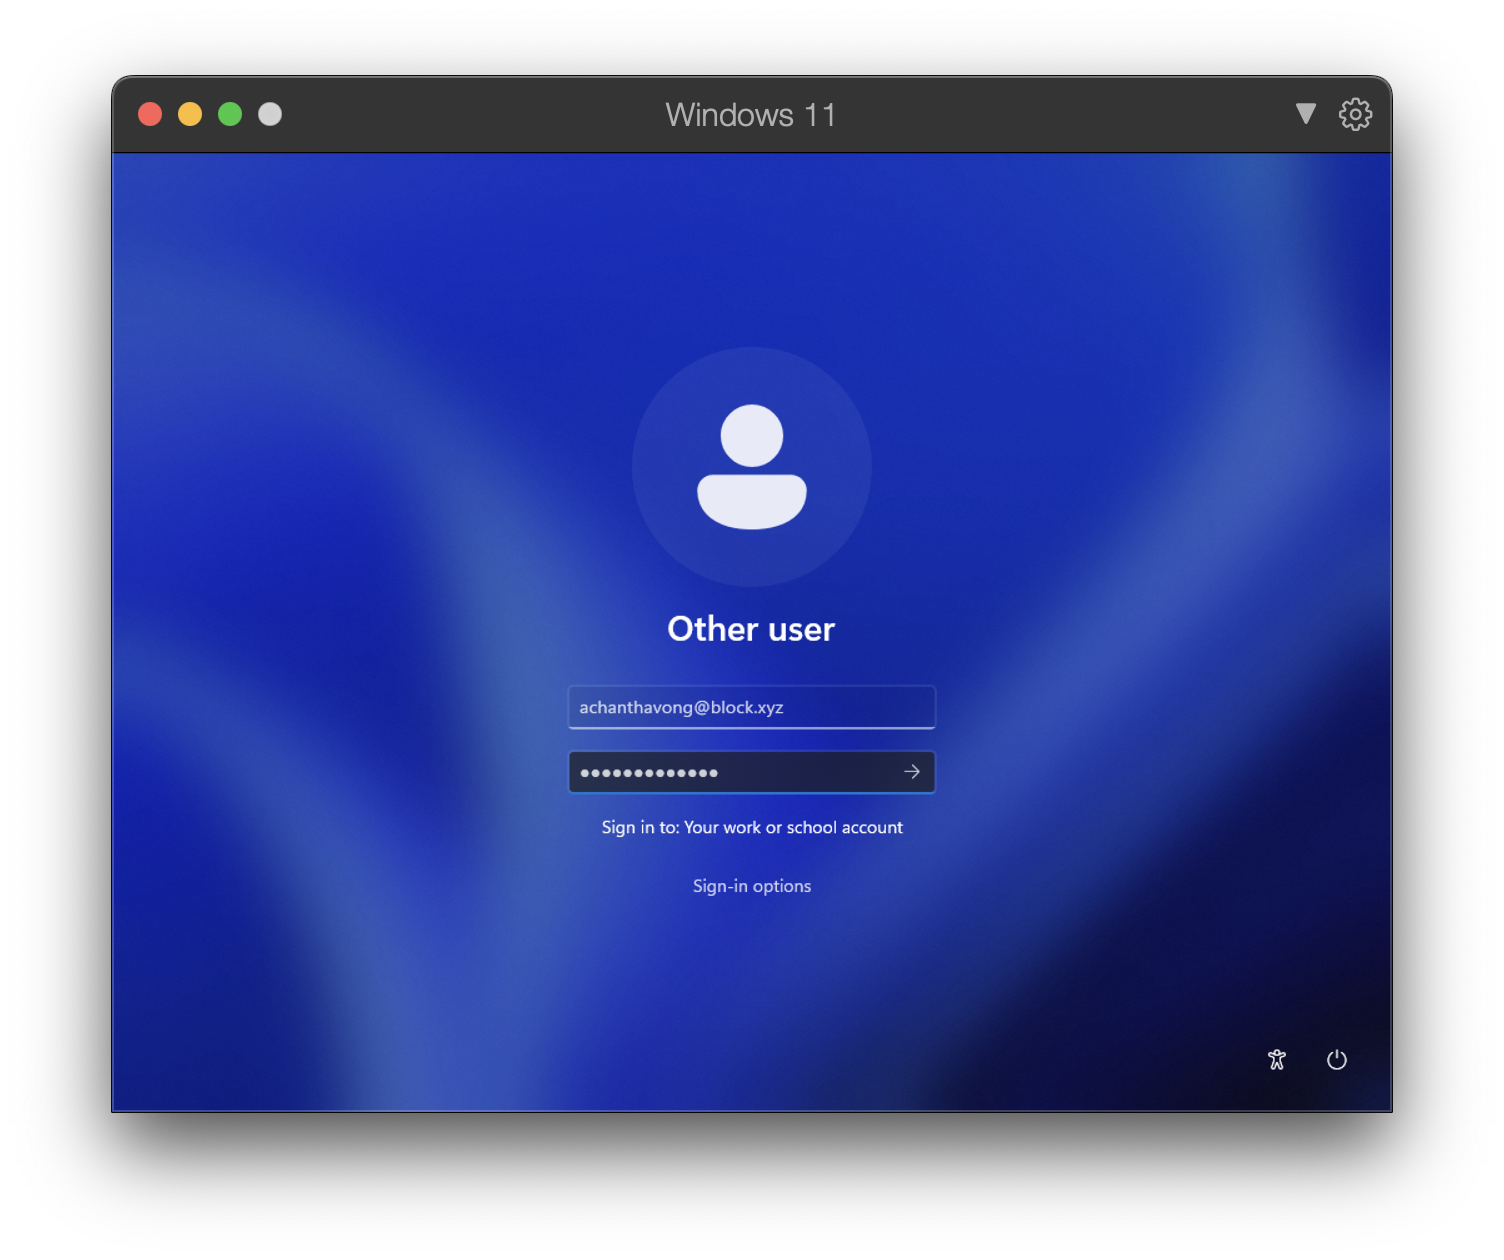
- You will then be brought to a screen that says Other user. Sign in with your email address and password.
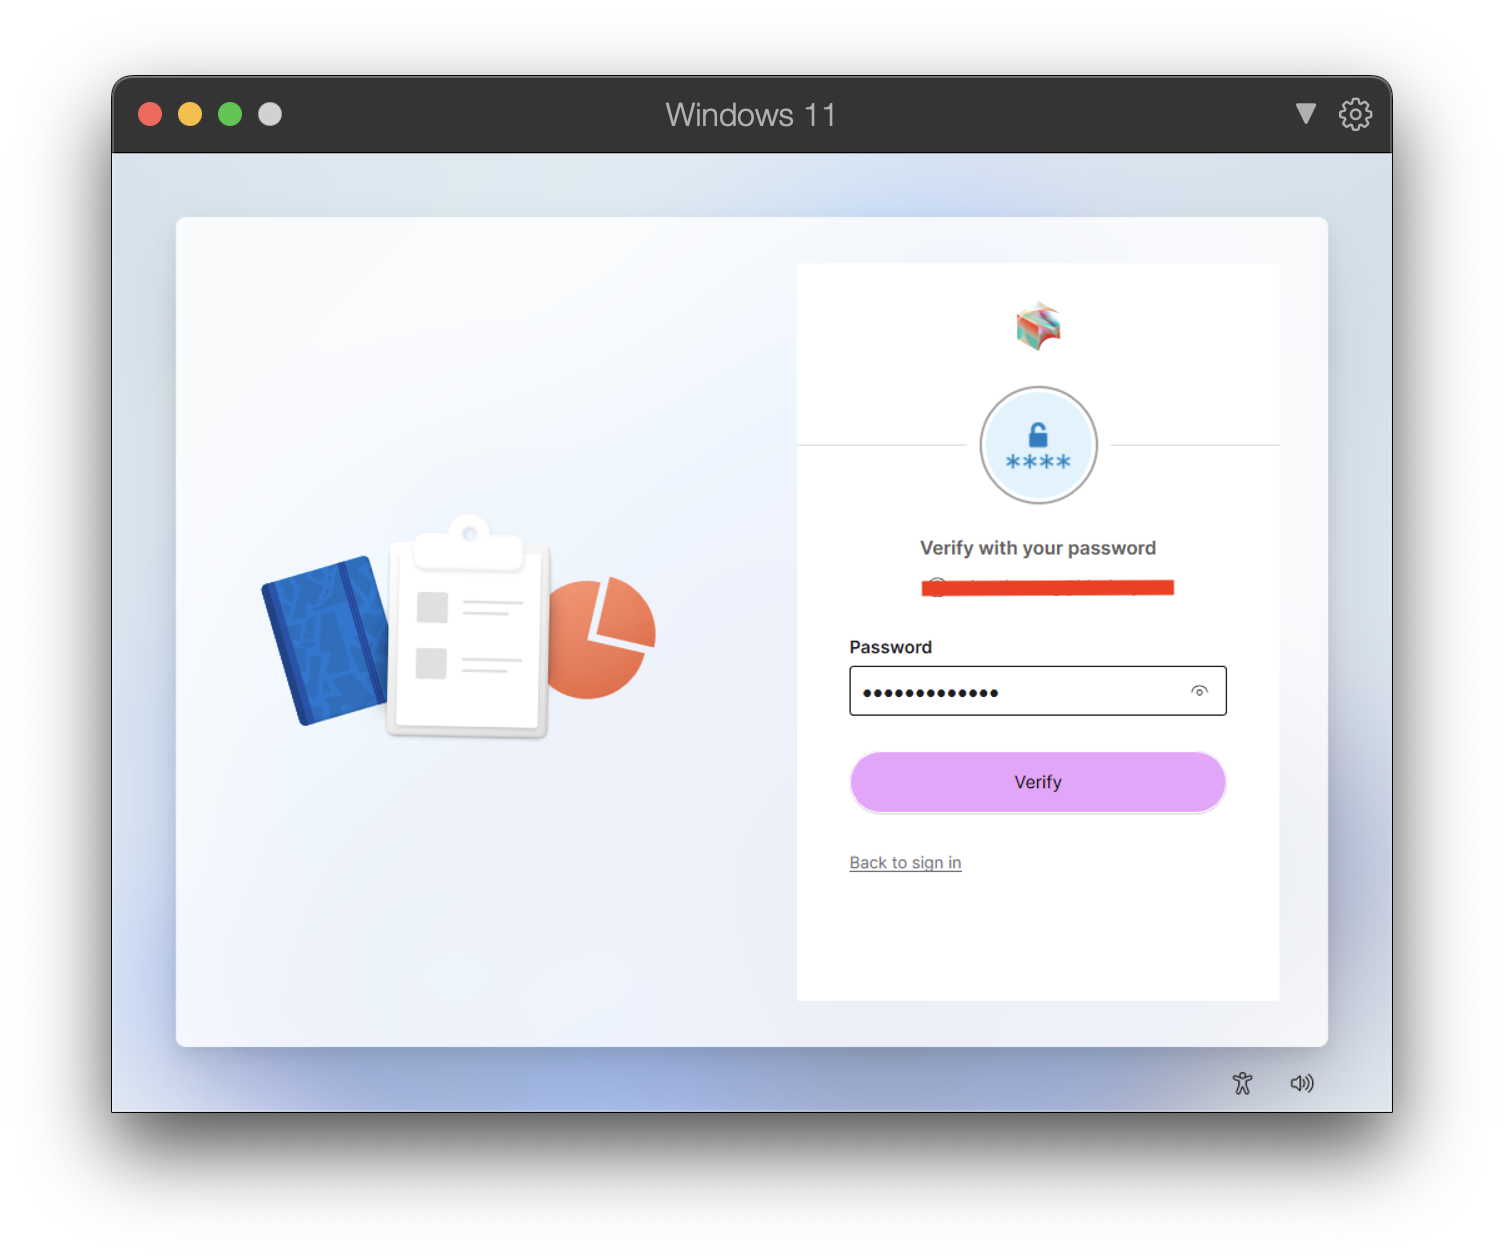
- Once you see an Okta login screen here, sign in using your username and password.
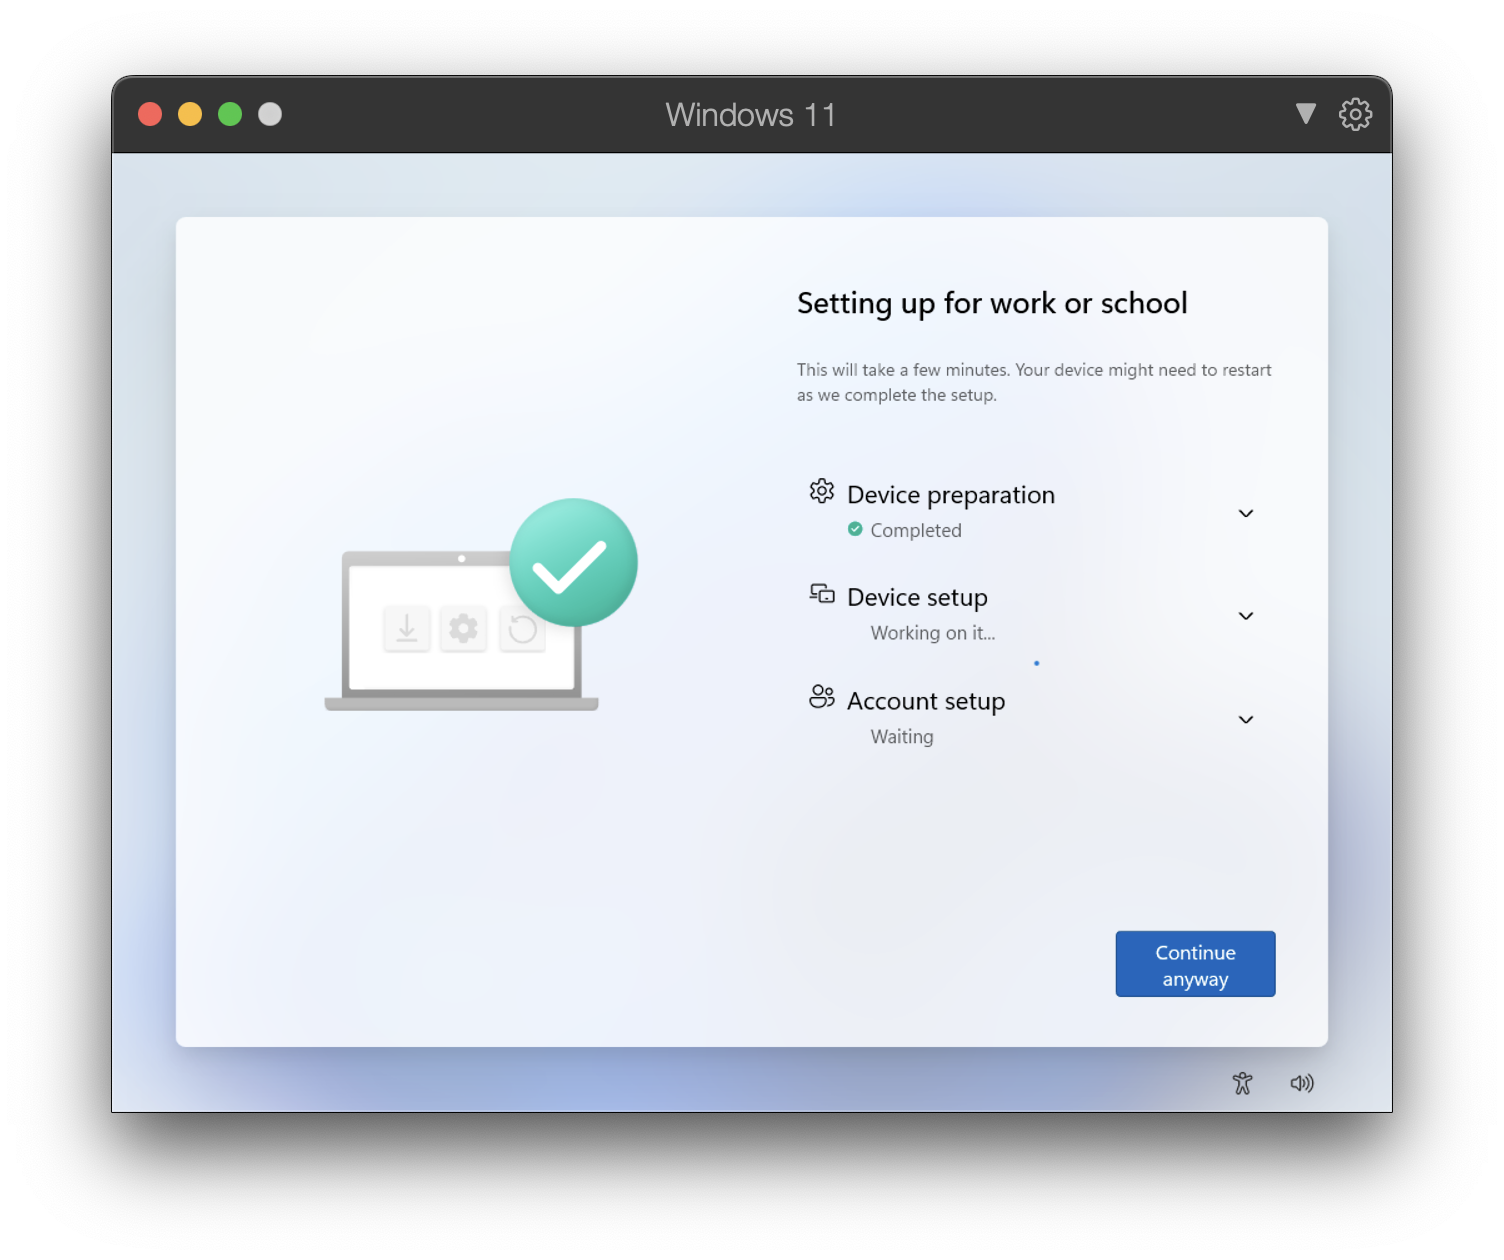
- Once the setup returns to Setting up for work or school, please be patient as this stage may take several minutes to complete.

- Next, you will be asked to set up Windows Hello with your account. Press OK.

-
Depending on the computer you received, you will have the option to set up your Fingerprint, Biometrics, or choose “Skip for now” if you don’t want to use biometrics. It is highly recommended setting up one of these options as we will use them for Okta FastPass later on
-
Next, you will be asked to Set up a PIN. This is a required step. Your PIN requirements:
- Must be at least 8 characters long
- Can include letters (check the box to enable this option)
- Will be used to log into your computer
- Can match your Okta password for consistency - HIGHLY RECOMMENDED
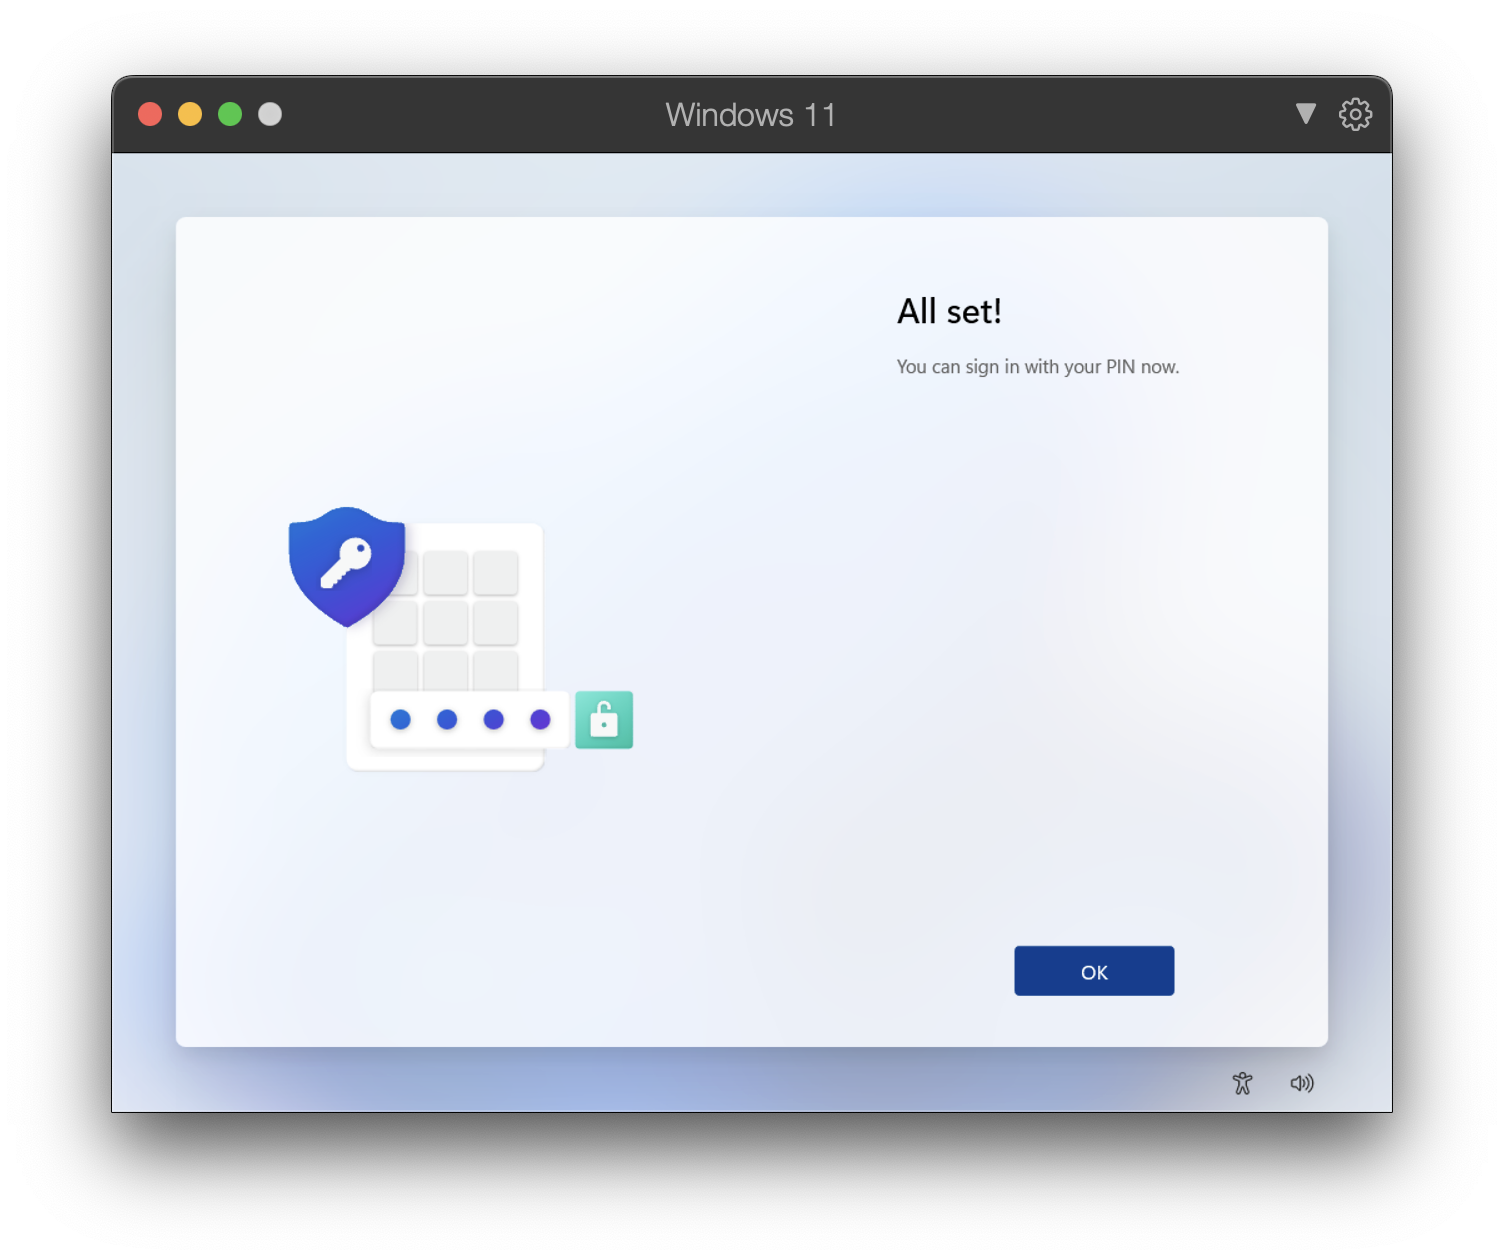
- Click OK on the next screen to be taken to the desktop.